Curious about how you can transform your ordinary household items into something extraordinary? Calling all upcycling fans! Spoonflower Ambassador Michael Gardner shares five quick projects that turn utilitarian everyday objects into your new favorite things. All you need is Spoonflower’s new Peel and Stick wallpaper and a few common tools to add a pop of color to your home, party or patio.

Michael: I have a passion for upcycling. Being able to bring new, fresh energy to items I already own and buy secondhand items to give new life to are just two of the reasons why reuse is a go-to strategy for me. If I can do those things while also updating my home decor with fun pops of color, even better! Therefore, for this project, I took items I either thrifted or already owned and gave them an upgrade with Spoonflower’s Peel and Stick wallpaper.
Using wallpaper is new for me, but as an eager creative, I’m all for trying new projects. When I saw thecornyrainbow’s Hot Plant Summer design recently, I knew it would look amazing added to several things in my home.
This was my first time working with wallpaper and I was absolutely amazed at how simple it was to create these projects! Peel and Stick wallpaper is easy to use, easy to cut and adheres to surfaces perfectly. I was able to trim pieces with no issue, lift the wallpaper, reposition it during installation and remove bubbles, all with it remaining sticky. I also love this wallpaper’s weight; it’s firm yet flexible and printed with bright and bold colors.
Excited by the possibilities, I chose the following projects to showcase Peel and Stick’s versatility:
1. Serving Tray
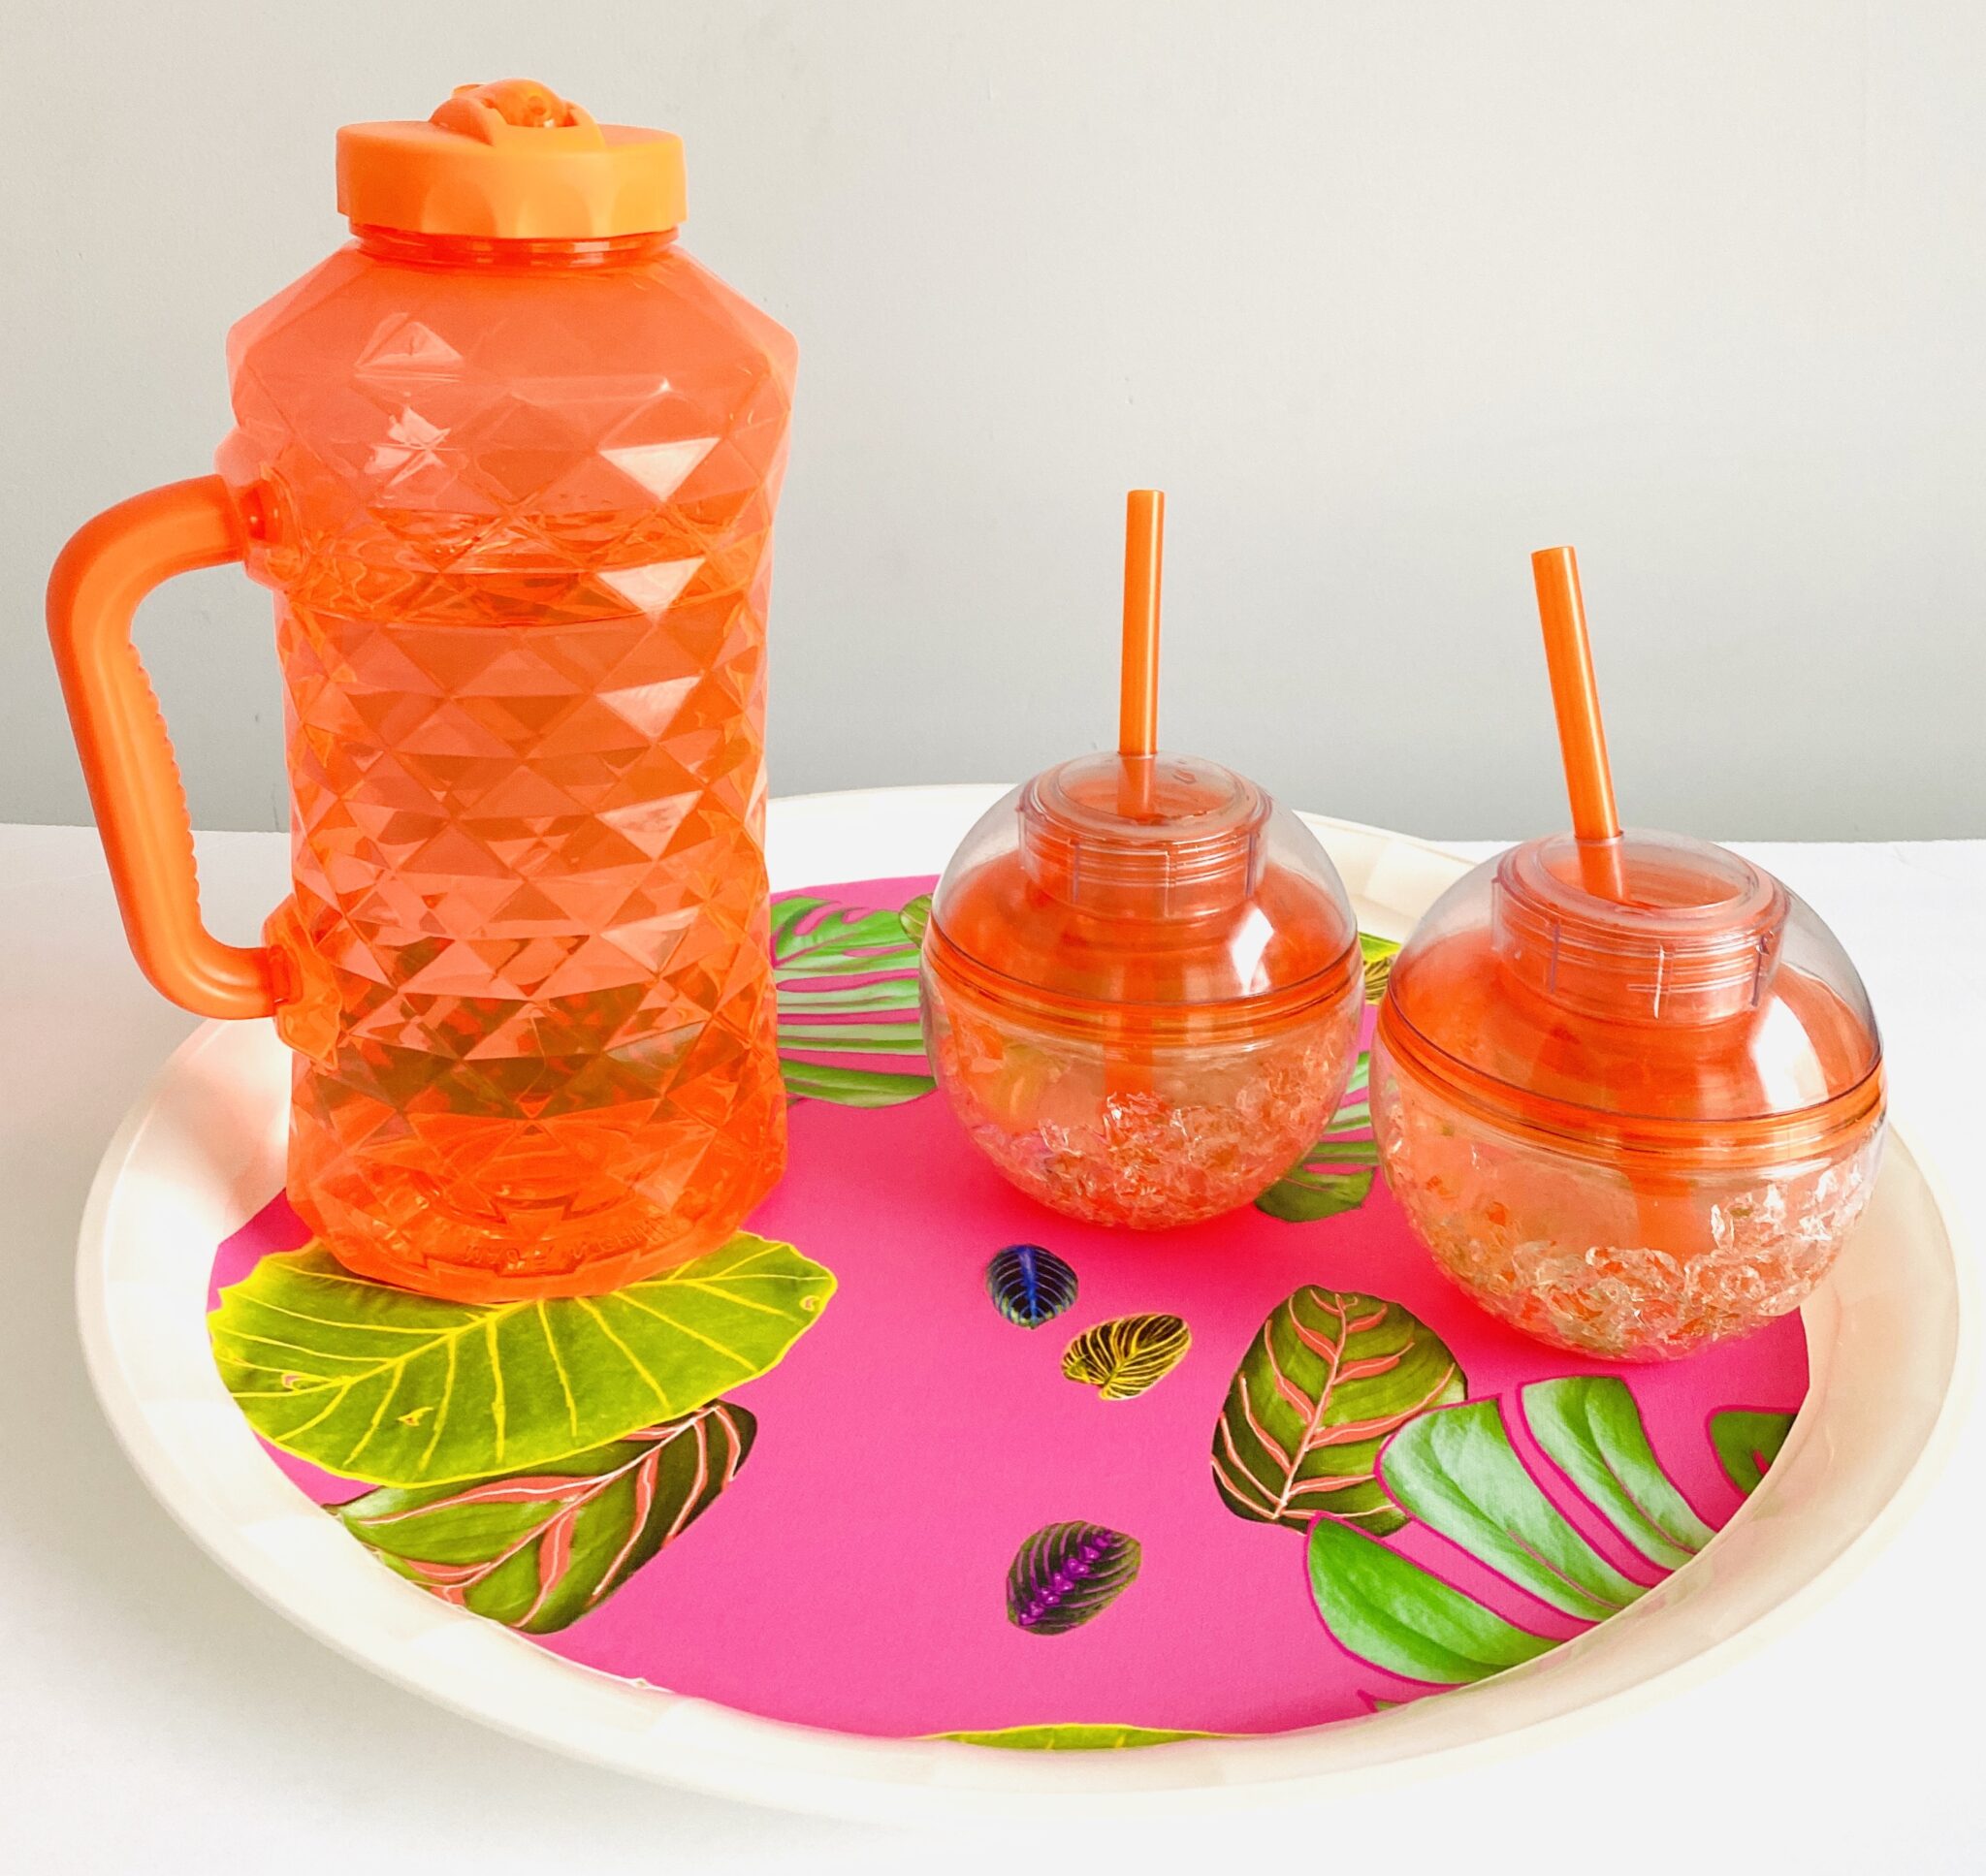
Materials:
- Peel and Stick wallpaper
- Serving tray
- Pen or pencil
- Scissors
Pro tip: These steps can be replicated with any shape of serving tray.
Steps:
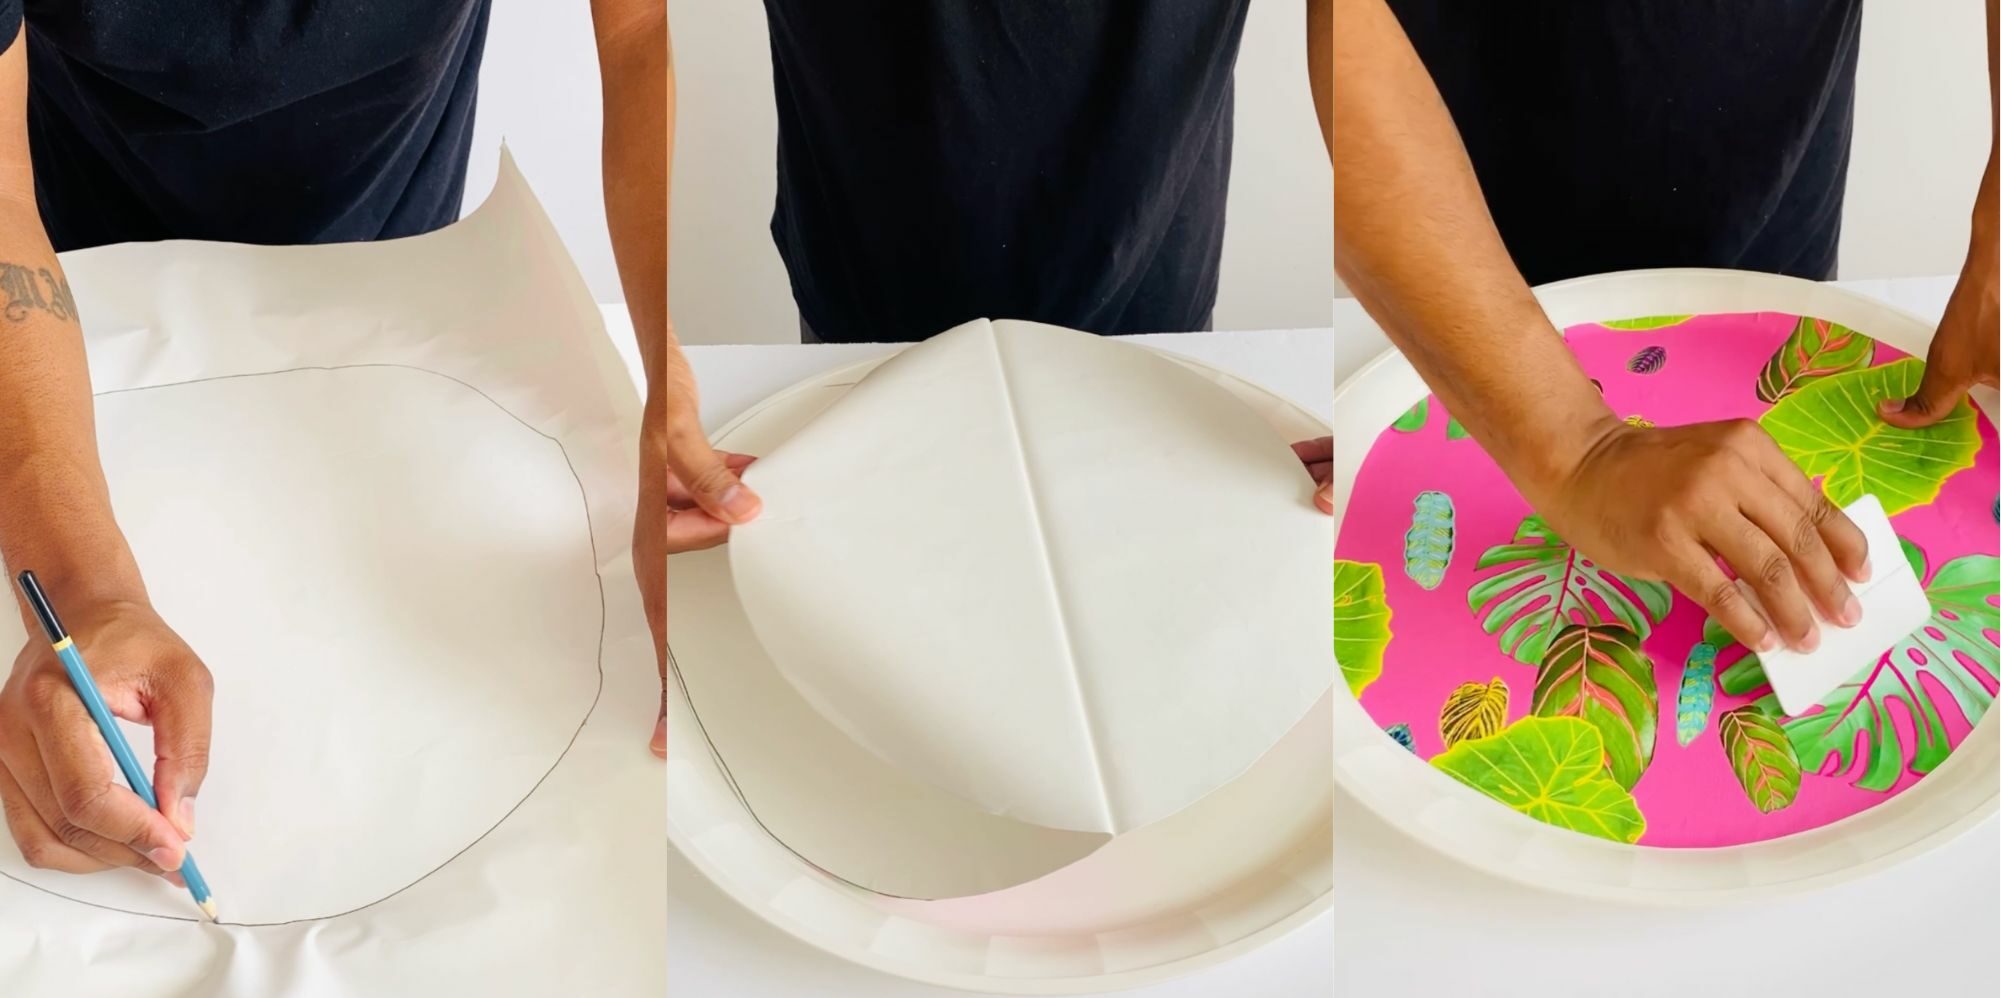
Place and trace. Turn the wallpaper to the wrong side so that the white backing is facing up. Place the wallpaper wrong side up on top of your serving tray. With a pen or pencil, carefully trace the center circle of the tray to create a template.
Cut template. Cut out the wallpaper template with scissors.
Peel and stick. Remove the backing of the wallpaper from the template. Stick the wallpaper directly on the tray and smooth out any bubbles.
2. Wall Hanging

Featured design: Hot Plant Summer by the thecornyrainbow
Materials:
- Peel and Stick Wallpaper
- Paper
- Pen or pencil
- Rotary blade or scissors
- Glue
- Ruler
- Magnetic wall frame*
- Letter stencils (optional)
* To hang this piece, I used a magnetic frame that comes with Spoonflower’s wall hangings. If you don’t have a Spoonflower wall hanging yet, you can buy just a frame through searching “magnetic wall hanging frame” online. However, please be sure to note the dimensions of the frame you buy, as it may require you to adjust your wall hanging’s dimensions.
Steps:
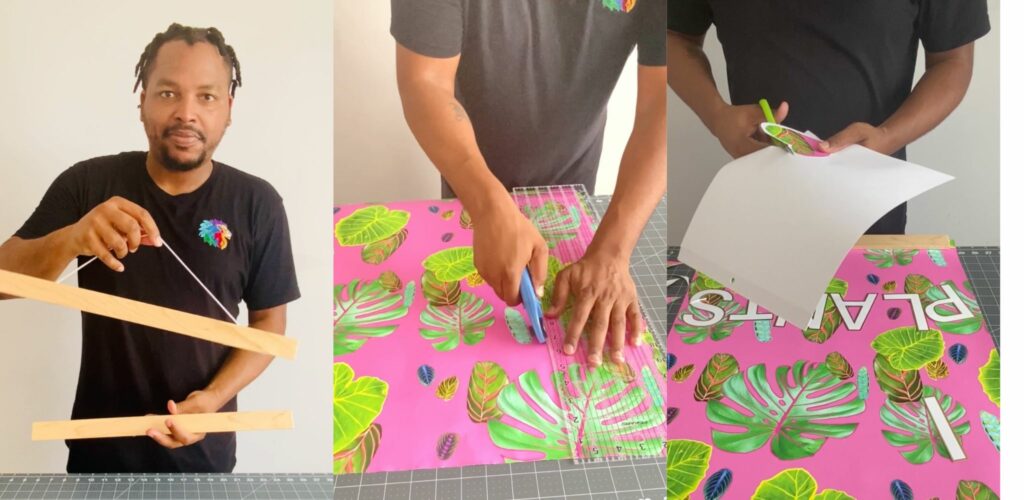
Place and trace. Use a ruler to measure and trace out a 19” (48.26 cm) wide and 25” (63.5 cm) long piece of Peel and Stick wallpaper. Cut out your wall hanging with either a rotary blade or scissors.
Cut out words or symbols. Create any letters or symbols you’d like to add using either stencils or by hand drawing them. Cut out any letters or symbols to include on the wall hanging.
Peel and stick (or place and glue). Place the letters or symbols on the wall hanging and arrange them in place. Glue letters or symbols directly on to your wall hanging.
Admire your work: Place the wall hanging between the magnetic frames and hang up.
3. Glass Vase
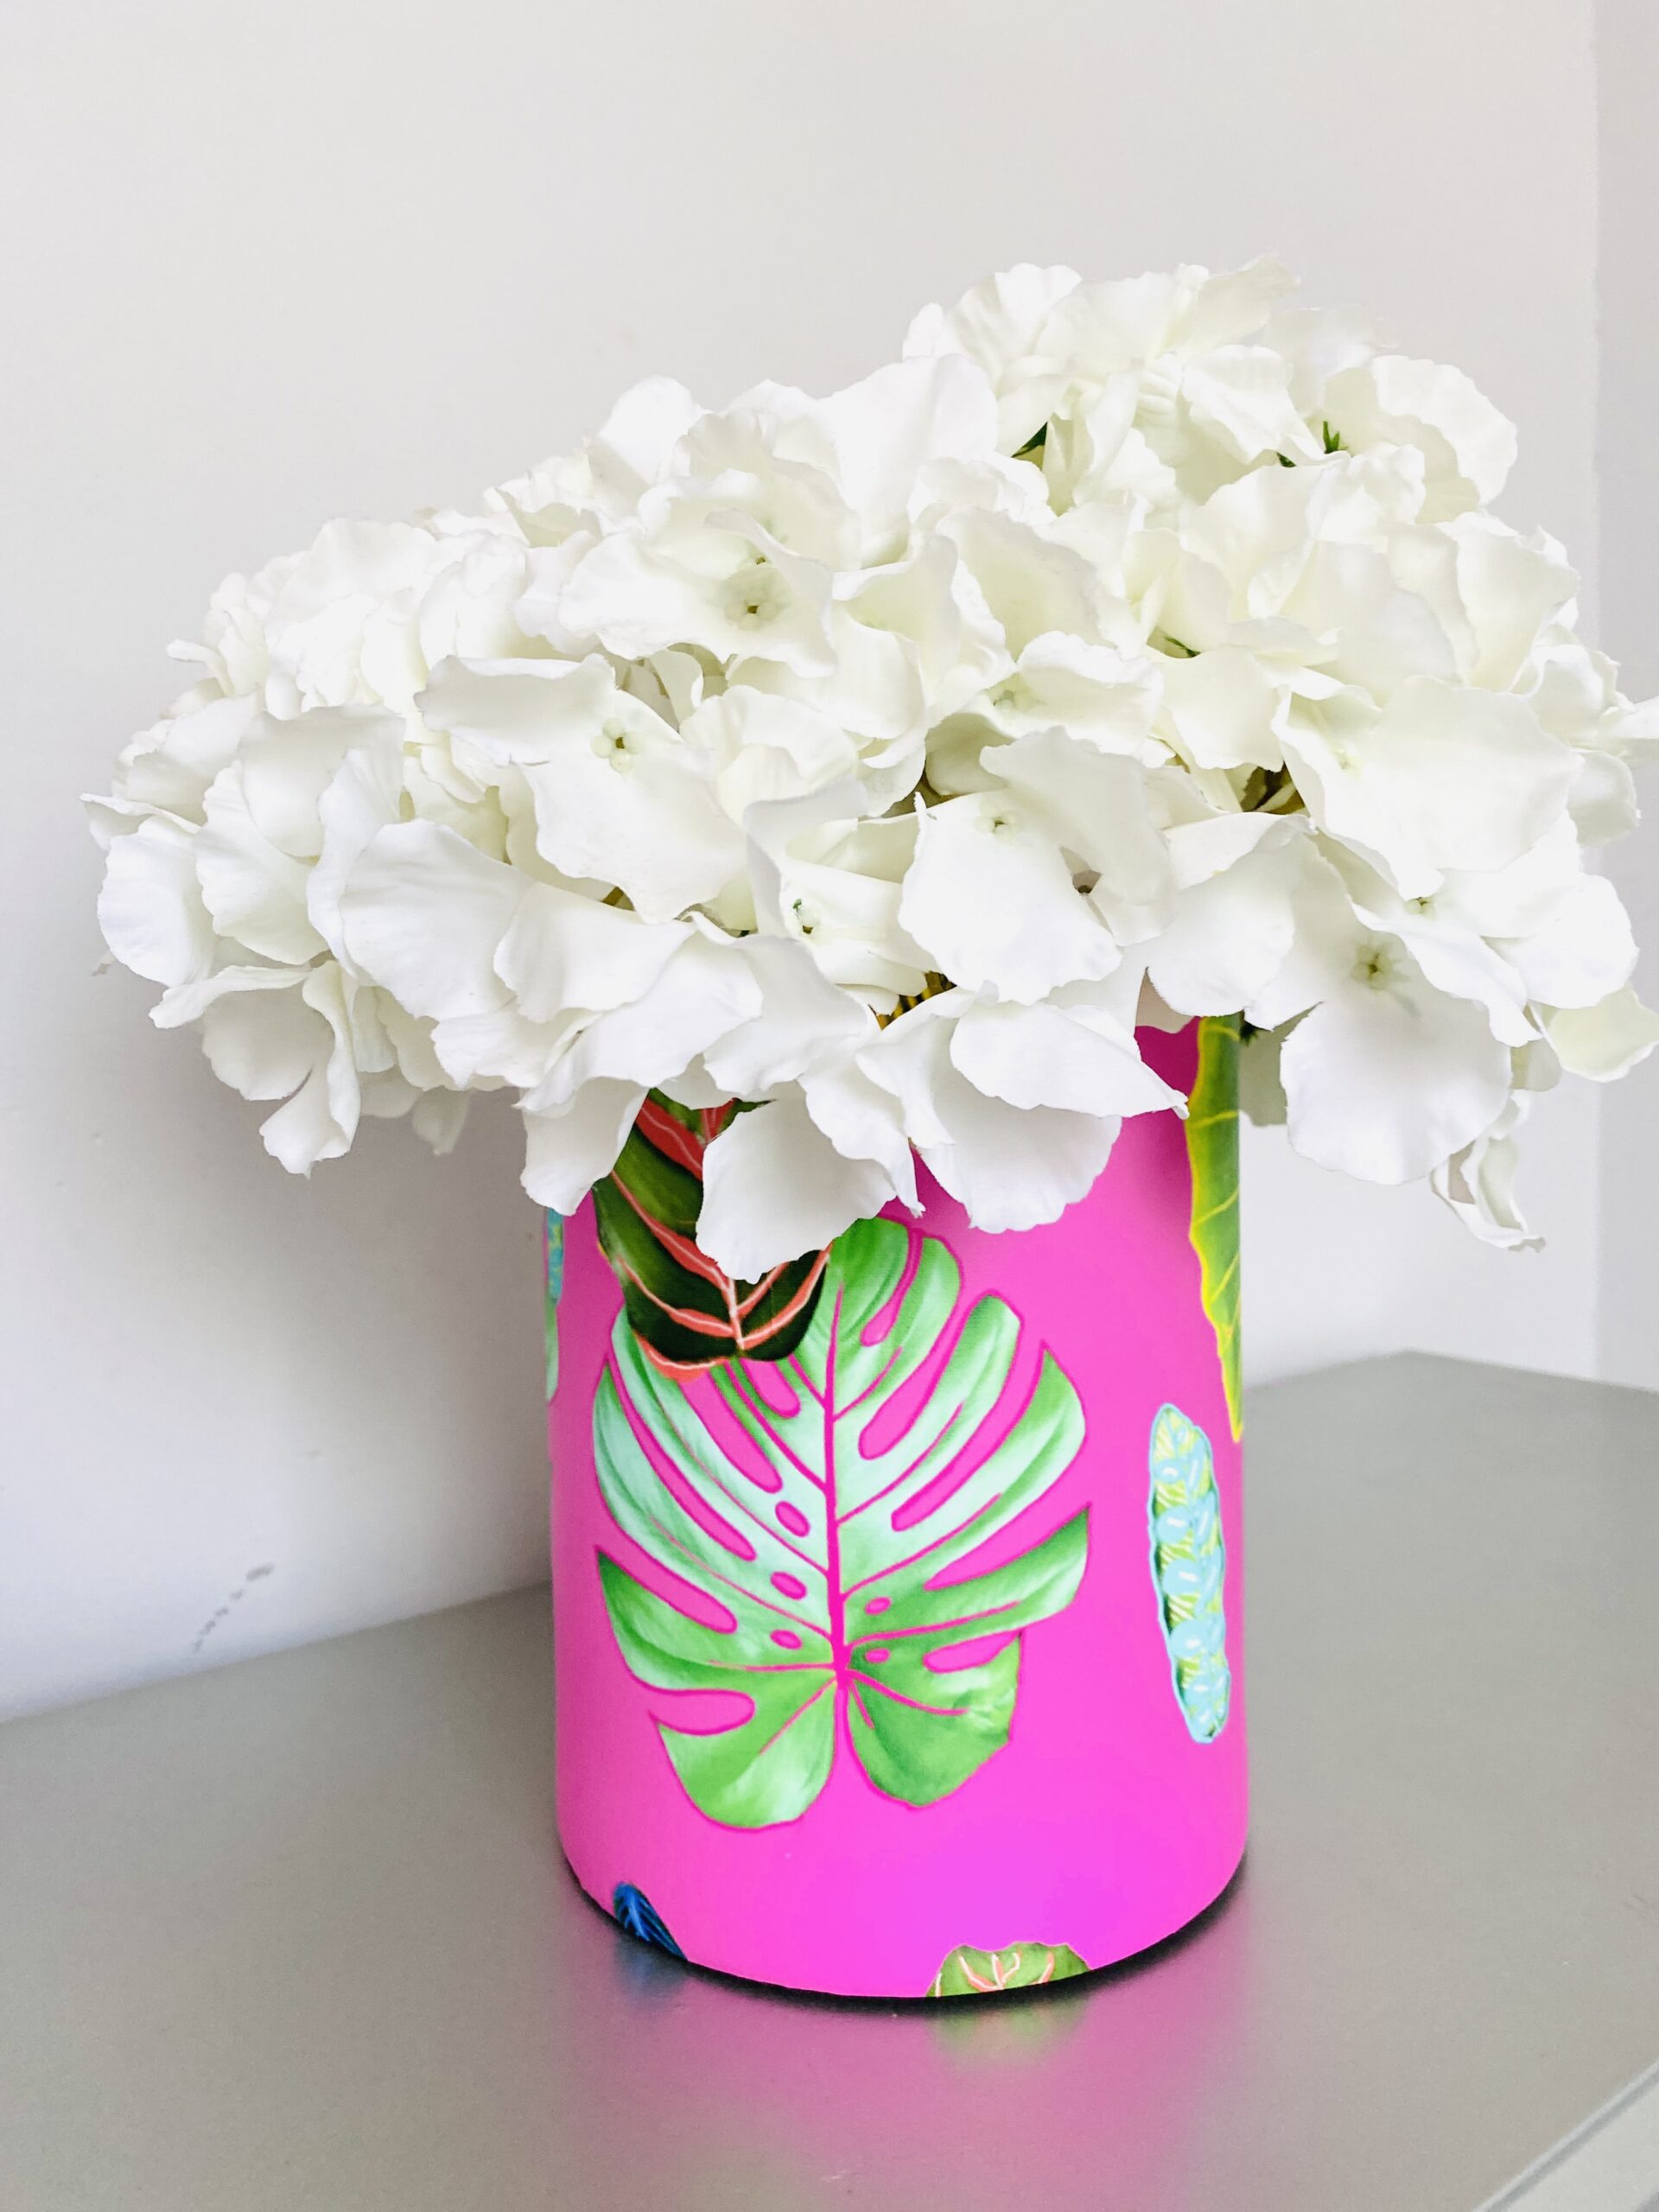
Materials:
- Peel and Stick wallpaper
- Pen or pencil
- Smooth glass vase
- Scissors
Steps:
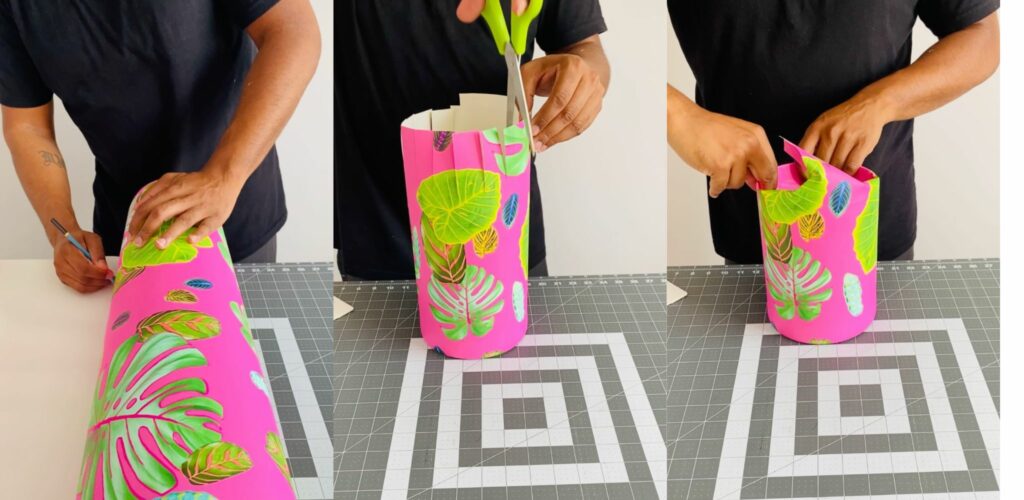
Measure and mark. Wrap wallpaper around the vase and mark the vase’s width and height.
Cut. Cut out the wallpaper, which will cover the vase’s surface. For the width, cut a slightly wider piece than the vase’s circumference so that when the wallpaper wraps around the glass, no glass remains visible. For the height, add 2-3″ (5-7.6 cm) to the vase’s height and cut.
Peel and stick. Peel the backing off the wallpaper and stick the wallpaper around the vase.
Clip and press. With scissors, clip markings at the top of the wallpaper (this allows the wallpaper to easily fold into the top of the vase) and press them down the inside of the vase.
4. Tray Table
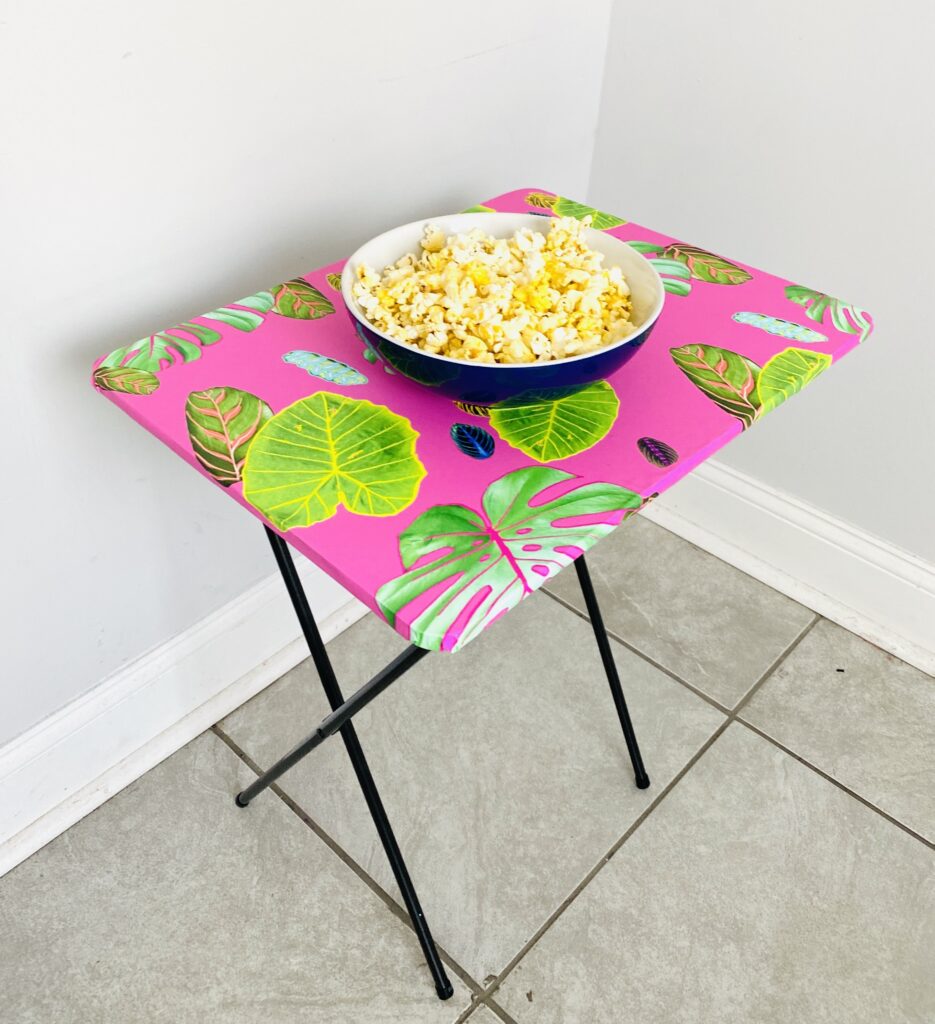
Materials:
- Peel and Stick wallpaper
- Tray table
- Pen or pencil
- Ruler
- Scissors
Steps:
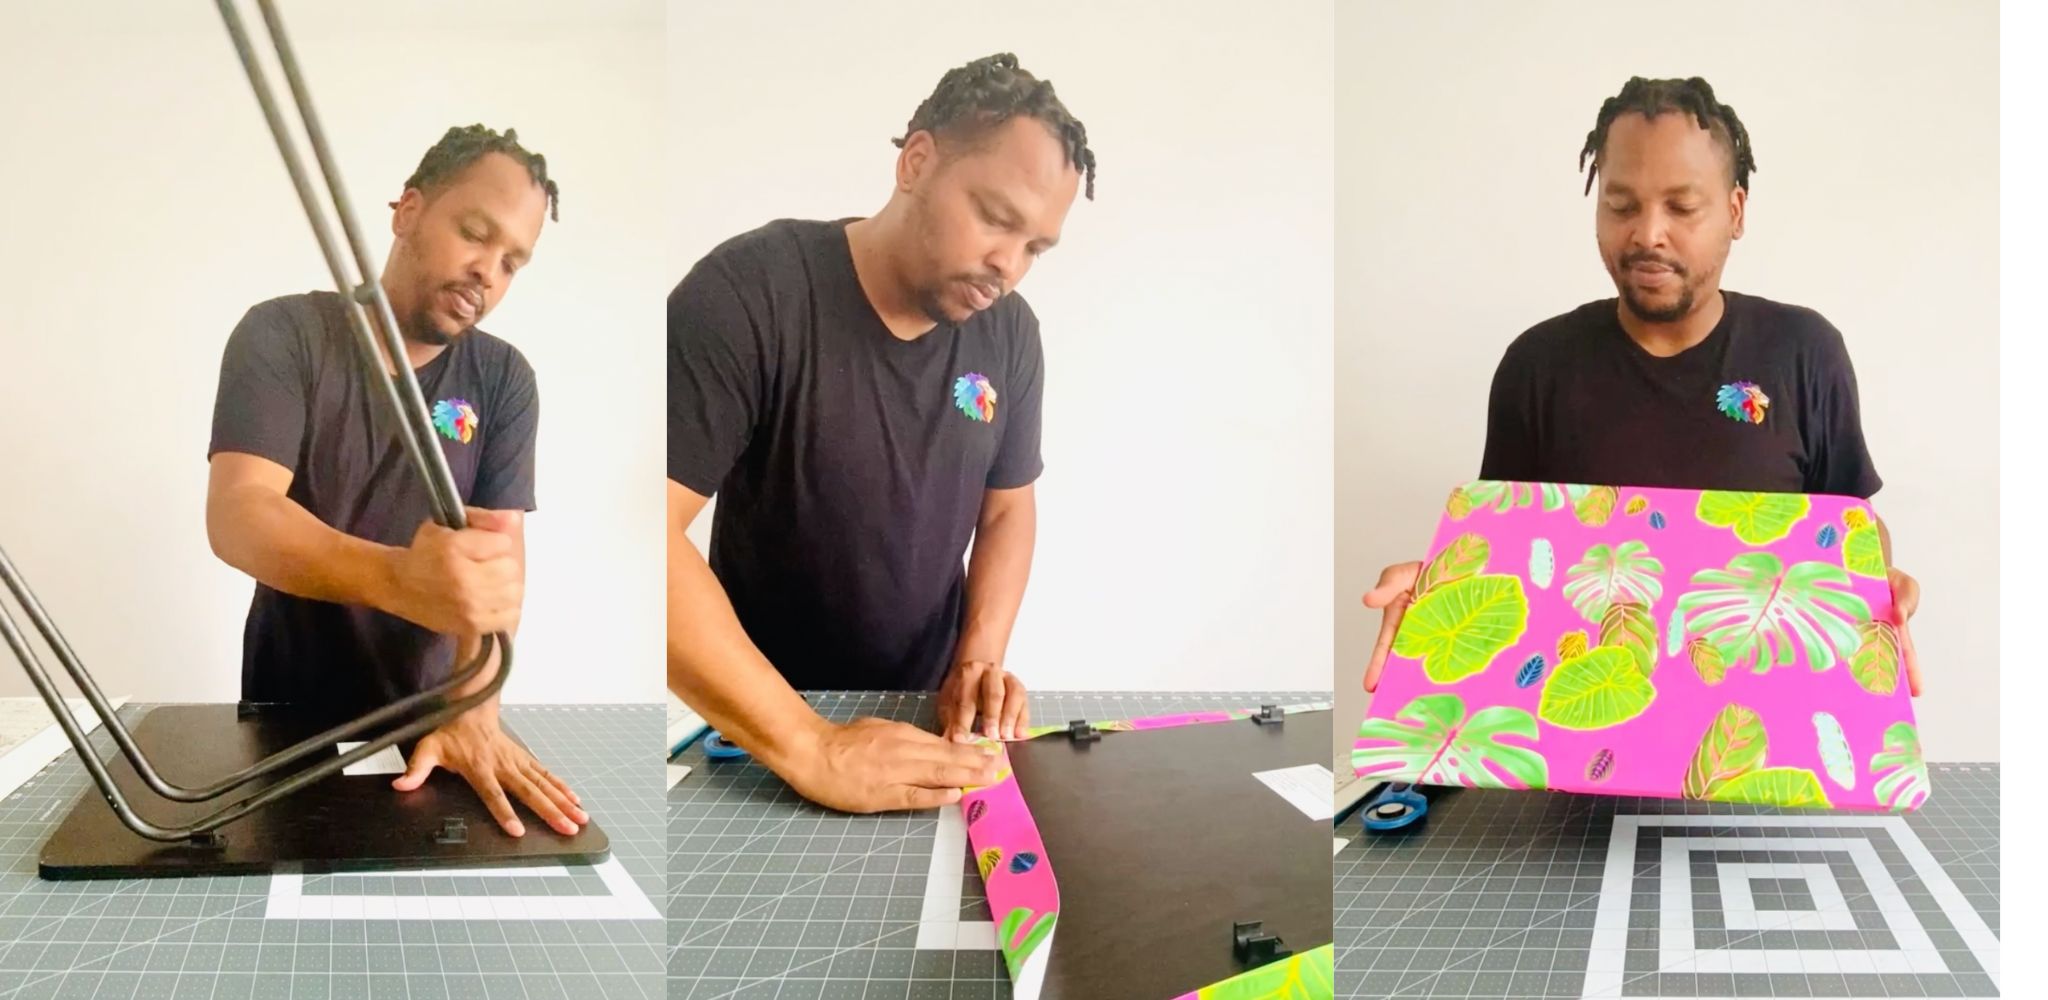
Place and trace. On a clean floor, lay the tray table down on the wallpaper, with the tray against the ground on top of the wallpaper, which is facing wrong side up so that the top of the tray meets the bottom of the wallpaper allowing you to trace along each edge of the tray.
Measure, add and cut. Using a ruler, mark an additional 1” (2.5 cm) from the edge of each side of the tray. Cut along those lines with scissors. (The extra 1” (2.5 cm) allows you to wrap the wallpaper completely around the tray’s edge.)
Peel and stick. Peel off the back of the wallpaper and stick to the tray table top. For a seamless look, fold in your corners and wrap the wallpaper underneath the tray top, sealing all sides.
5. Cabinet
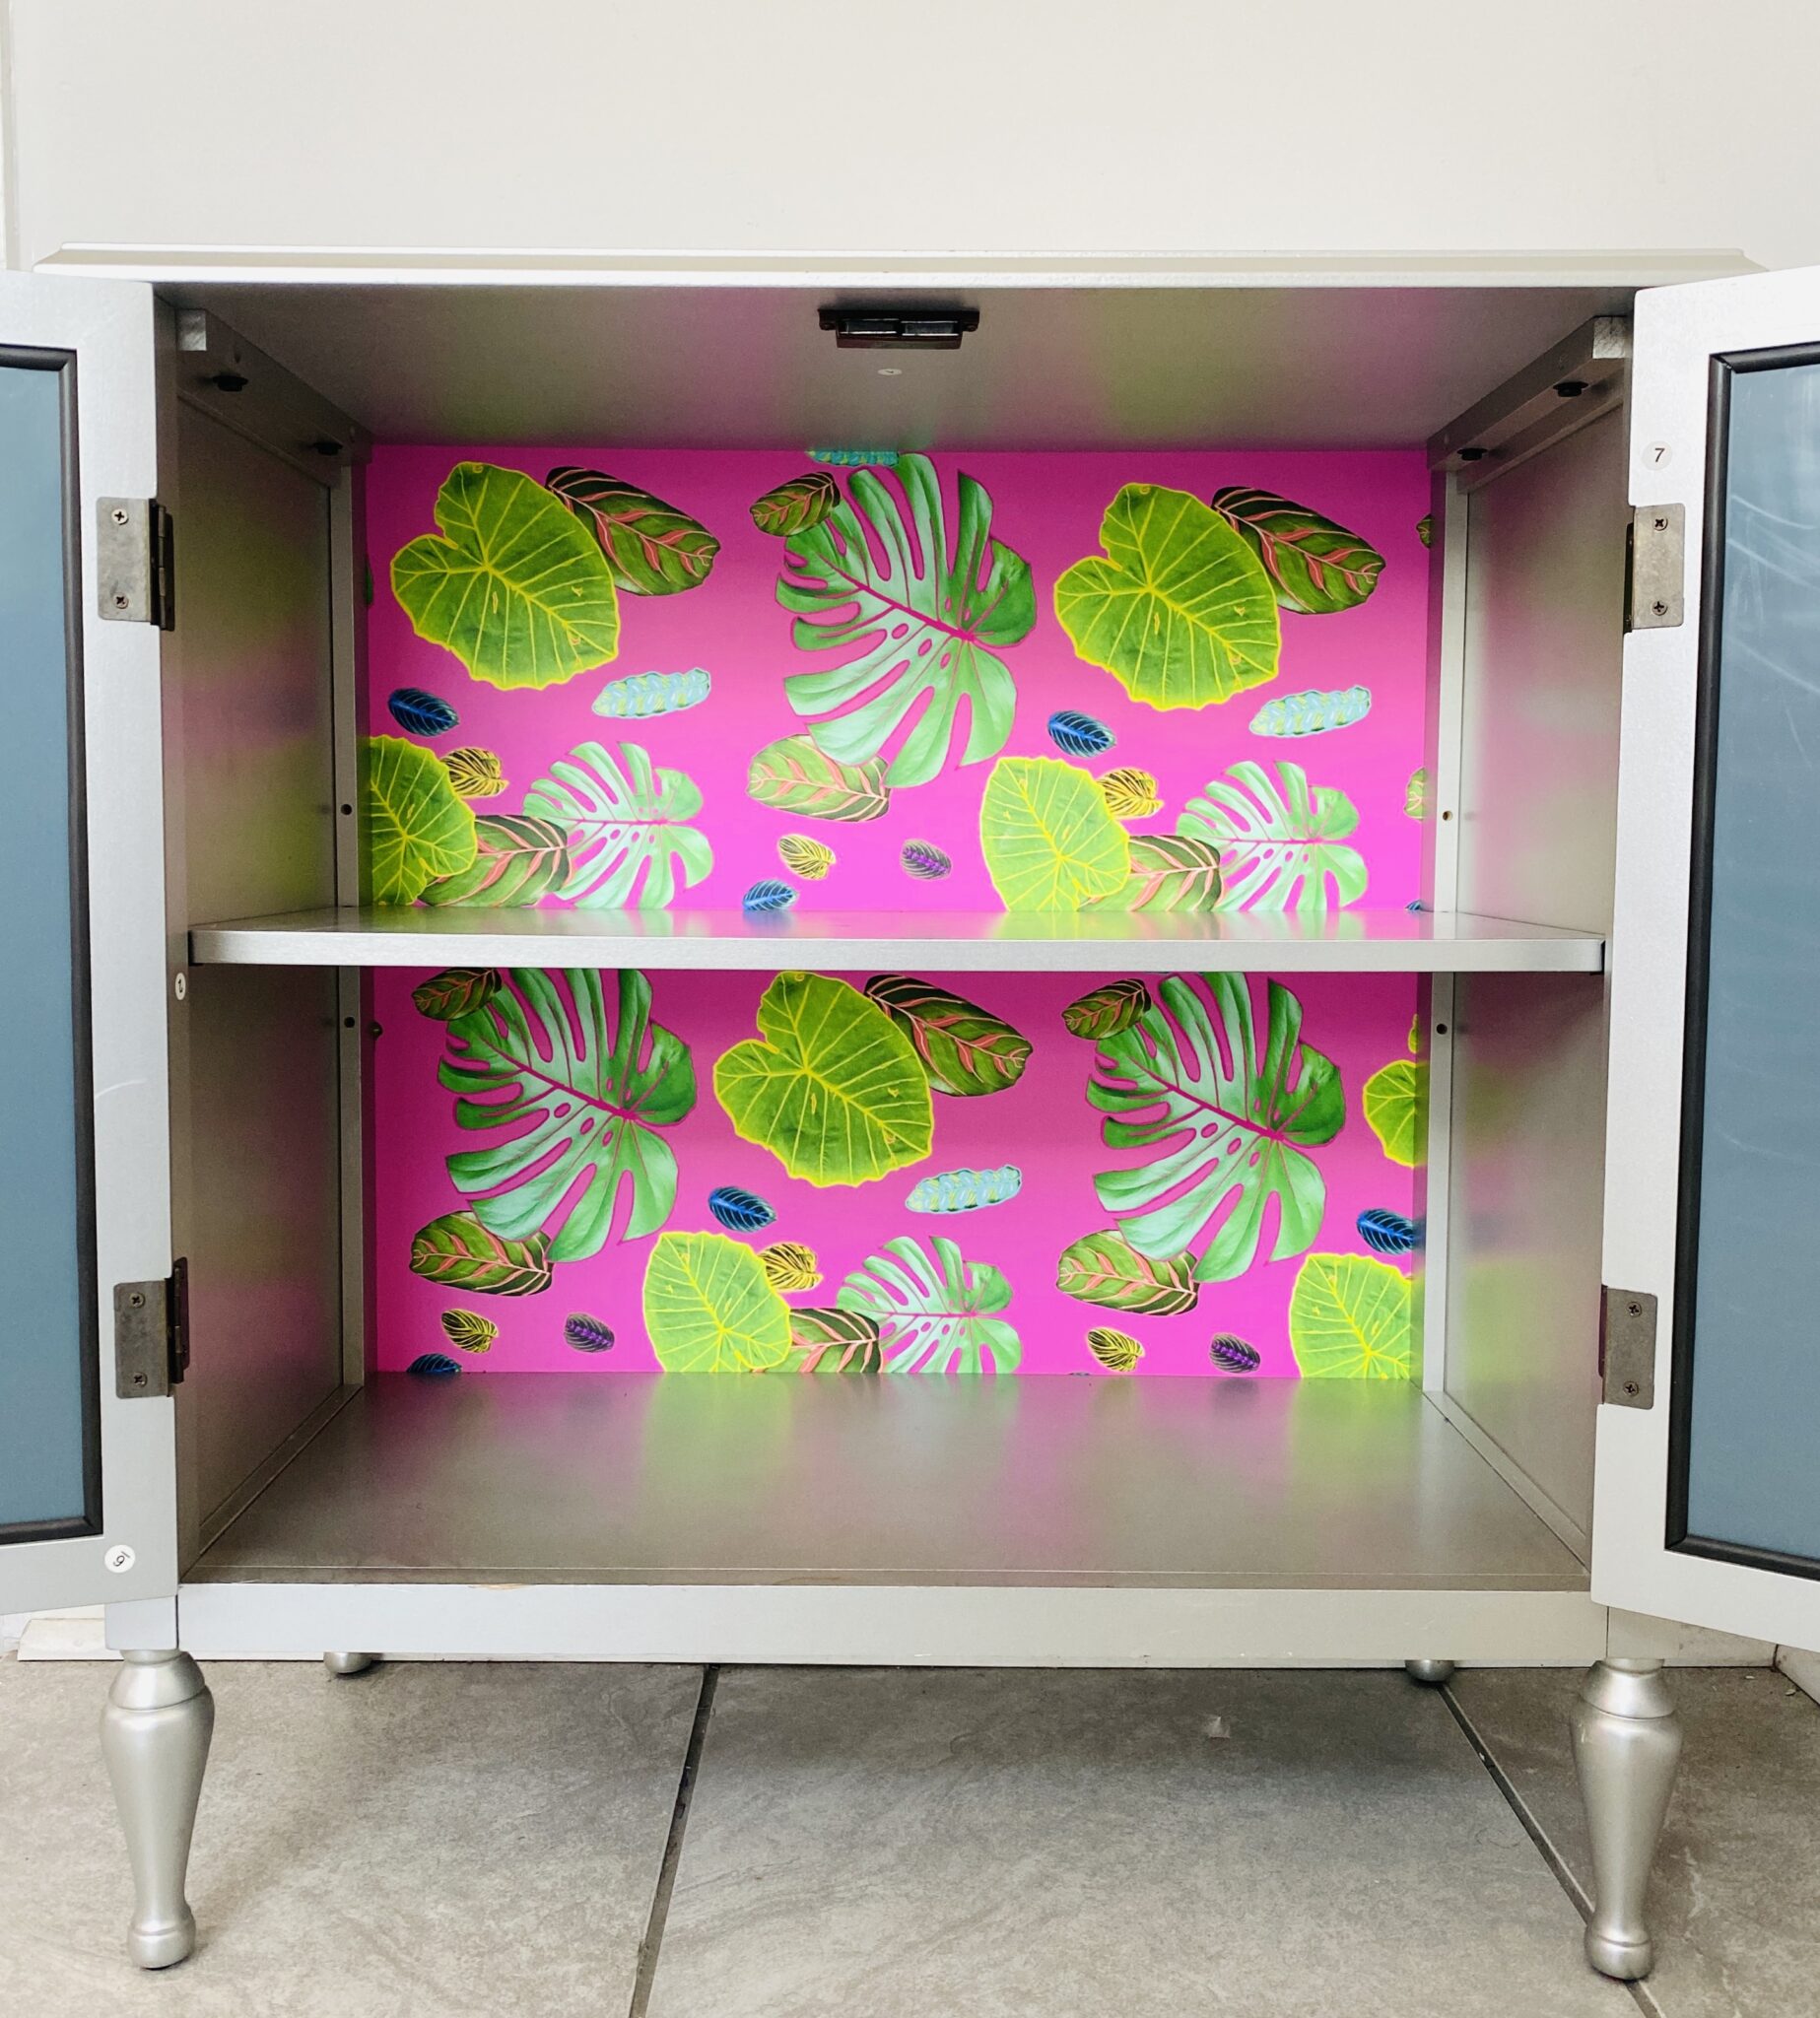
Materials:
- Peel and Stick wallpaper
- Cabinet with a smooth removable back, doors or shelves
- Pen or pencil
- Ruler
Steps:
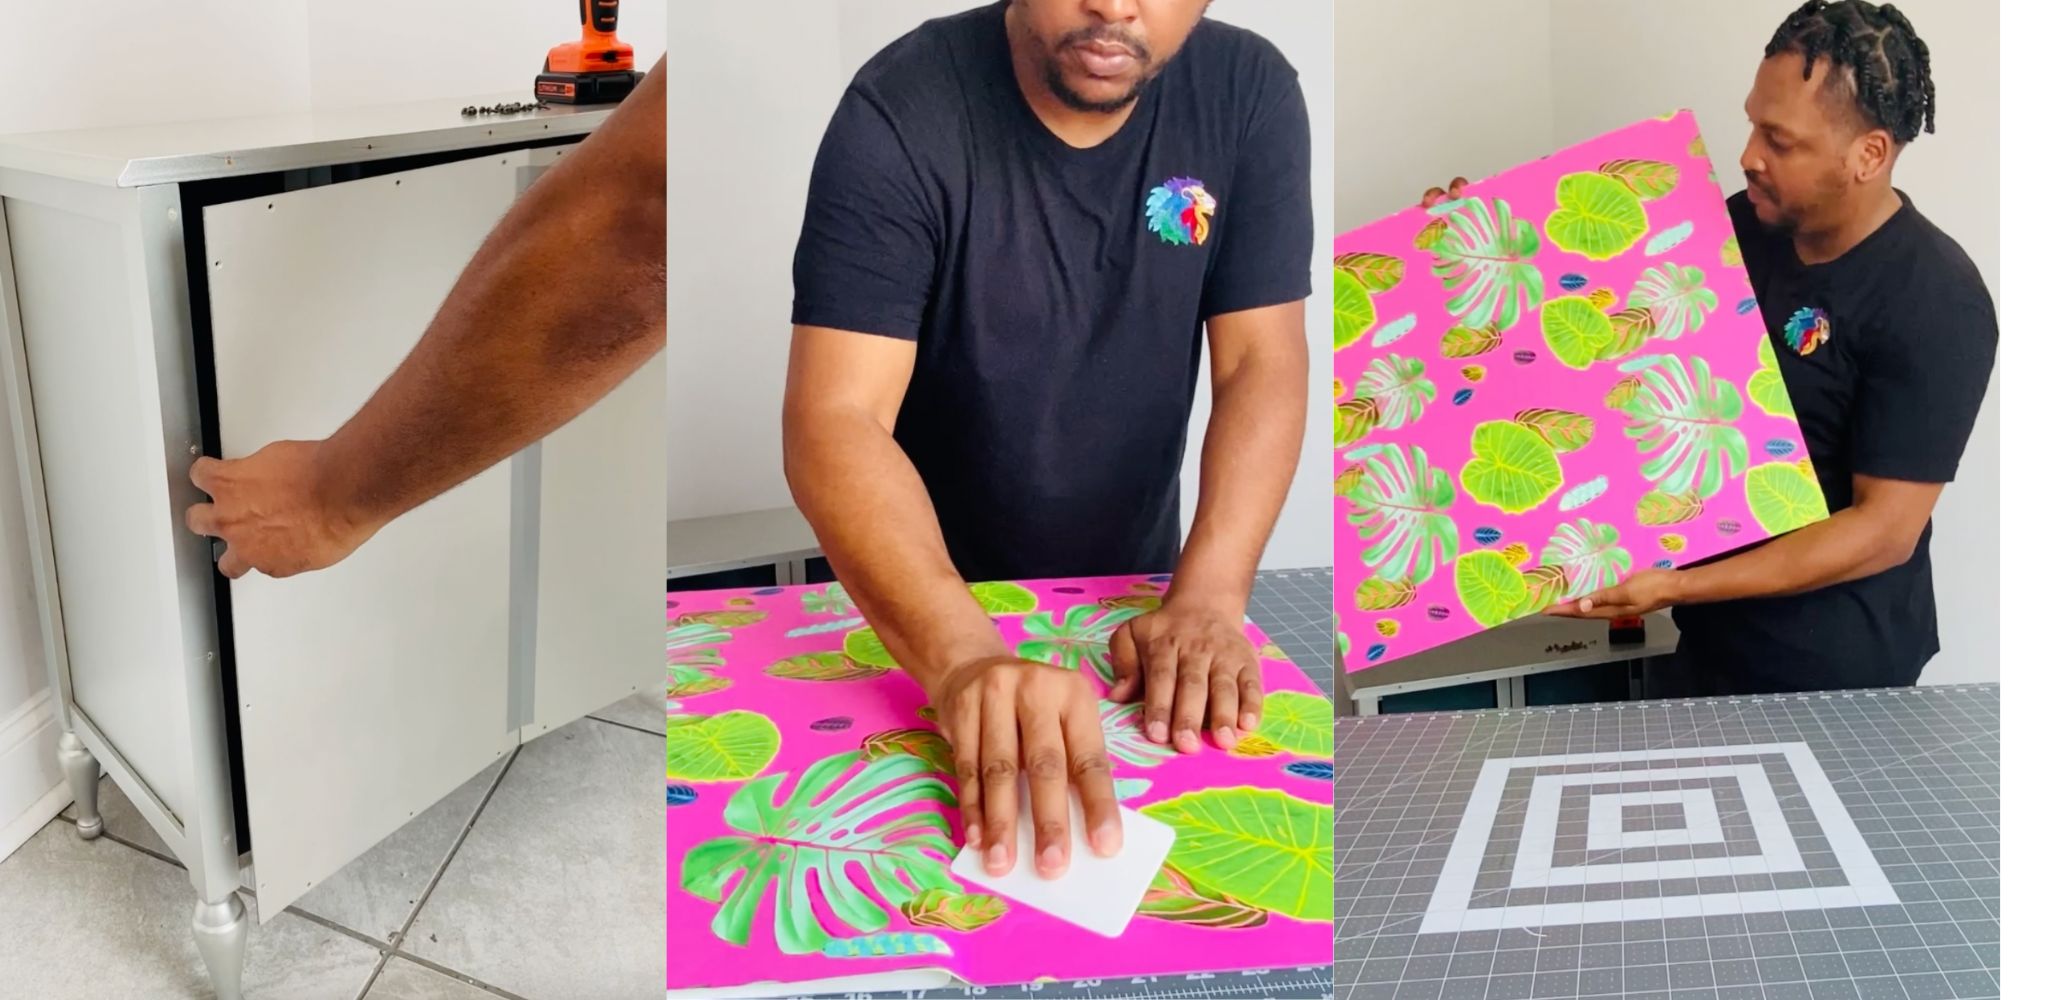
Set up your surface. Carefully remove the backing from the cabinet. If your cabinet doesn’t have a removable back, you can do the same thing with Peel and Stick for the shelves or doors, or anywhere else on a cabinet you’d like to spruce up!
Place, trace and add. Place the back of the cabinet on a clean floor, on top of the wallpaper, with the white backing of the wallpaper facing up. Trace around the cabinet backing with a pen a guide to create a template. Add about 1” (2.5 cm) to each edge of the cabinet back, so you can fold in your corners and wrap the wallpaper underneath the tray top, sealing all sides.
Cut, then peel and stick. Cut out the wallpaper and stick it to the side of the cabinet backing visible when you view inside the cabinet.
Return backing to its place. Put the cabinet backing back in place.
This Peel and Stick wallpaper is beginner friendly, as it is easy to apply and reposition during installation. My first-time using Peel and Stick Wallpaper was such a success, I’m off to search the house for more pieces I can upcycle!
Peel and stick around!
FAQ
The post 5 Creative Ways to Use Peel and Stick Wallpaper appeared first on Spoonflower Blog.

