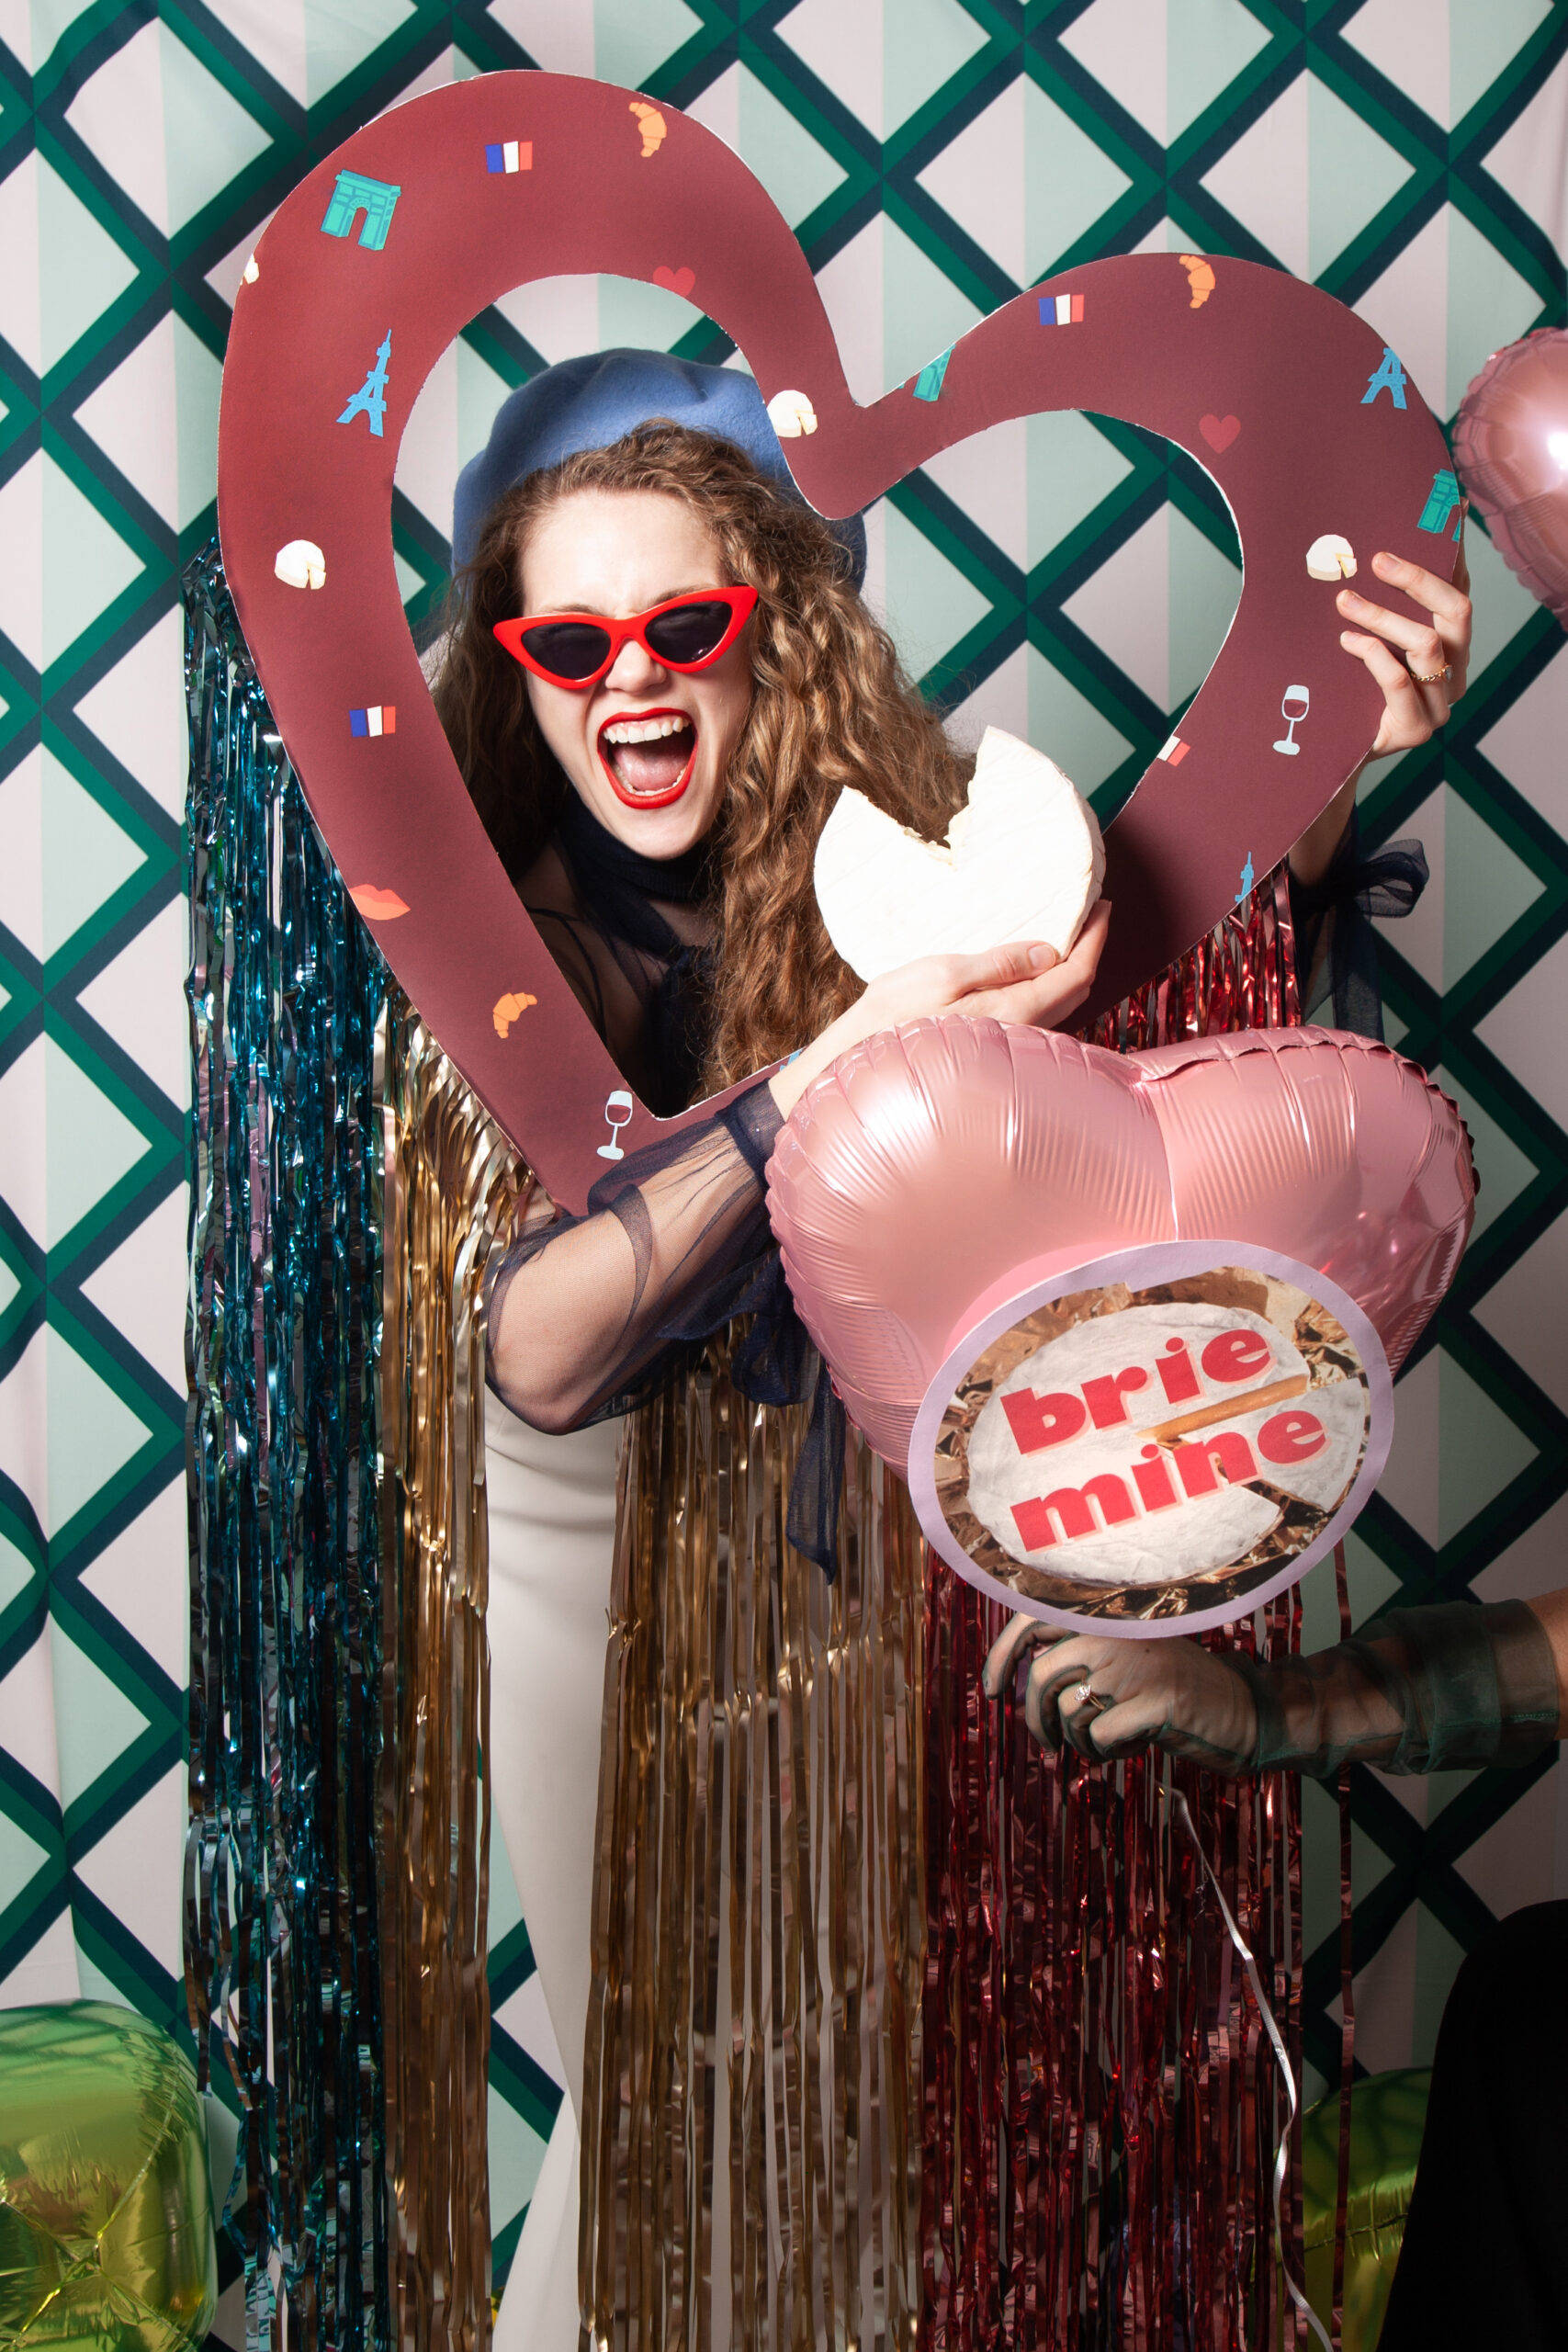
Since its inception in 2010, Galentines Day has been the perfect occasion to gather your gal pals for a day of celebration. And, if youre like us, a friendly jubilee isnt complete without a handmade photo booth to help capture the memories of the day. Spoonflower Small Business Grant recipient, self-proclaimed maximalist, and immersive photo booth designer Katie Stewart is here to share her tips on the perfect party backdrop. Featuring her fabulously festive designs printed on Performance Piqu, Katie will show you three ways to make a photo booth, perfect for any party budget!
Katie: What is Galentines Day? Oh, its only the best day of the year, according to Lesley Knope from the TV show Parks and Recreation. Amy Poehlers character invented the holiday to celebrate the platonic loves of your life on the day before Valentines Day.
Now that we know your plans on February 13th, heres how you can spruce up the party and make your own Galentines Day photo booth using Spoonflowers fabric and wallpaper.


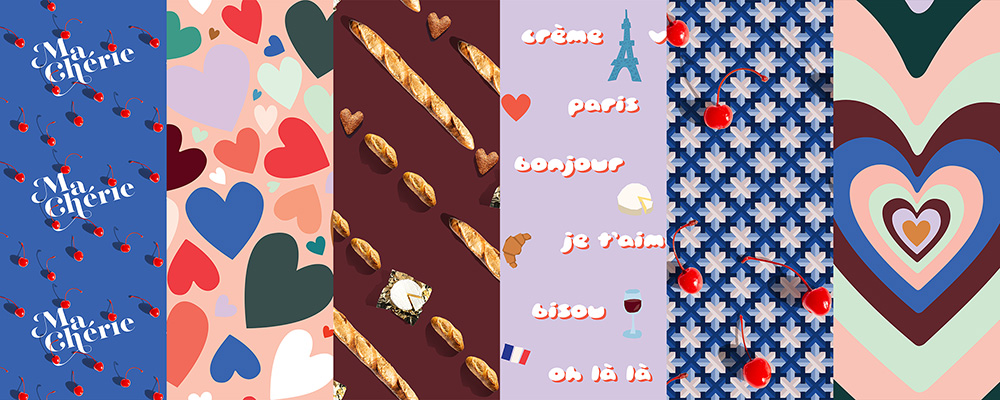
Ive included three different photo booths you can choose from depending on your budget and time constraints.I designed a Parisian bistro themed collection titled La Vie en Ros especially for the ultimate Galentines get together. This collection is a celebration of womxns mutual support of one another and inspired by french food culture. The french approach to food is so heartening because it prioritizes the art of good eating and drinking and the importance of taking time to pause and be with the ones you cherish. What could be better than babes and baguettes or eating brie with your boos?! Not to mention I would rather see the world through rose colored glasses while also sipping on a glass of ros.
3 Ways to Make a Galentines Day Photo Booth
Photo Booth One
Total Cost: $25
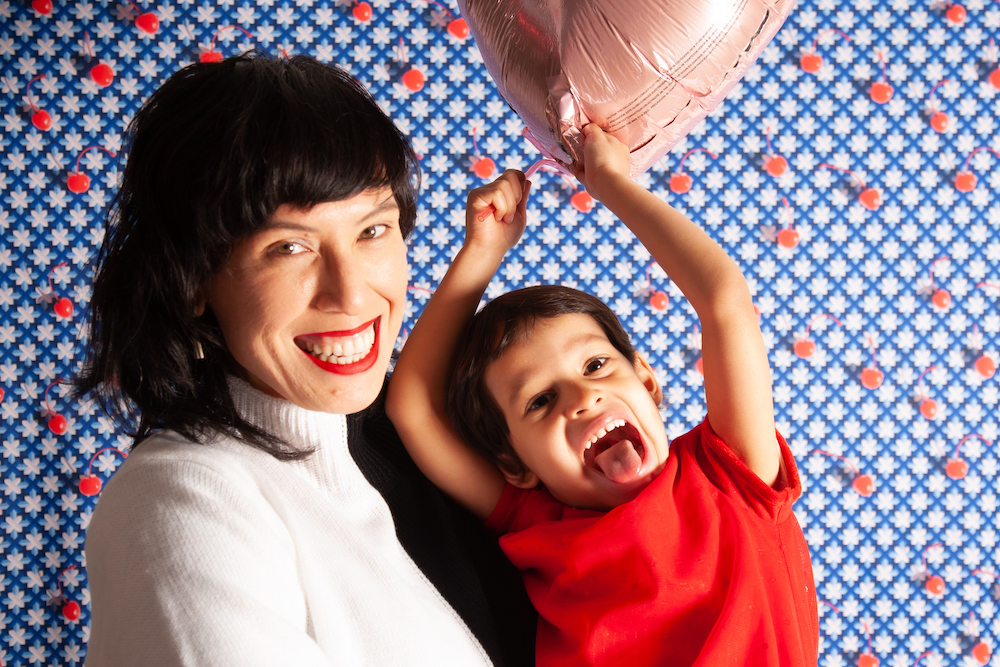
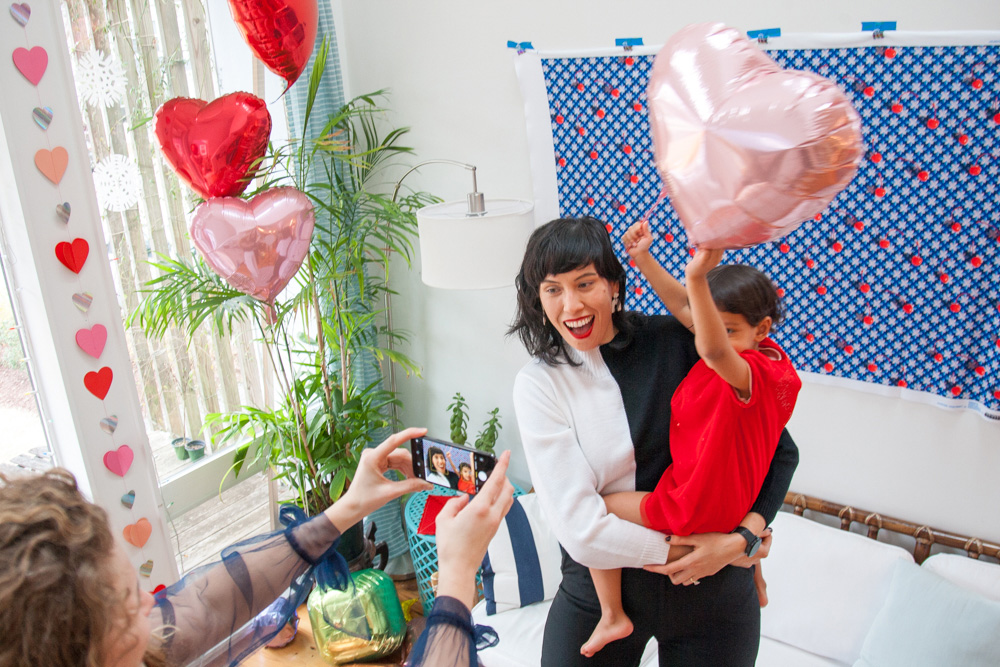
Photo Booth One Supplies
- 1 yard of Performance Piqu for backdrop*
- Binder clips
- Painters tape or washi tape
- Red & Pink Heart-Shaped Foil Balloonscheck your local discount variety store for budget-friendly balloons
*Performance Piqu is a great option for your photo booth backdrop because the raw edges wont fray and it doesnt wrinkle!
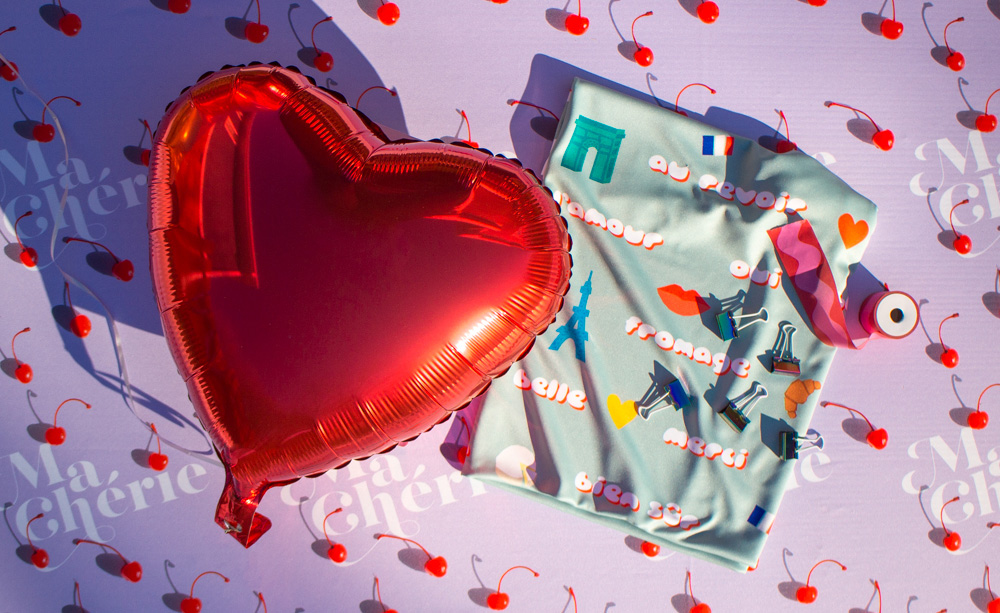
1. Prep the Photo Booth Backdrop (optional)
Trim the unprinted selvage around all four sides of your yard of Performance Piqu fabric.
2. Hang the Backdrop
Choose a wall where you will have about 5 wide by 3 high of open space. Evenly space the binder clips along the top edge of your Performance Piqu. Tear 4 pieces of tape and thread each piece through the loop of the binder clip that will be closest to the wall. Hold up the back drop and press down each section of tape along the wall. It helps to have two people holding the backdrop taut, one on each side. If needed, add a binder clip and tape to the bottom corners of the backdrop. Use the foil heart balloons as cute photo props et voil!
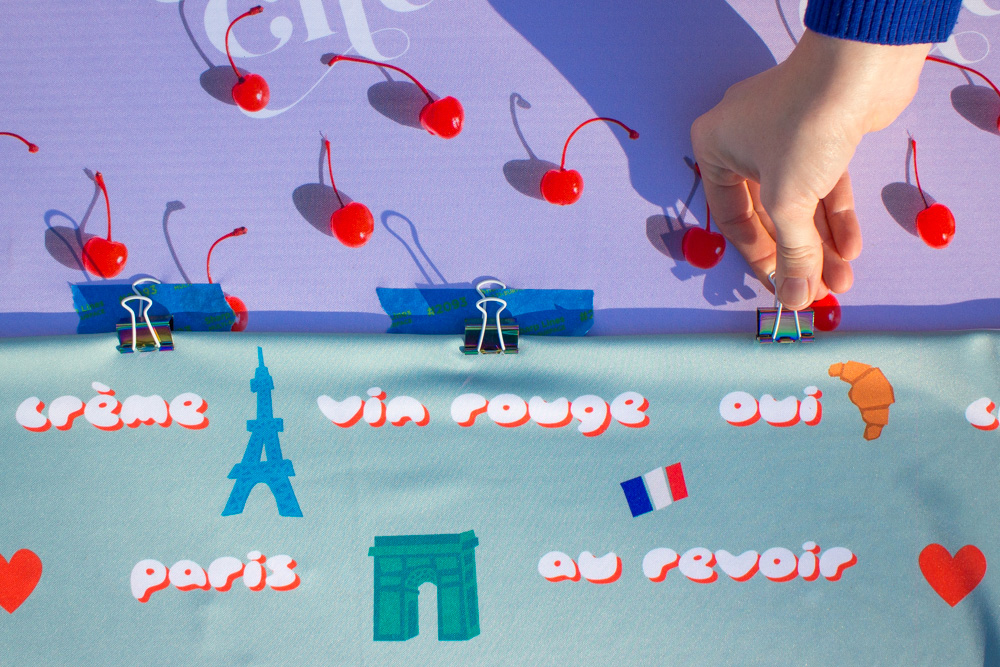
Photo Booth Two
Total Cost: $75

Photo Booth Two Supplies
- 2 yards of Performance Piqu for the backdrop
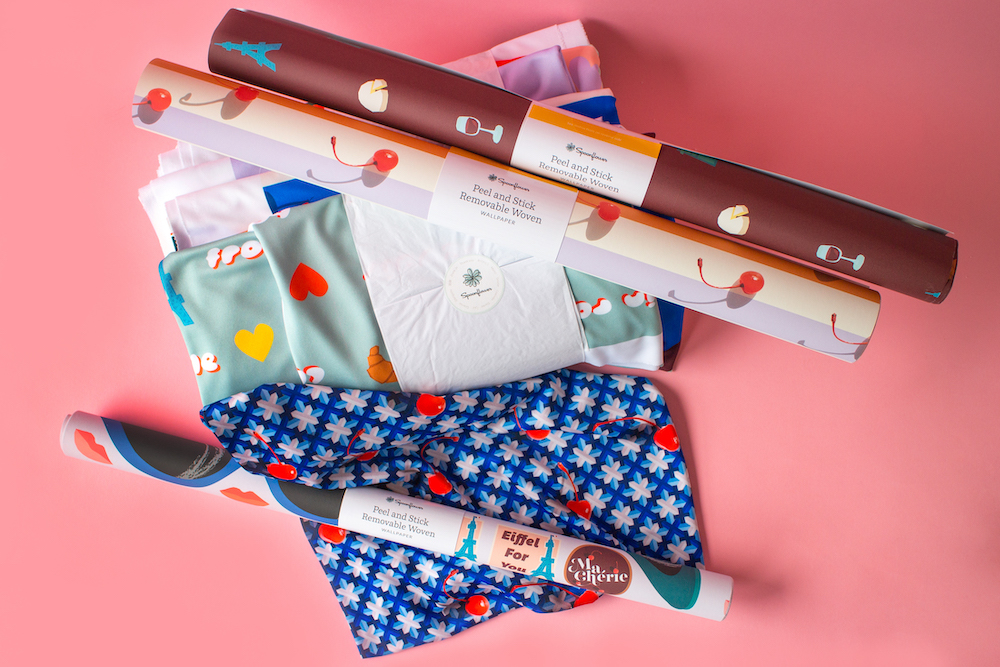
- 3 roll of Peel and Stick Removable Woven Wallpaperfeaturing Eiffel for You
- 9 red and pink heart-shaped foil balloonscheck your local discount variety store for budget-friendly balloons
- Binder clips
- Painters tape or washi tape
- Scissors or X-Acto blade
- Cutting mat
1. Prep the Photo Booth Backdrop (optional)
Trim the unprinted selvage around all four sides of your yard of Performance Piqu fabric.
2. Hang the Backdrop
Choose a wall where you will have about 6 wide by 5 high of open space. Evenly space the binder clips along the top edge of your Performance Piqu. Tear 4 pieces of tape and thread each piece through the loop of the binder clip that will be closest to the wall. Hold up the back drop and press down each section of tape along the wall. It helps to have two people holding the backdrop taut, one on each side. If needed, add a binder clip and tape to the bottom corners of the backdrop.
3. Add Balloon Decals
Using the design Eiffel For You printed on a 2 x 3 roll of the Peel and Stick Removable Woven Wallpaper, cut out decals using scissors or an X-Acto knife on a cutting mat. To adhere the large designs onto theheart balloons, peel off the paper backing and stick the decal to the balloons surface. You can also leave the paper backing on the decal if you would like to be able to reuse the design. Use a few loops of tape to stick the design to the front of the balloon. Once the decal is on the balloon it should not float away and can be used as a cute photo booth prop et voil!

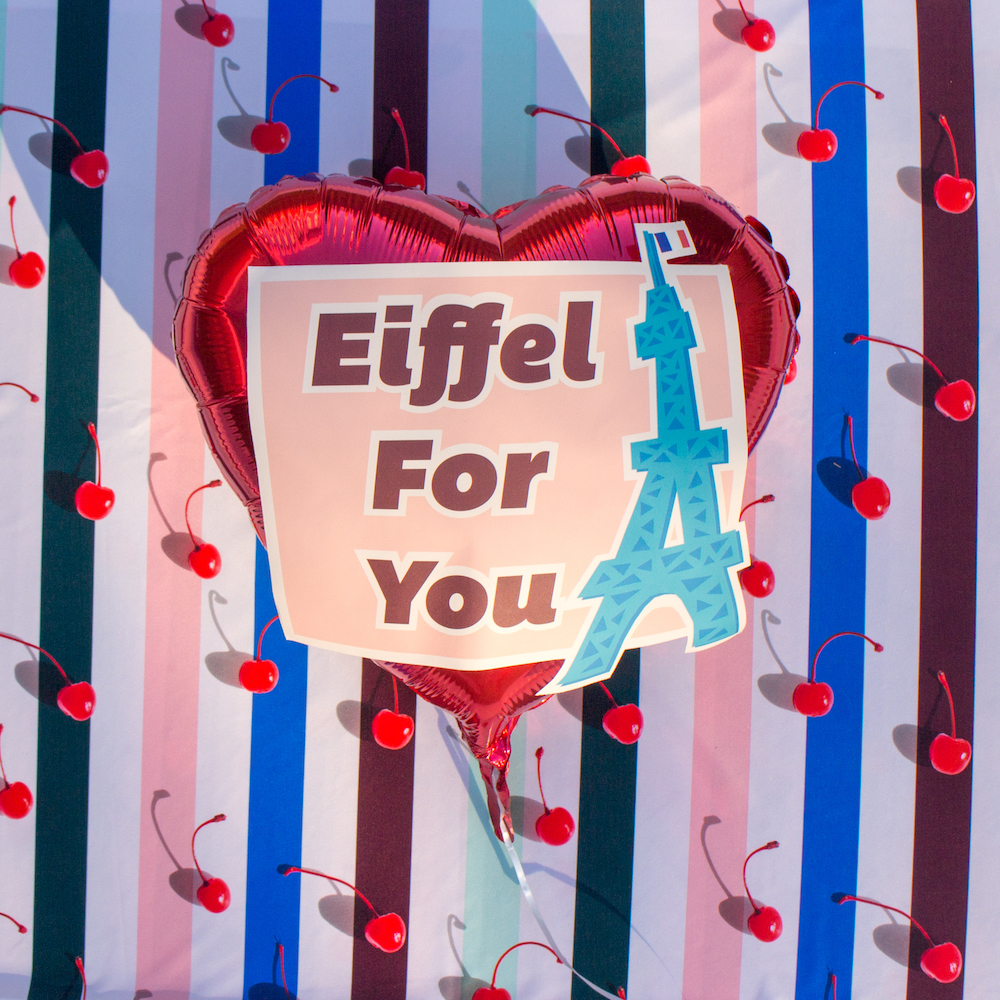
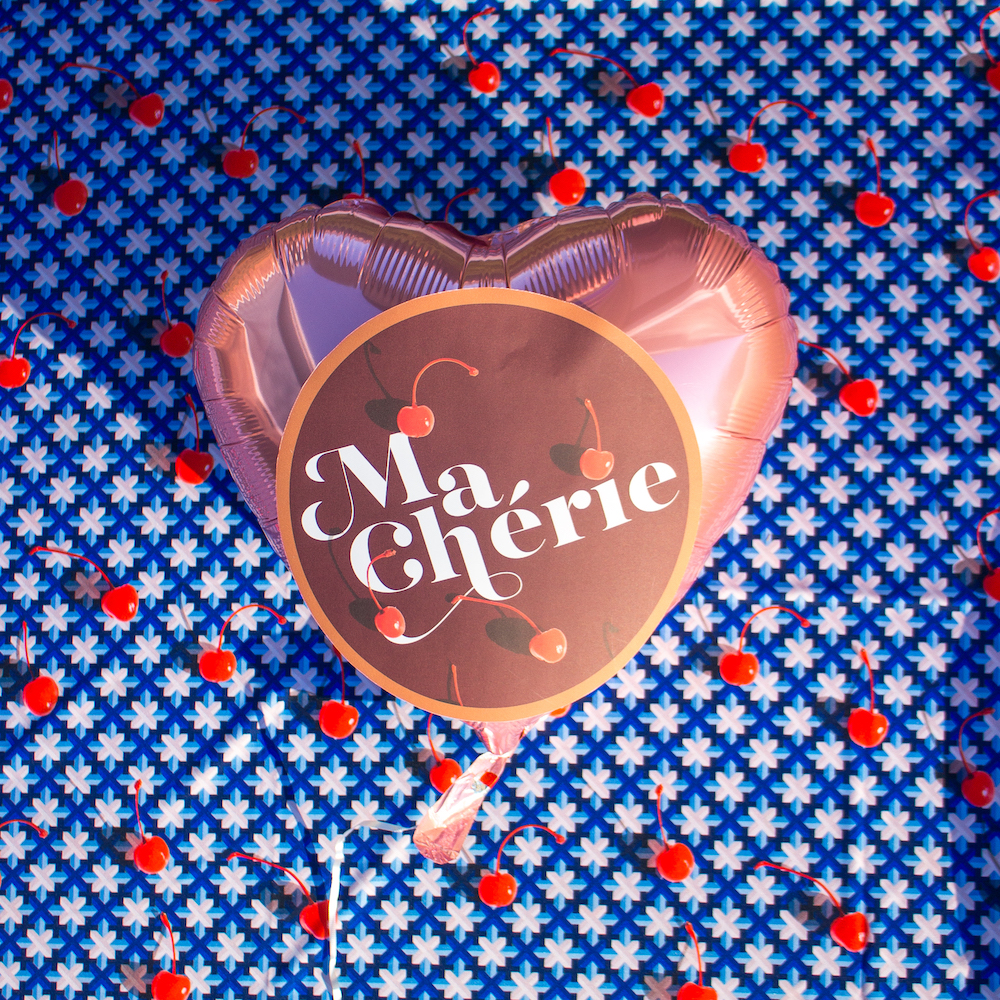
Photo Booth Three
Total Cost: $190 (includes photo booth stand)

- 4 yards of Performance Piqu for the backdrop
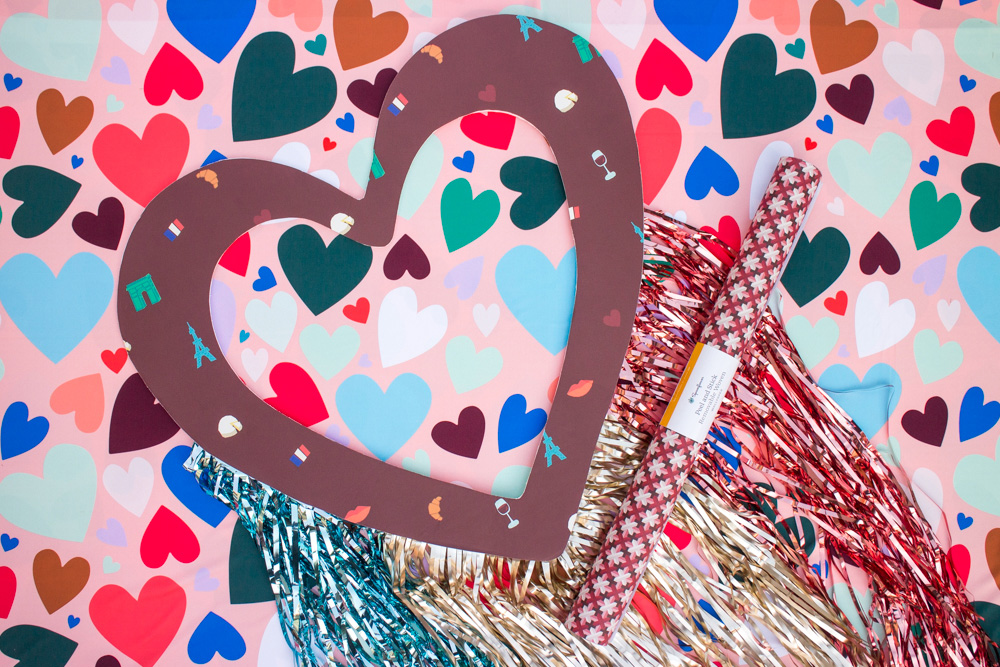
- 3 Peel and Stick Removable Woven Wallpaperroll featuring Eiffel for You
- 3 Peel and Stick Removable Woven Wallpaperroll of City of Lights for the heart frame
- 9 red and pink heart-shaped foil balloonscheck your local discount variety store for budget-friendly balloons
- Binder clips
- Squeegee included with your wallpaper order
- 1 20 x 30 White Foam Board
- 3 Metallic Fringe Foil Curtains
- Transparent tape
- Scissors or X-Acto blade & cutting mat
- Collapsible backdrop stand
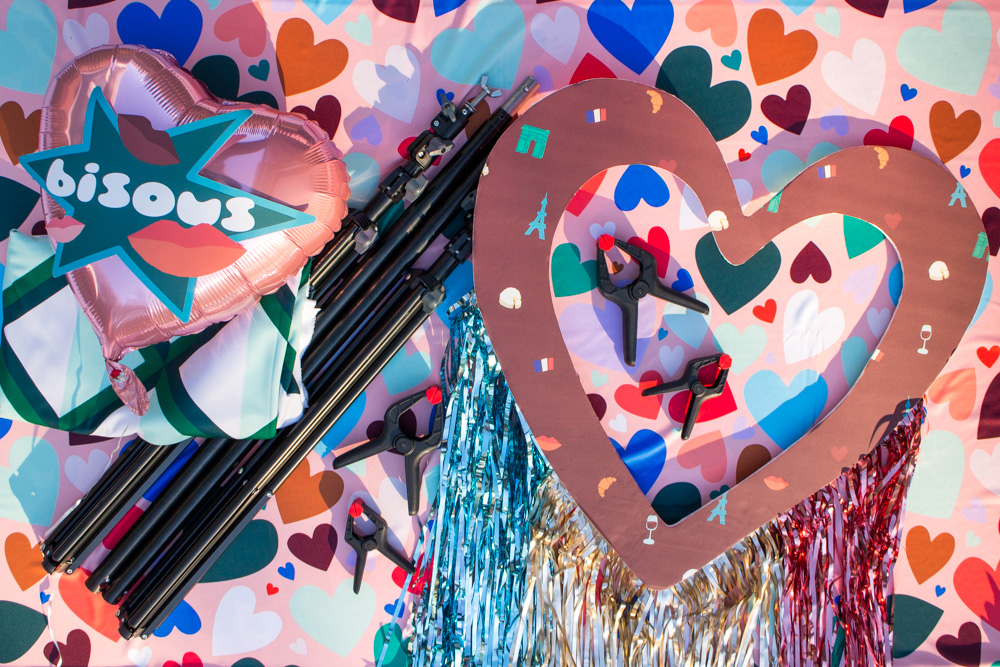
- 7+ large spring clamps
- Pencil
1. Prep the Photo Booth Backdrop (optional)
Trim the unprinted selvage around all four sides of your yard of Performance Piqu fabric.
2. Hang the Backdrop
Choose a wall where you will have about 5 wide x 7 high of open space. Set up the backdrop stand but keep the top bar at a height you can easily reach. Lay the top edge of your four yards of Performance Piqu fabric on the top pole of the stand. Use five spring clamps to secure the fabric edge to the top pole. It helps to have two people holding the backdrop taut, one on each side. Next with your friend, extend the vertical poles until they are about 7 tall. If needed, add a spring clamp to each side of the backdrop securing it to the stand. Extend the rest of the fabric on to the floor to create a seamless full length back drop.
3. Add Balloon Decals
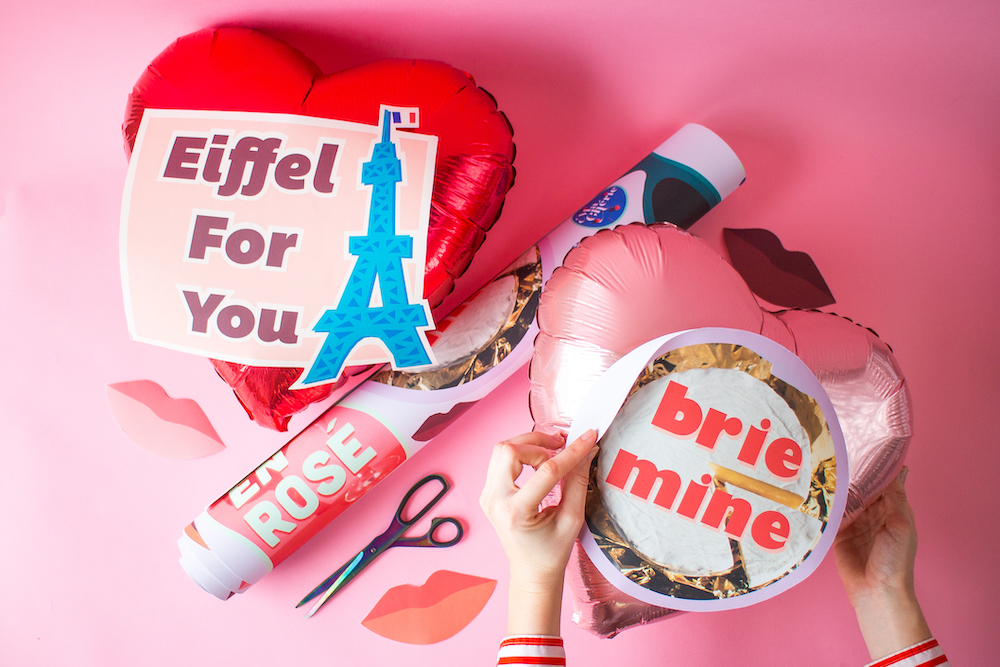
Using the design Eiffel For You printed on a 2 x 3 roll of the Peel and Stick Removable Woven Wallpaper, cut out decals using scissors or an X-Acto knife on a cutting mat. To adhere the large designs onto theheart balloons, peel off the paper backing and stick the decal to the balloons surface. You can also leave the paper backing on the decal if you would like to be able to reuse the design. Use a few loops of tape to stick the design to the front of the balloon. Once the decal is on the balloon it should not float away and can be used as a cute photo booth prop.
4. Create the Heart Frame with Fringe
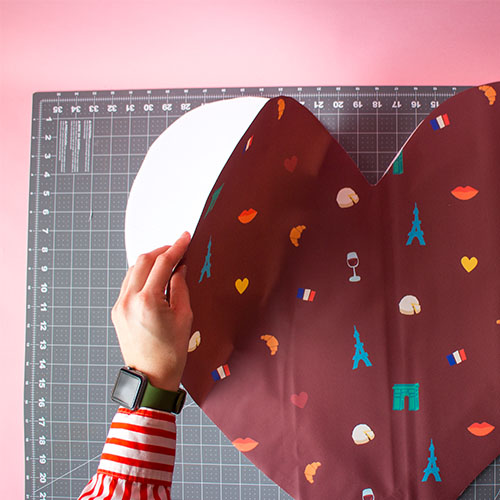
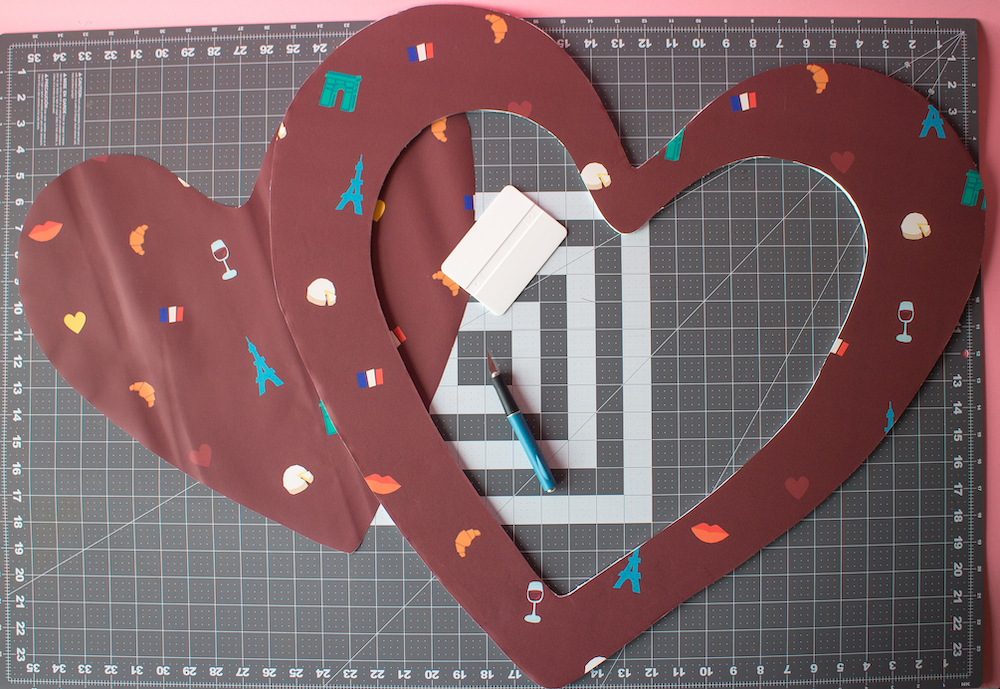
Sketch two large concentric hearts on the foam core and then cut them out with an X-Acto knife creating a heart shaped frame. Trace only the outer heart shape on your 2 x 3 roll of wallpaper and then cut it out. Unpeel a few inches of the backing paper on your wallpaper and then align the wallpaper edge with the matching edge of you heart frame. Press the adhesive down and then use your squeegee to carefully remove anyair bubbles on your frame. Slowly keep removing more of the paper backing, smoothing it down and moving across until the entire frame is covered. Flip the heart frame so that the wallpaper side is laying on the cutting mat and use your X-Acto knife to cut out the inner heart shape.

5. Attach the Foil Fringe
Unroll the foil fringe and remove the adhesive strip on the top edge. Fold the top edge in half so the adhesive sides are facing each other and stick together. Cut the top edge of the fringe into about 6 lengths so theyre easier to handle. Using transparent tape on the top edge of the foil fringe, adhere the fringe to the back of the heart frame. Add more strips of fringe until you line the bottom half of the heart frame. Trim the fringe to your desired length. Use this heart frame as unique and fun photo booth prop et voil!


Katies DIY Photo Booth Tips and Tricks
We asked the expert some of our burning DIY photo booth questions!
Heres what Katie had to say:
Where do I put my photo booth?
The best place to put your backdrop is on a blank wall where there is a lot of natural light. Near a window is best, where the light will illuminate the subjects. If the sunlight is very bright and creating harsh shadows you can diffuse the light with sheer white fabric or bounce the light by placing a piece of white foam core or poster board facing the sunlight to fill in the shadows.
Can I take photo booth pictures with my cell phone?
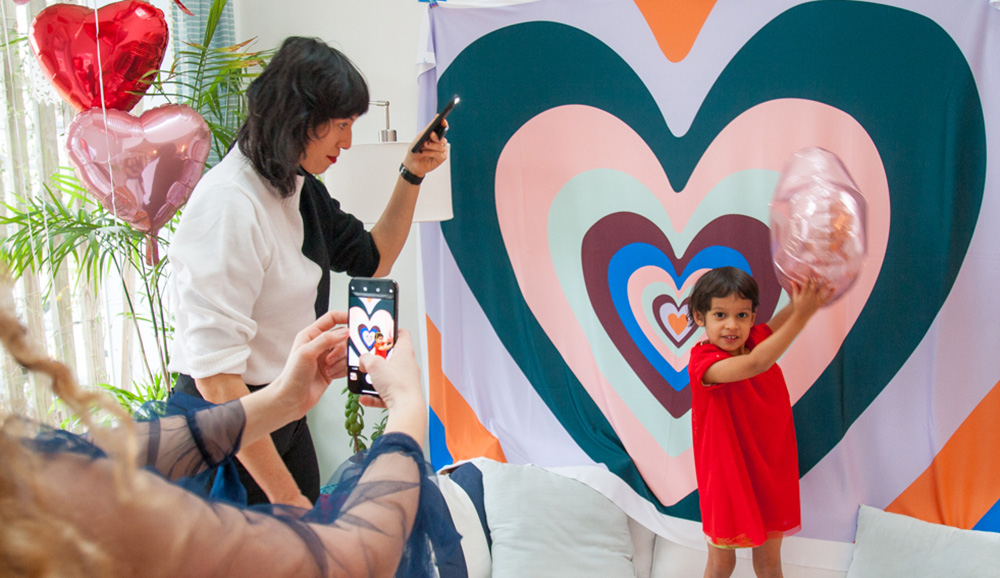
You dont need a fancy SLR to take a good photo! Most cameras on cell phone are actually really great for capturing the shot you want. The biggest tip to keep in mind when taking pictures with your phone is to wipe off the camera lense with a clean, soft cloth. You would be surprised with just how dirty the lens can get being in your pocket or bag.
Crop photos according to the edges of the backdrop. For photo booth pictures, make sure to zoom in enough so that you cant see the edges of the backdrop.

What should I do if I dont have natural light near my photo booth?
You can brighten your subject by having a friend shine their phone flashlight in the preferred directionjust careful on the eyes!
If you want to do a little sewing for your party as well, this candy heart garland is Galentines Day approved! No matter how you celebrate Galentines Day this year, we hope you do it in style.

About the Guest Author

Katie Stewart is a self-described maximalist and rainbow incarnate. She is the photographer, artist, & graphic designer behind KatieStew.art LLC, inimitable one-woman design shop that specializes in creating immersive photo booths with custom props for special events in Raleigh, NC. She has recently opened her Spoonflower shop filled with the repeat patterns she enjoys making in her free time. Katie is one of the recipients of the Fall 2019 Spoonflower Small Business Grant. Browse through her Spoonflower shop or see more of Katies creations over on her Instagram feed!
Hanging-Photo-Booth.mov (4.1MB)

