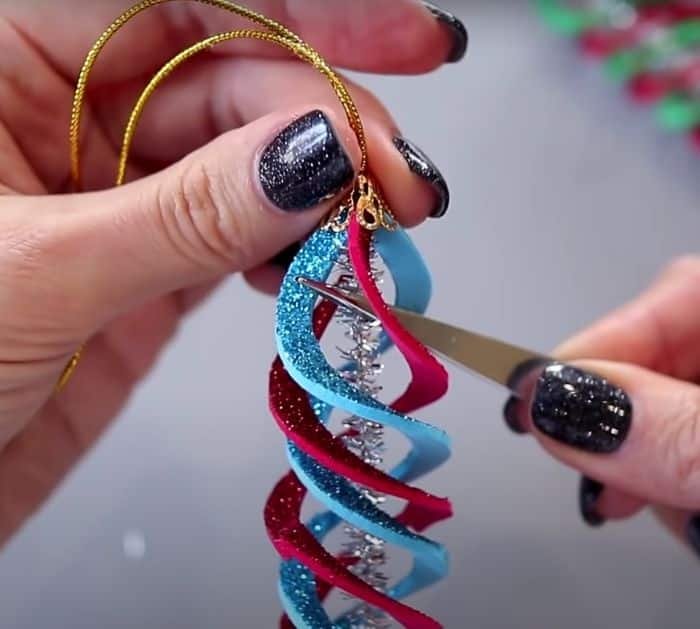
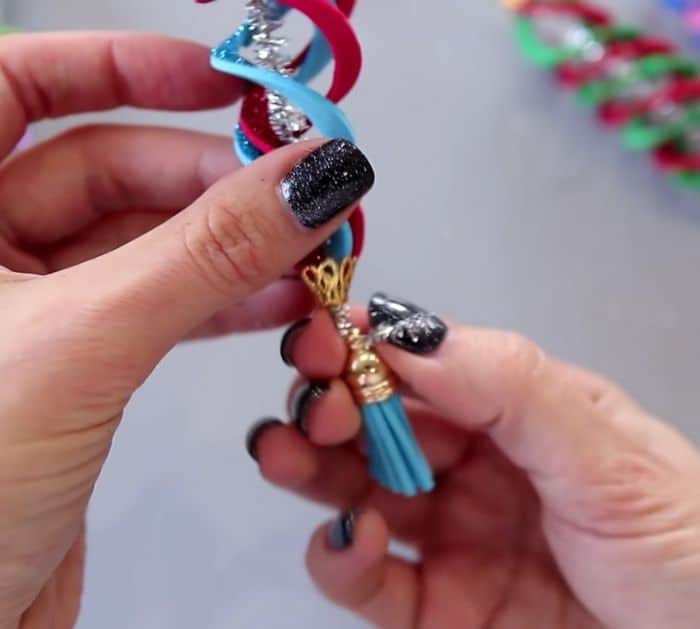
Let the spirit of Christmas shine upon your home with this decorative ornament. This cheap and easy DIY décor is made out of glittered foam sheets, it is very cheap to make but it looks as if you bought it from the shop. It can also serve as your Christmas tree ornament, or you could just hang it anywhere you like. I already made mine using materials that I bought from the dollar store and from the scraps of other DIY decors I made a few weeks ago. It only took me a couple of minutes to make a few pieces to put on my tree and they looked perfect, you should try making this one! Thanks to MiLena on YouTube for this wonderful and festive décor.
Materials:
- EVA foam sheet glittered
- Compass
- A pair of scissors
- Chenille wire
- Cord and bead cap
- Glue gun
- Glue stick
- Paper clip
Directions:
Step 1:
Measure a 3.5cmm circle on a foam sheet with your compass, cut it out. Then shape another smaller circle inside, cut it out. Glue the resulting curly links together, then attach it in a chenille wire about an inch above the end. Wrap it around the wire then hold it in place with a paper clip, twist another curl in the other direction and remove the paper clip. Stretch it until it is about 10-12cm in length, glue the ends together. Cut the excess wire at the top leaving about an inch for the tip, add more curls between the glued spiral.

Step 2:
The view from the top of the ornament should look like a crisscross. Now for the mount of the ornament, insert a thread between the cord and pull it on the bead cap. Attach the tip of the spiral then decorate the other end with a tassel pendant. Secure it with hot glue.

*All image credits belong to MiLena via YouTube. If you want more DIY crafts like this one, visit her channel and watch out for updates.
DIY Foam Christmas Ornaments
The post DIY Foam Christmas Ornaments appeared first on DIY Joy.

