One of the little problems that I encounter when I’m sewing is the storage of my materials, especially smaller ones. They can get lost easier and it’s such a hassle trying to look for them while working on a project, not until I’ve discovered this tutorial by Minki Kim on YouTube, her project was not only easy to make but also immensely helpful, the first few ones I’ve made worked well as a storage for my sewing materials. I’m planning to make a bigger one next time!
Materials:
- Quilting cotton, for the exterior
- Lining fabric, any
- Striped print fabric
- Foam stabilizer, Soft and Stable or Pellon Flex-Foam
- Fusible webbing, Lite Steam-A-Seam 2
- Cotton label (optional)
- Scissors
- Iron
- Needle and thread
Directions:
Step 1
Cut both the exterior fabric and lining fabric with a 14½ x 3¾ inch size, then cut the striped fabric into 14½ x 1½ inches, this will become the binding strip. Match the side edges of the exterior fabric and the binding strip with their right sides facing each other, then sew them together with a quarter-inch seam allowance. Attach the lining fabric to the other side of the binding strip with also a quarter-inch seam allowance. Press the seams of the fabric toward the center, then cut a fusible web and foam batting with a 14½ x 4-inch size. Attach the fusible web onto the foam batting, then press them with an iron, remove the paper at the back, fuse the foam batting on the wrong side of the exterior fabric with their raw edges aligned, then press and set aside.
Step 2
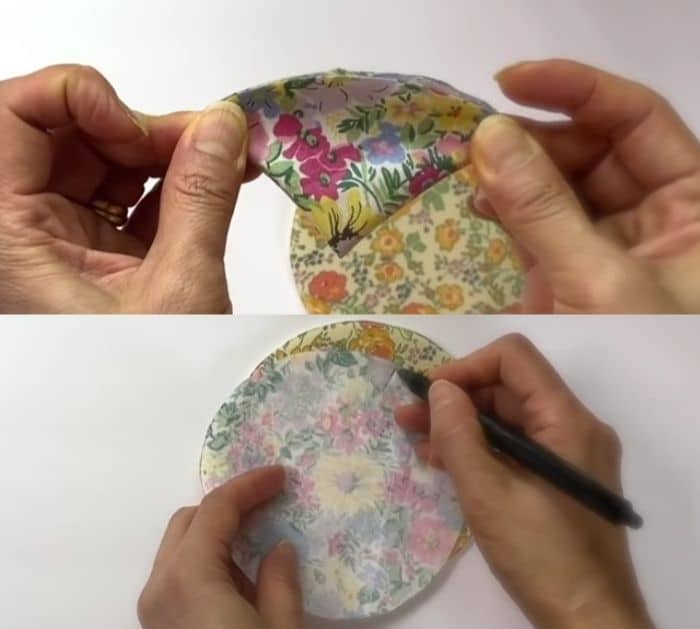
Attach a square fusible web onto a square foam batting, press them together and remove the paper. Get a square exterior fabric and fuse it with the foam batting, then press. Trace a 4¾ inch circle on the fabric to make the basket bottom, then cut it out. Do another of this using the lining fabric, then once you’ve cut it out, fold it in half twice and press the folded corners well with your fingers. Open the fabric and mark the corners where it was folded, place the fabric on top of the exterior bottom fabric and add the same marks onto it, then set aside.

Step 3
Get the fabric piece you’ve set aside and start sewing the body of the basket. First, fold a 2-inch cotton label in half, then place it on the center of the right side of the exterior fabric (their rights sides are both facing up), place it close to the binding strip with only about half an inch of a gap, then sew them together with half an inch seam allowance (you can skip attaching the cotton label if you don’t want one). Fold the left side of the fabric to the right, match the edges of the fabric with the right sides facing each other, then clip them in place and sew with a half-inch allowance. Once you’ve reached the lining fabric, stop to leave about a 2-inch opening for turning, then continue sewing to the end.
Step 4
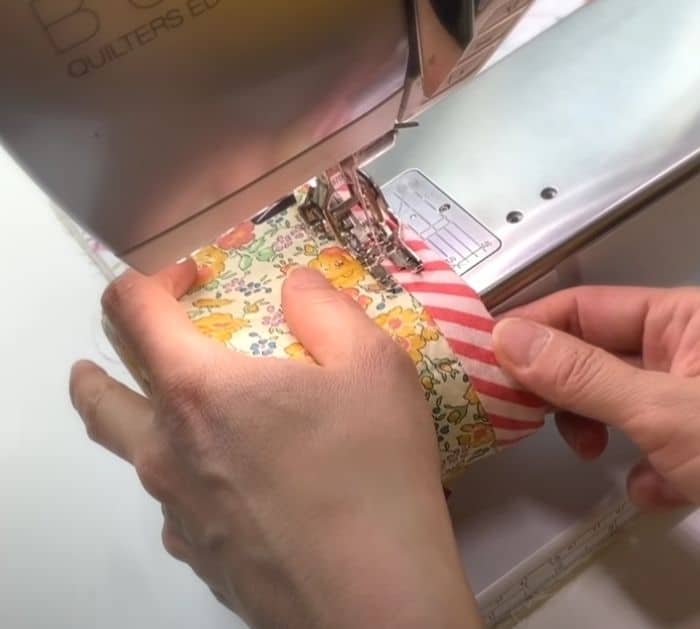
To assemble the basket, first open the fabric up, then pinch the exterior fabric’s upper seam and mark all 4 corners, match these marks onto the round exterior bottom, then clip in place. Sew it together with a half-inch seam allowance. Repeat the process on the lining fabric and attach the round lining bottom with a half-inch seam allowance. Find the gap you left at the side of the lining fabric, then turn the fabric over through that hole, poke the corners and edges nicely. Press the round edges with your fingers, then tuck the seams of the gap inside and hand sew with a ladder stitch. Push the lining fabric in, then press the inside with an iron. Then sew right around the line where the binding strip ends. For finishing touches, press around the body of the basket to remove the wrinkles, to make this process easier, insert rolled towels in the basket before pressing.

*All these images are credited to Minki Kim via YouTube. Give her channel a visit and subscribe for more!
DIY Simple Fabric Basket Sewing Tutorial
The post DIY Simple Fabric Basket Sewing Tutorial appeared first on DIY Joy.

