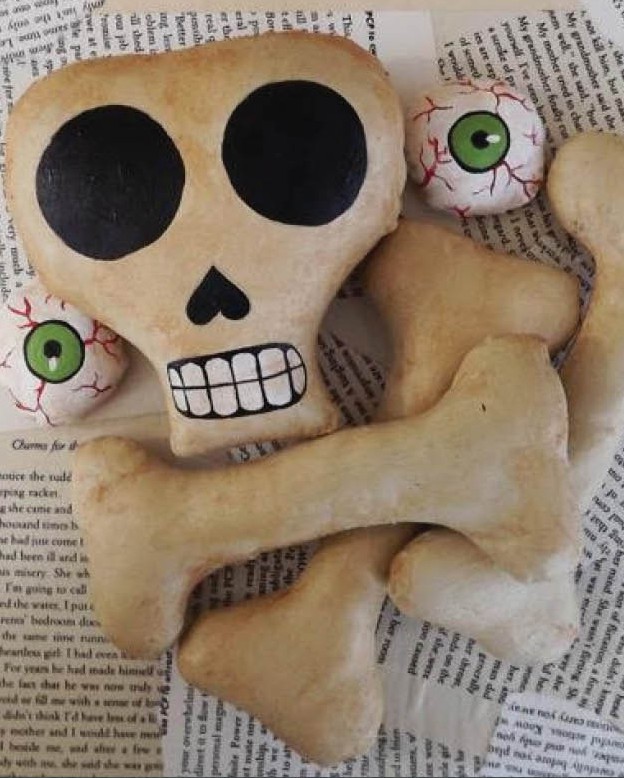
‘Tis the season for Halloween arts and crafts. Why not celebrate fast-approaching All Hallows Eve with these adorable painted dolls?
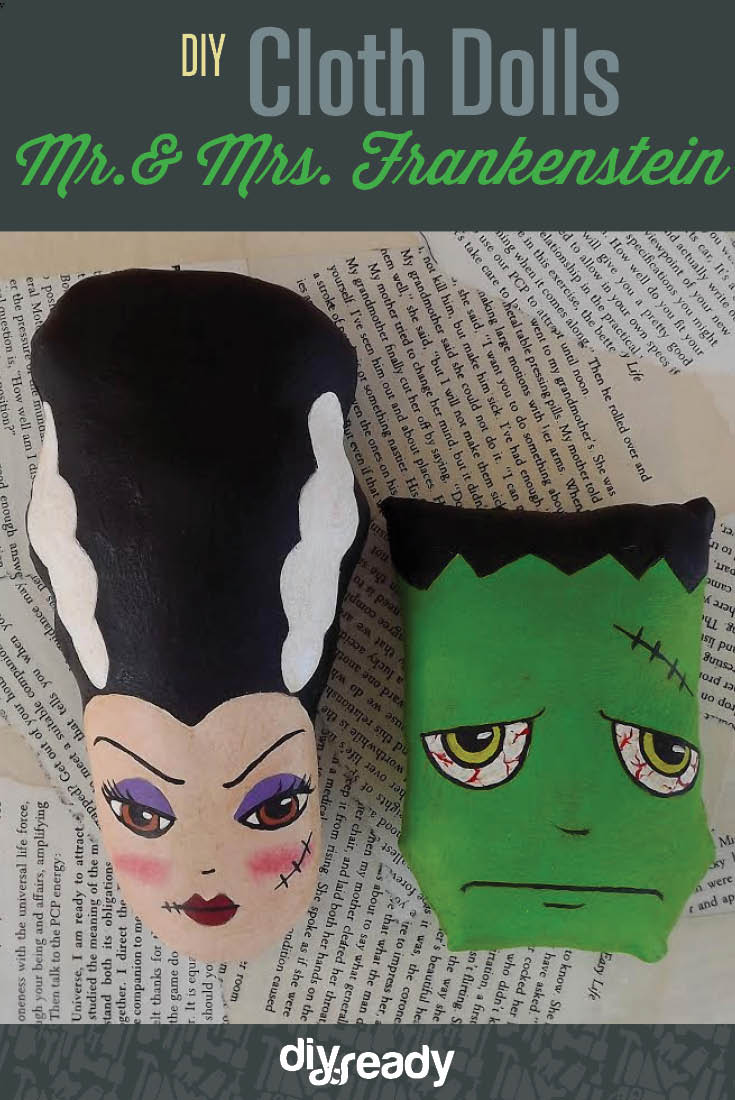
Mr. & Mrs. Frankenstein never looked so lovely! These painted dolls are relatively easy to whip up, especially if you have access to a sewing machine. They make great table decorations and can even be used as holiday gifts.
DIY Mr. & Mrs. Frankenstein Cloth Dolls
Materials:
Muslin
Fiberfill
Sewing machine
Needle and thread
Paints
Brushes
Gesso
Protective sealer
Red oil pastel (any brand)
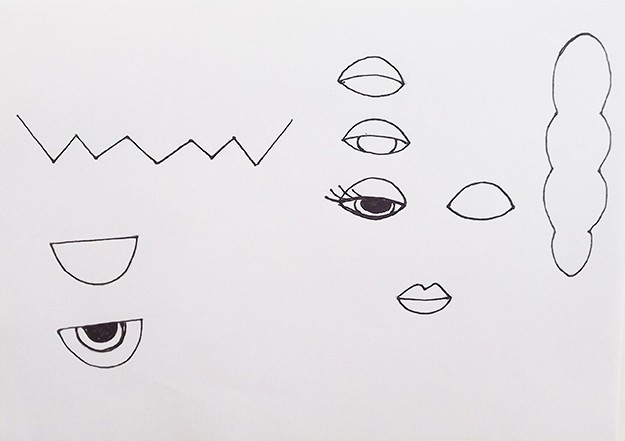
Patterns (below)
What to do:
Step one. Trace patterns onto a double layer of muslin. Sew completely around each piece, leaving a small opening at the top of their heads for turning inside out and stuffing.
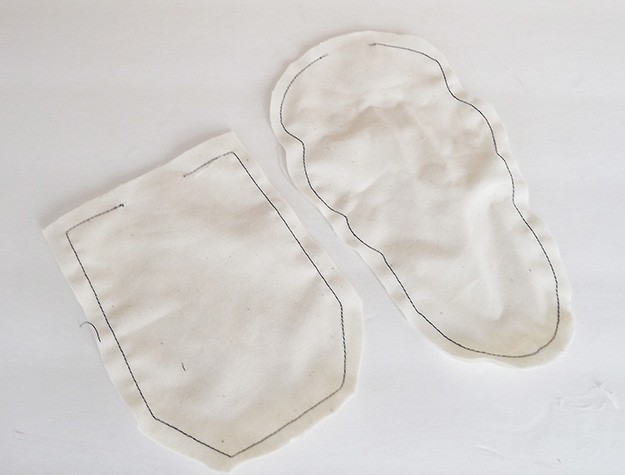
Step two. Trim excess fabric close to sewing line, clip curves and turn right side out. Stuff them firmly and hand sew the opening closed. Cover both pieces with gesso or white paint. Let them dry completely and sand lightly.
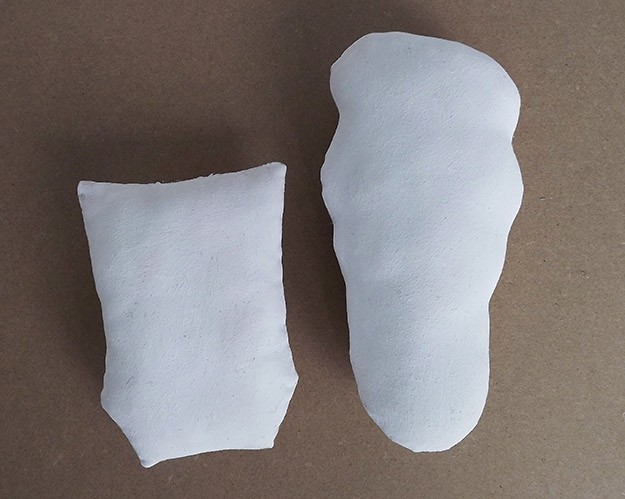
Step Three. Transfer hair to both pieces. But first, draw a curvy hairline for the bride and then transfer the white hair.
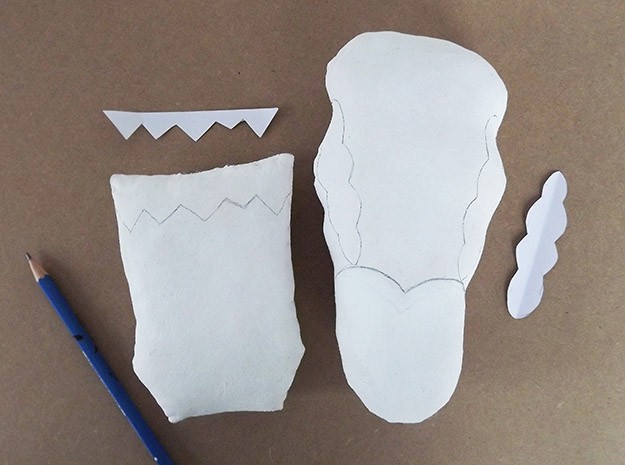
Step Four. Transfer hair to both pieces. Draw curvy vertical squiggles on the bride’s hair, and add white hair accents. See pictures of The Bride of Frankenstein film for inspiration.
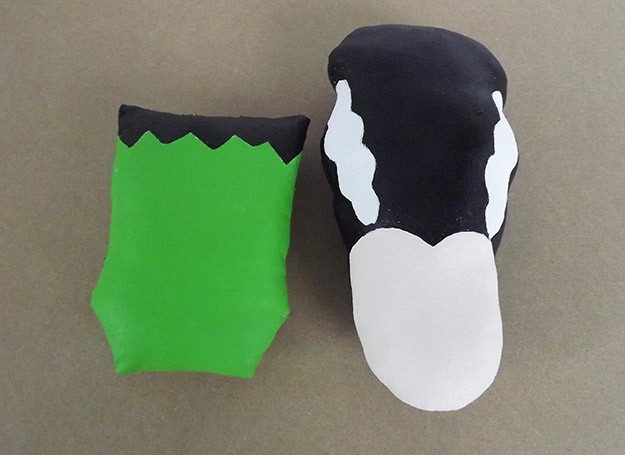
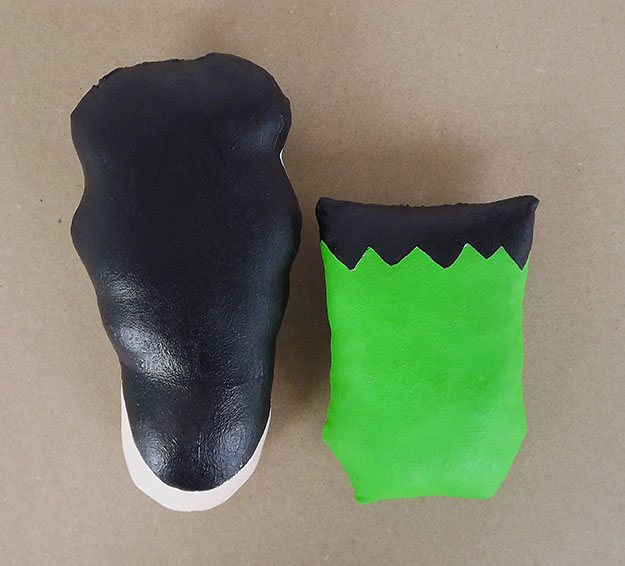
Step Five: Transfer eyes and lips to Mrs. Frankenstein. Using a pencil, lightly trace the face pieces on her head. I painted a simple line for the nose and then gave her dramatic eyebrows.
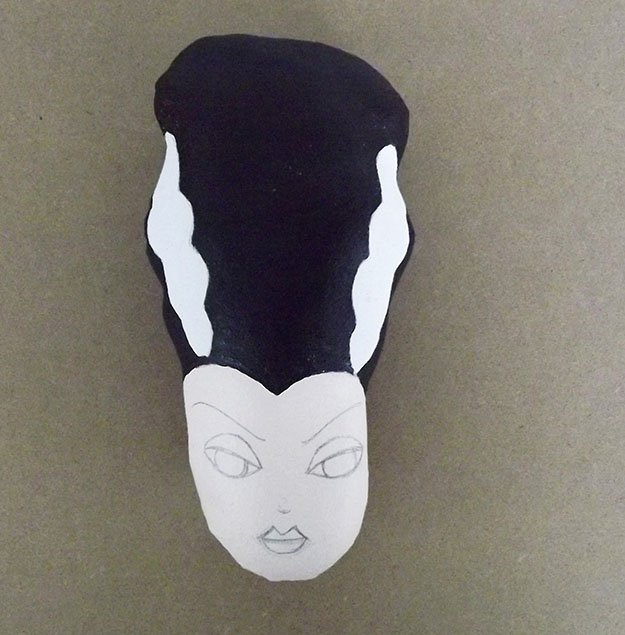
Step six: Transfer eyes to Mr. Frankenstein. As you can see, I used a simple, long, vertical line for his lips and a smaller line for his nose.
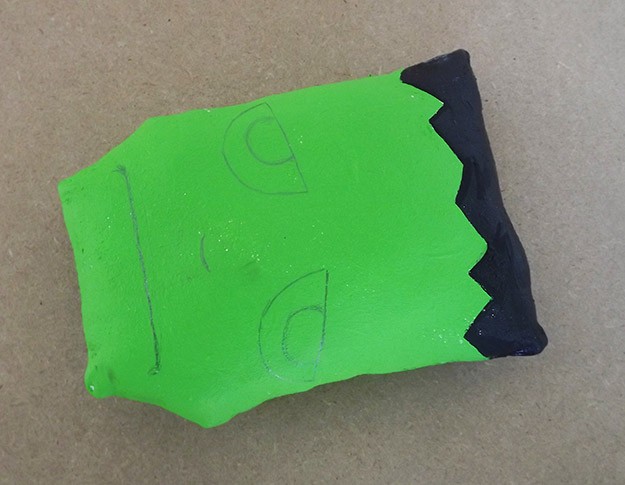
Step seven: Paint her eyes a color of your choice. I used different shades of purple for her eyes/eye lids, and a dark burgundy color for her lipstick.
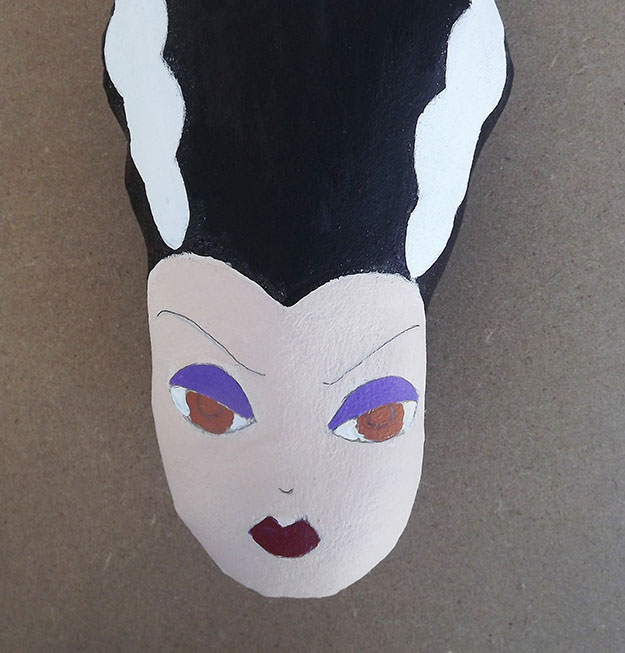
Step eight: Paint Frankenstein’s eyes any color of your choice. Use black paint and a thin brush to create some stitches on his forehead and to outline his features. You can also use a fine-tip black permanent marker for this part.
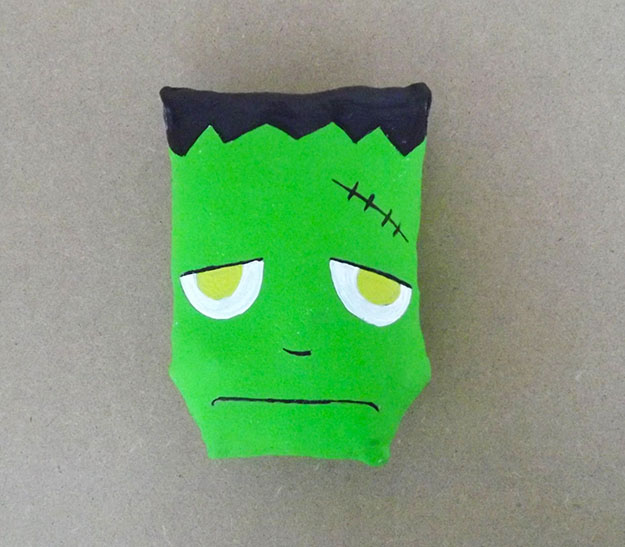
Step nine: I finished off Frankenstein by creating small veins in his eyes with a thin brush and red paint. You can also use a thin red permanent maker for this. I used black paint to outline Mrs. Frankenstein’s her eyes, lashes, eyebrows, nose, and other features. And lastly, I added a little bit of white to their eyes. When everything is dry, sand them lightly.
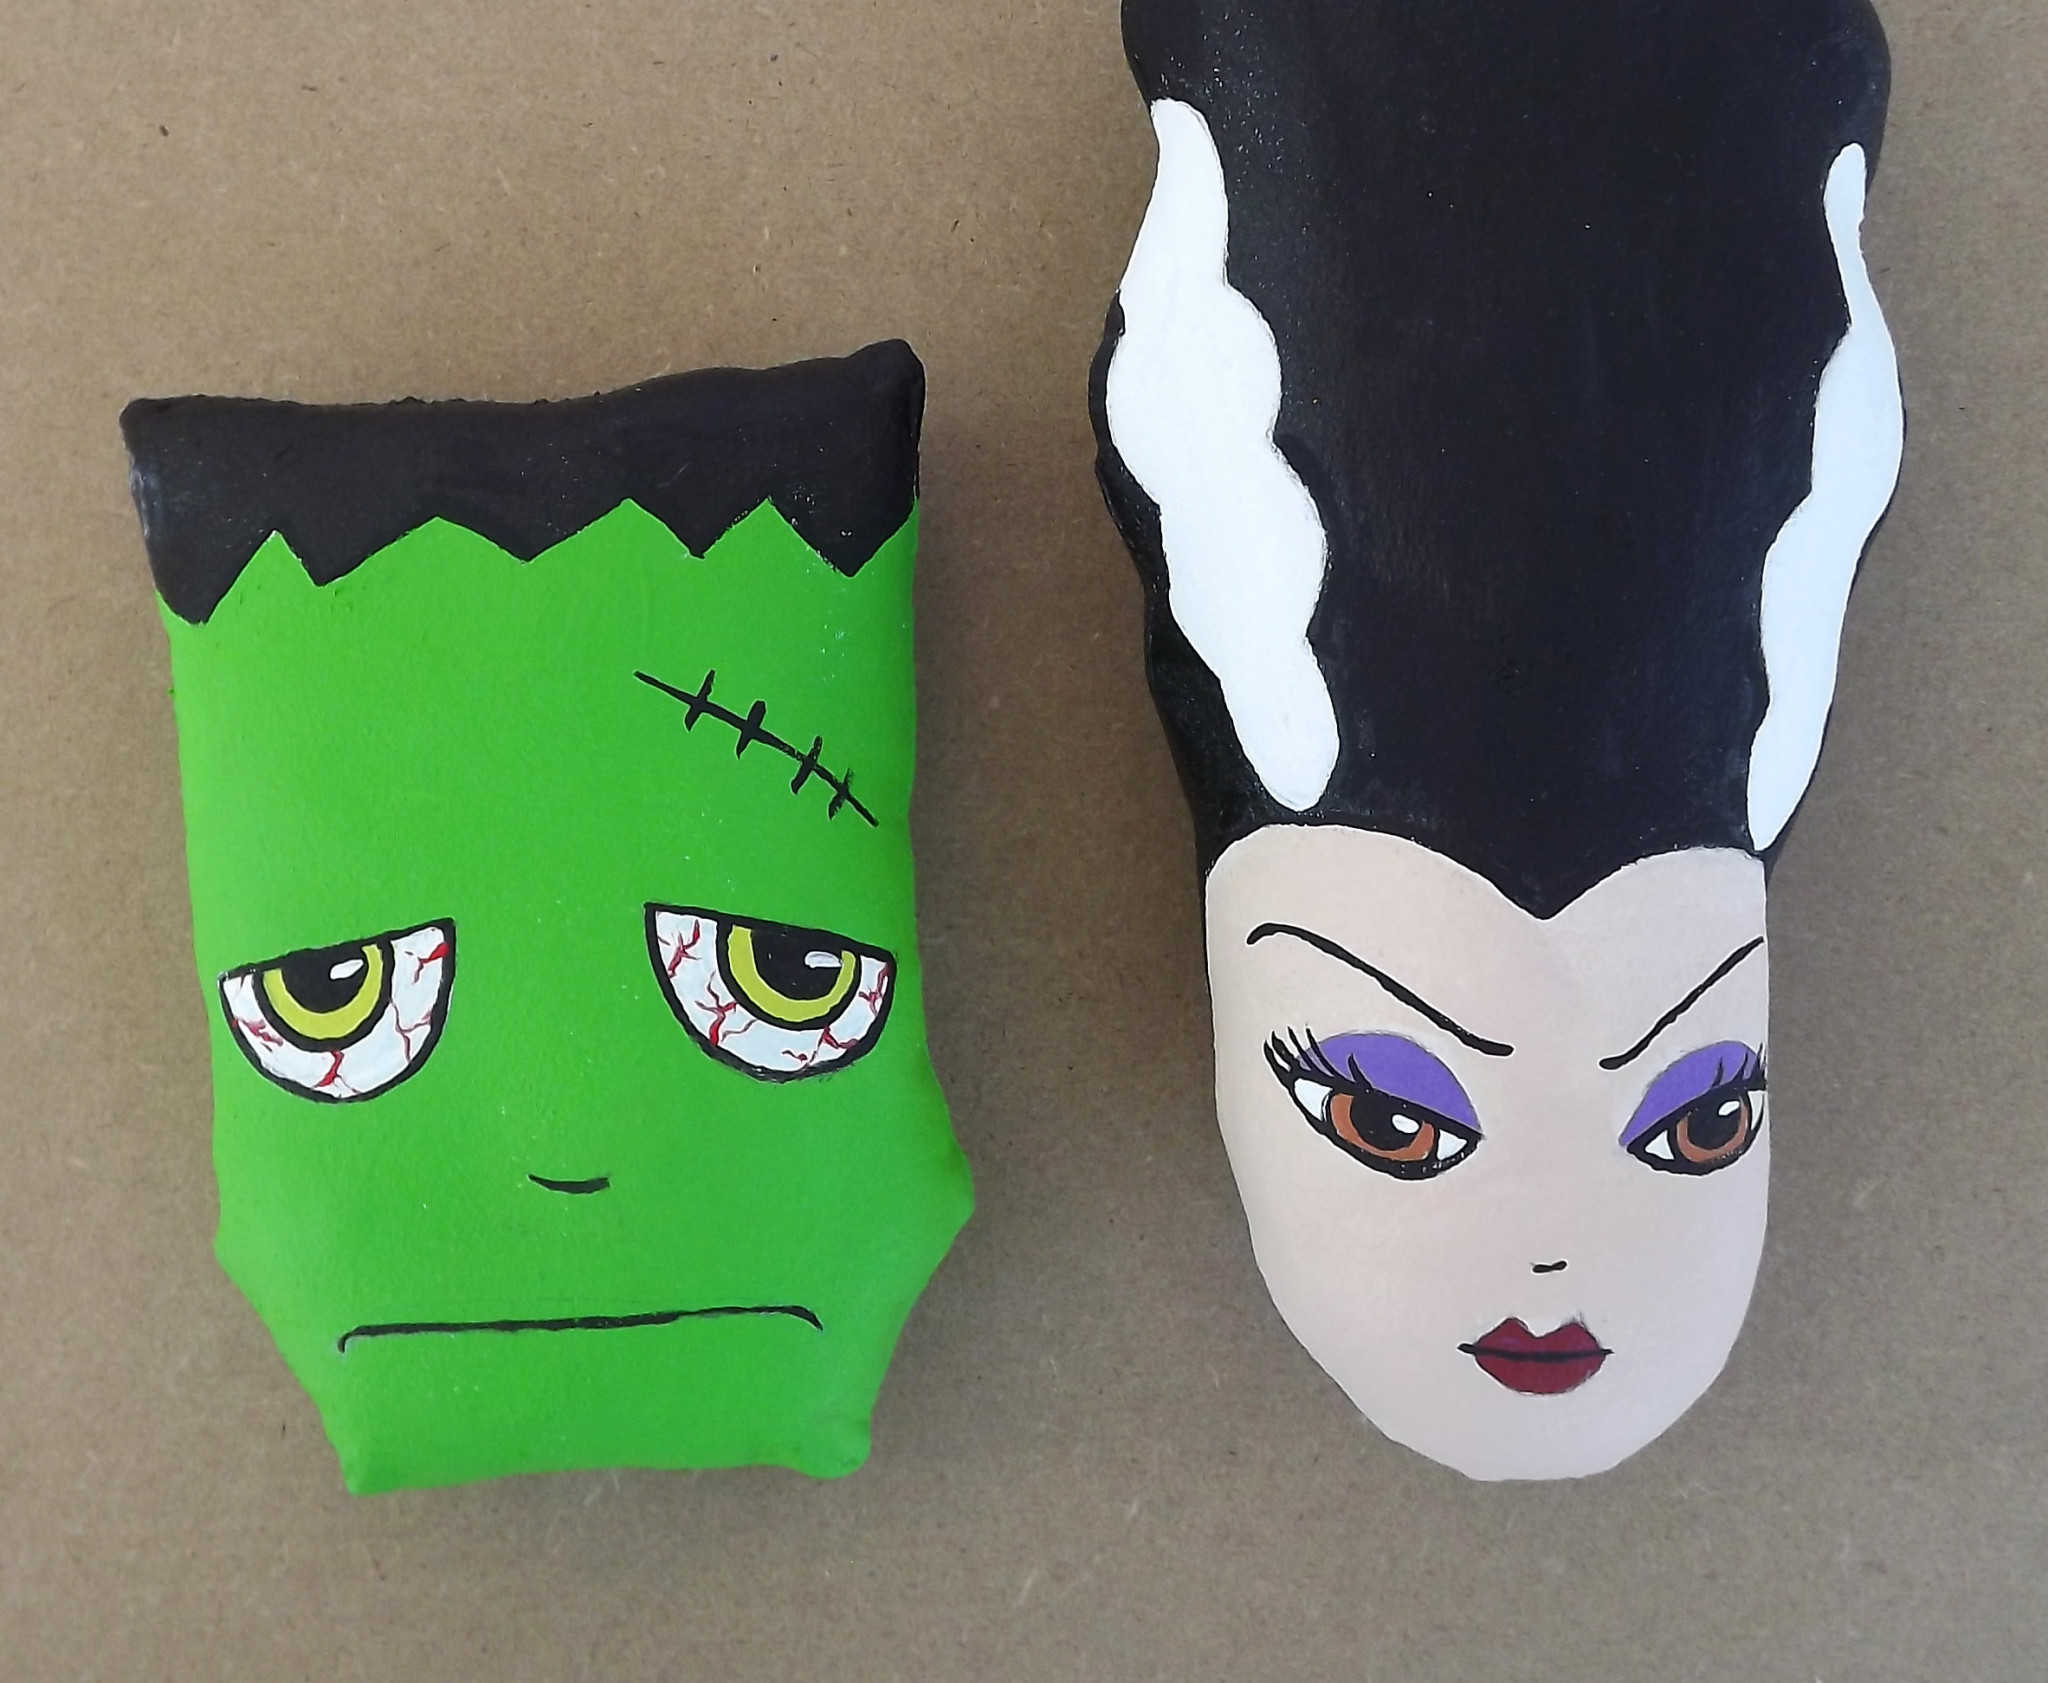
Step 10: For her cheeks, I used an oil pastel color, which I applied with an old brush. You can seal the faces by spraying them with an acrylic matte sealer. I used Krylon Matte finish, but feel free to use any brand you prefer.
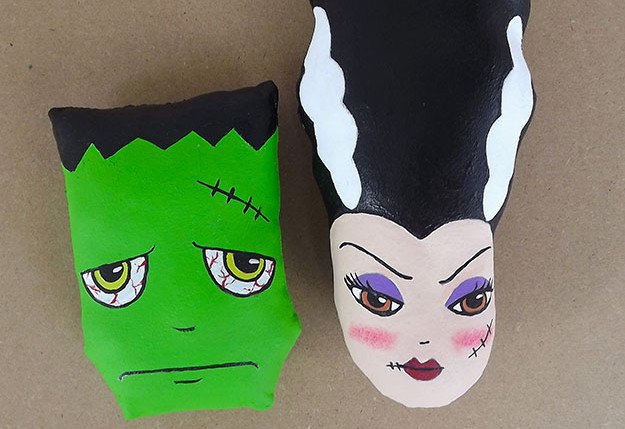
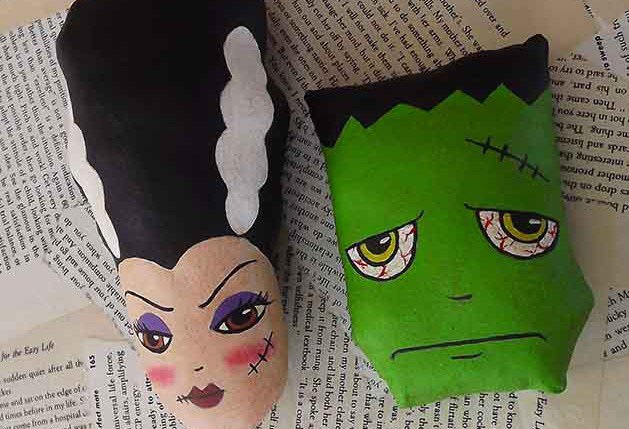
Step 11: If you would like to give the pieces an aged look, water down brown paint and apply it. Remove excess with a paper towel.
Love this? Need more Halloween arts and crafts?
Then you’ll love this other DIY Halloween sewing project:
DIY Skulls & Bones
