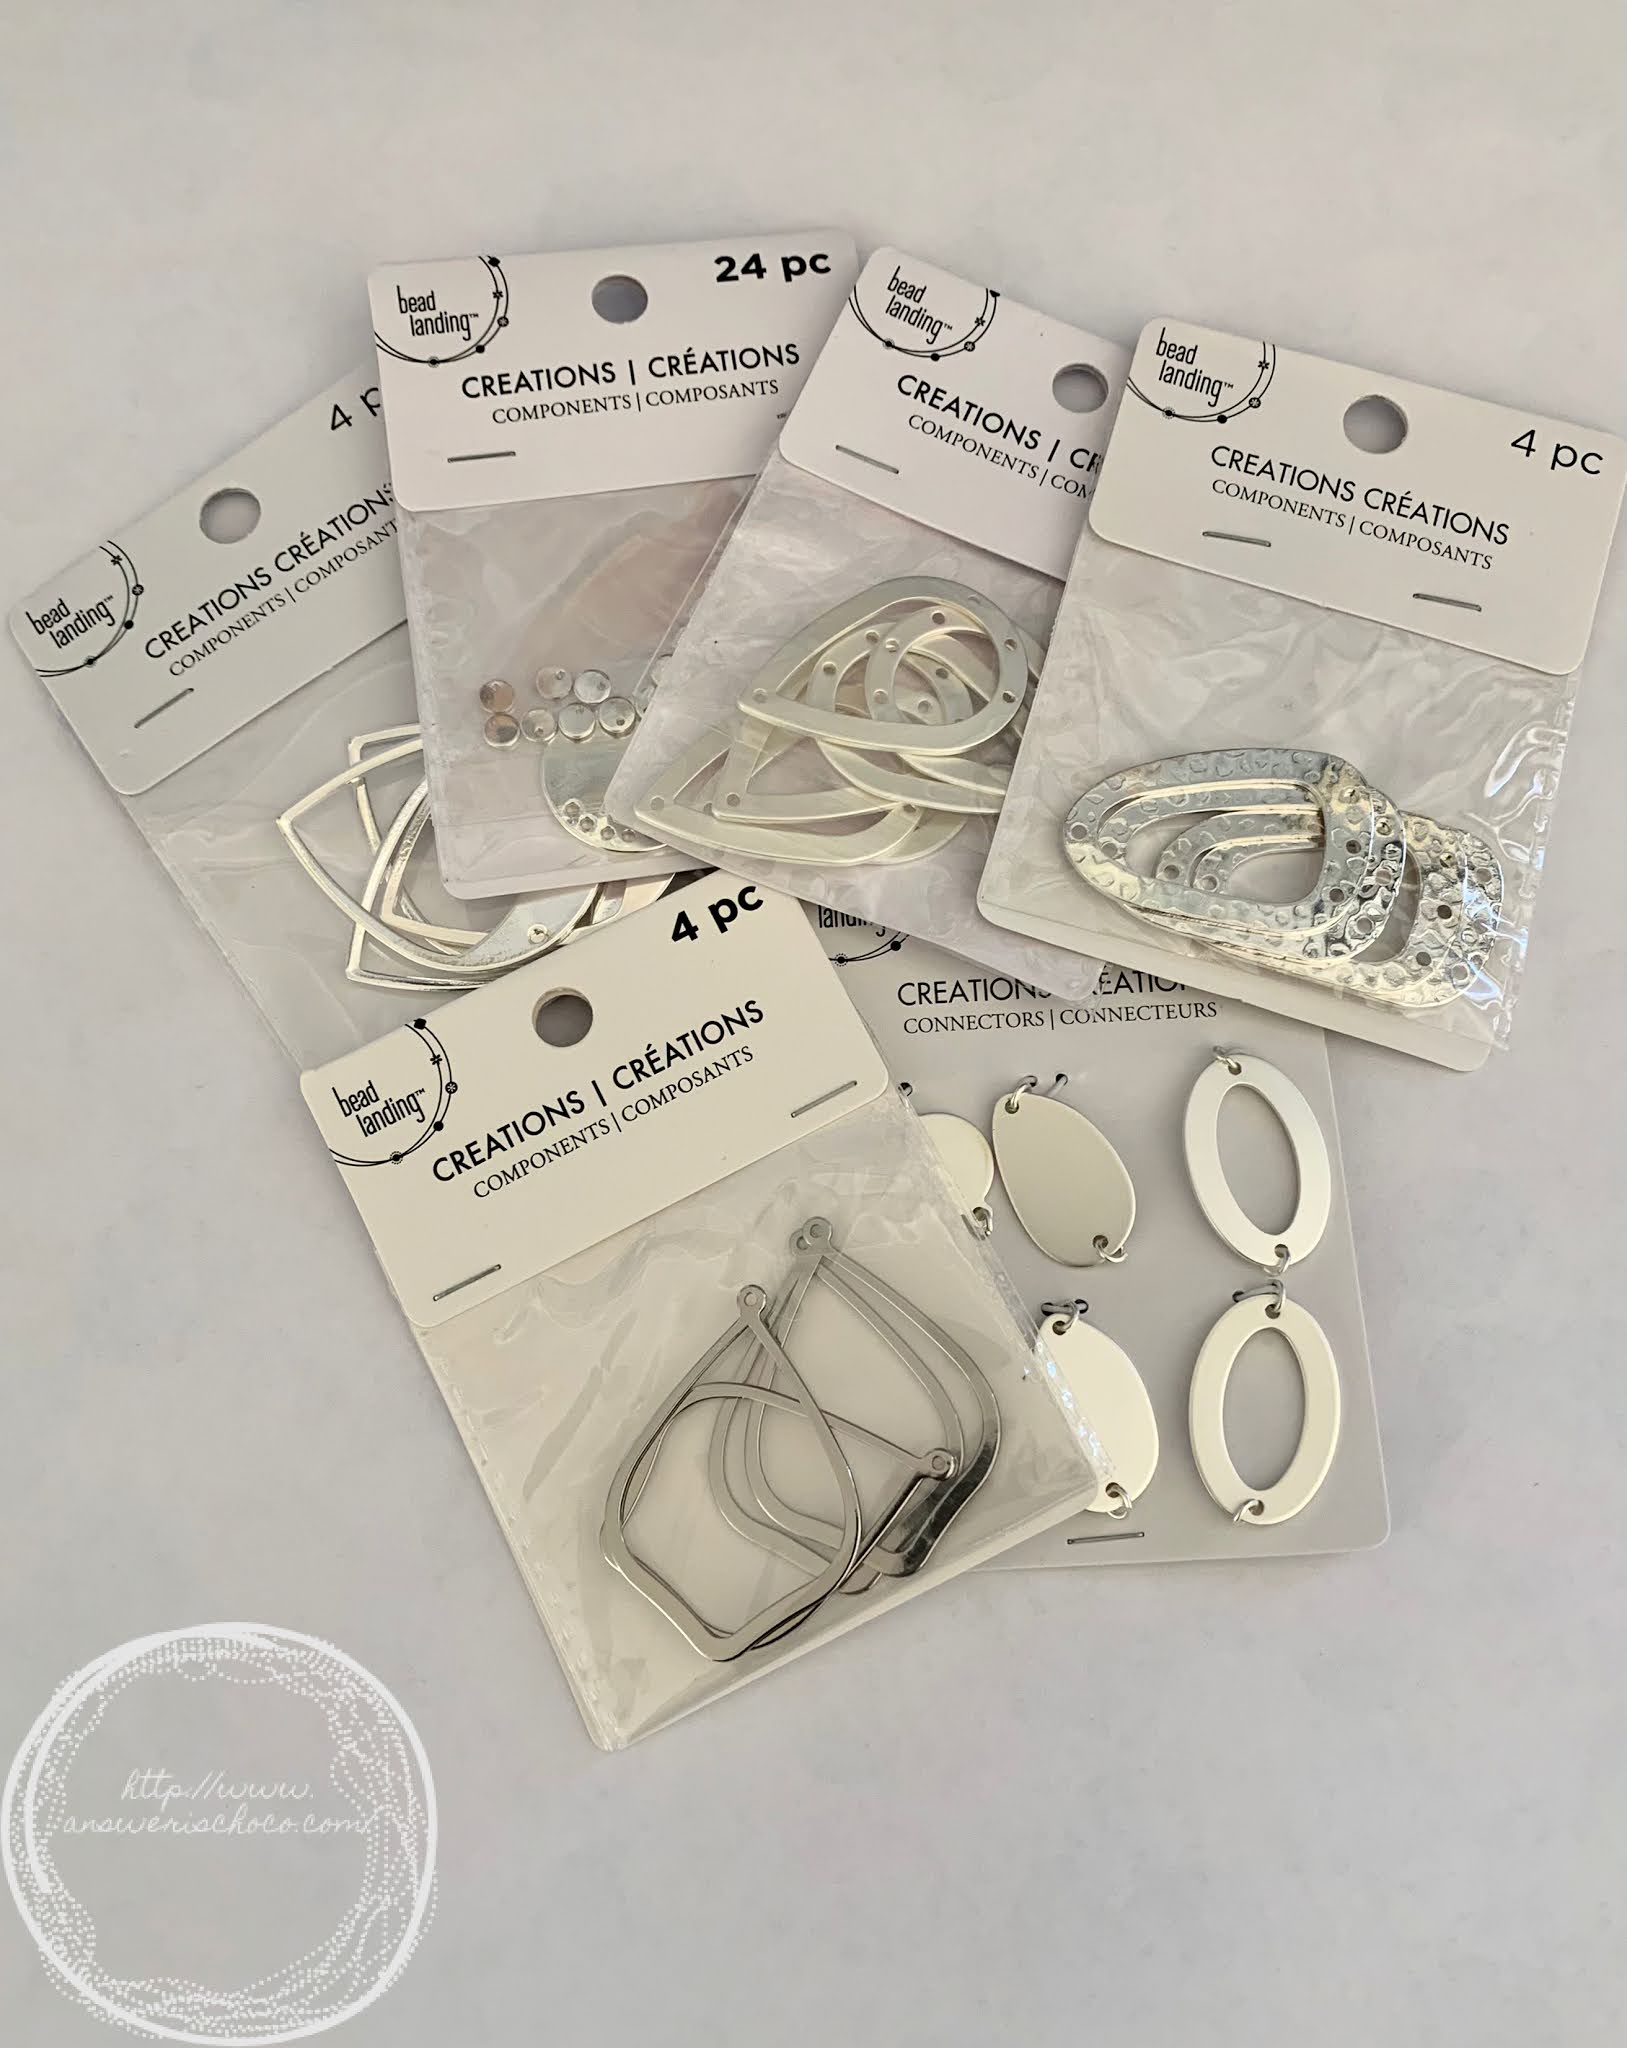
When you make jewelry, you set yourself up for "Really? You needed another pair of earrings?" Yes. I do so there. In my defense, I went to Michaels because I really did need new trimmer blades for my paper trimmer. But what kind of Maker would I be if I went in and didn't walk around the store? I'm no poser! And "see, what happened was"...I was in the Bead and Jewelry section and a bunch of these earring components said rescue me like when the Tin Man in the Wizard of Oz calls out for his oil can. It couldn't be helped! These were just my style since I love big, bold, earrings.
As you can tell, more earrings will follow but since I'm also preparing to move, maybe not right away.
Supplies:
- Bead Landing Silver Earring Components
- Silver Beads
- Head Pins
- Jump Rings
- Jewelry Pliers
- Clip Backs or Ear Wires
- Loctite Gel Glue
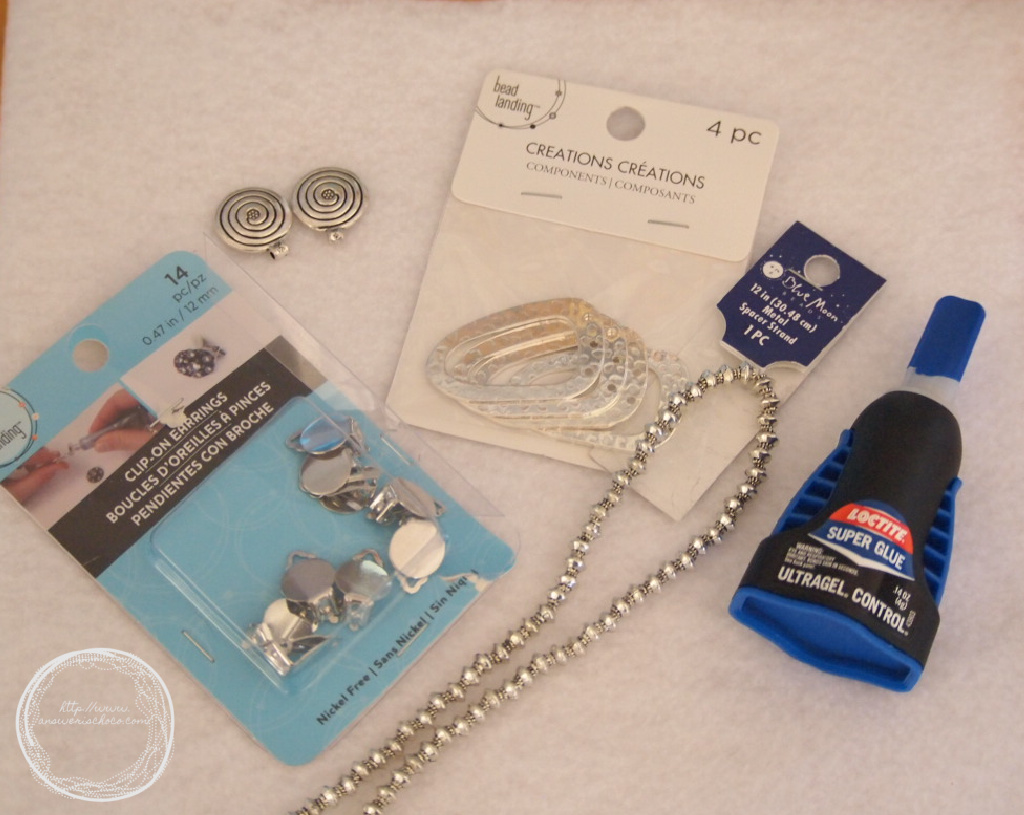
Since I bought um "several" , the hardest part was deciding which package to play with first but I chose the hammered silver ones. I had some silver beads in my stash along with my clip earring backs ( for pierced ears use ear wires) and I love the Loctite Super Glue Gel.
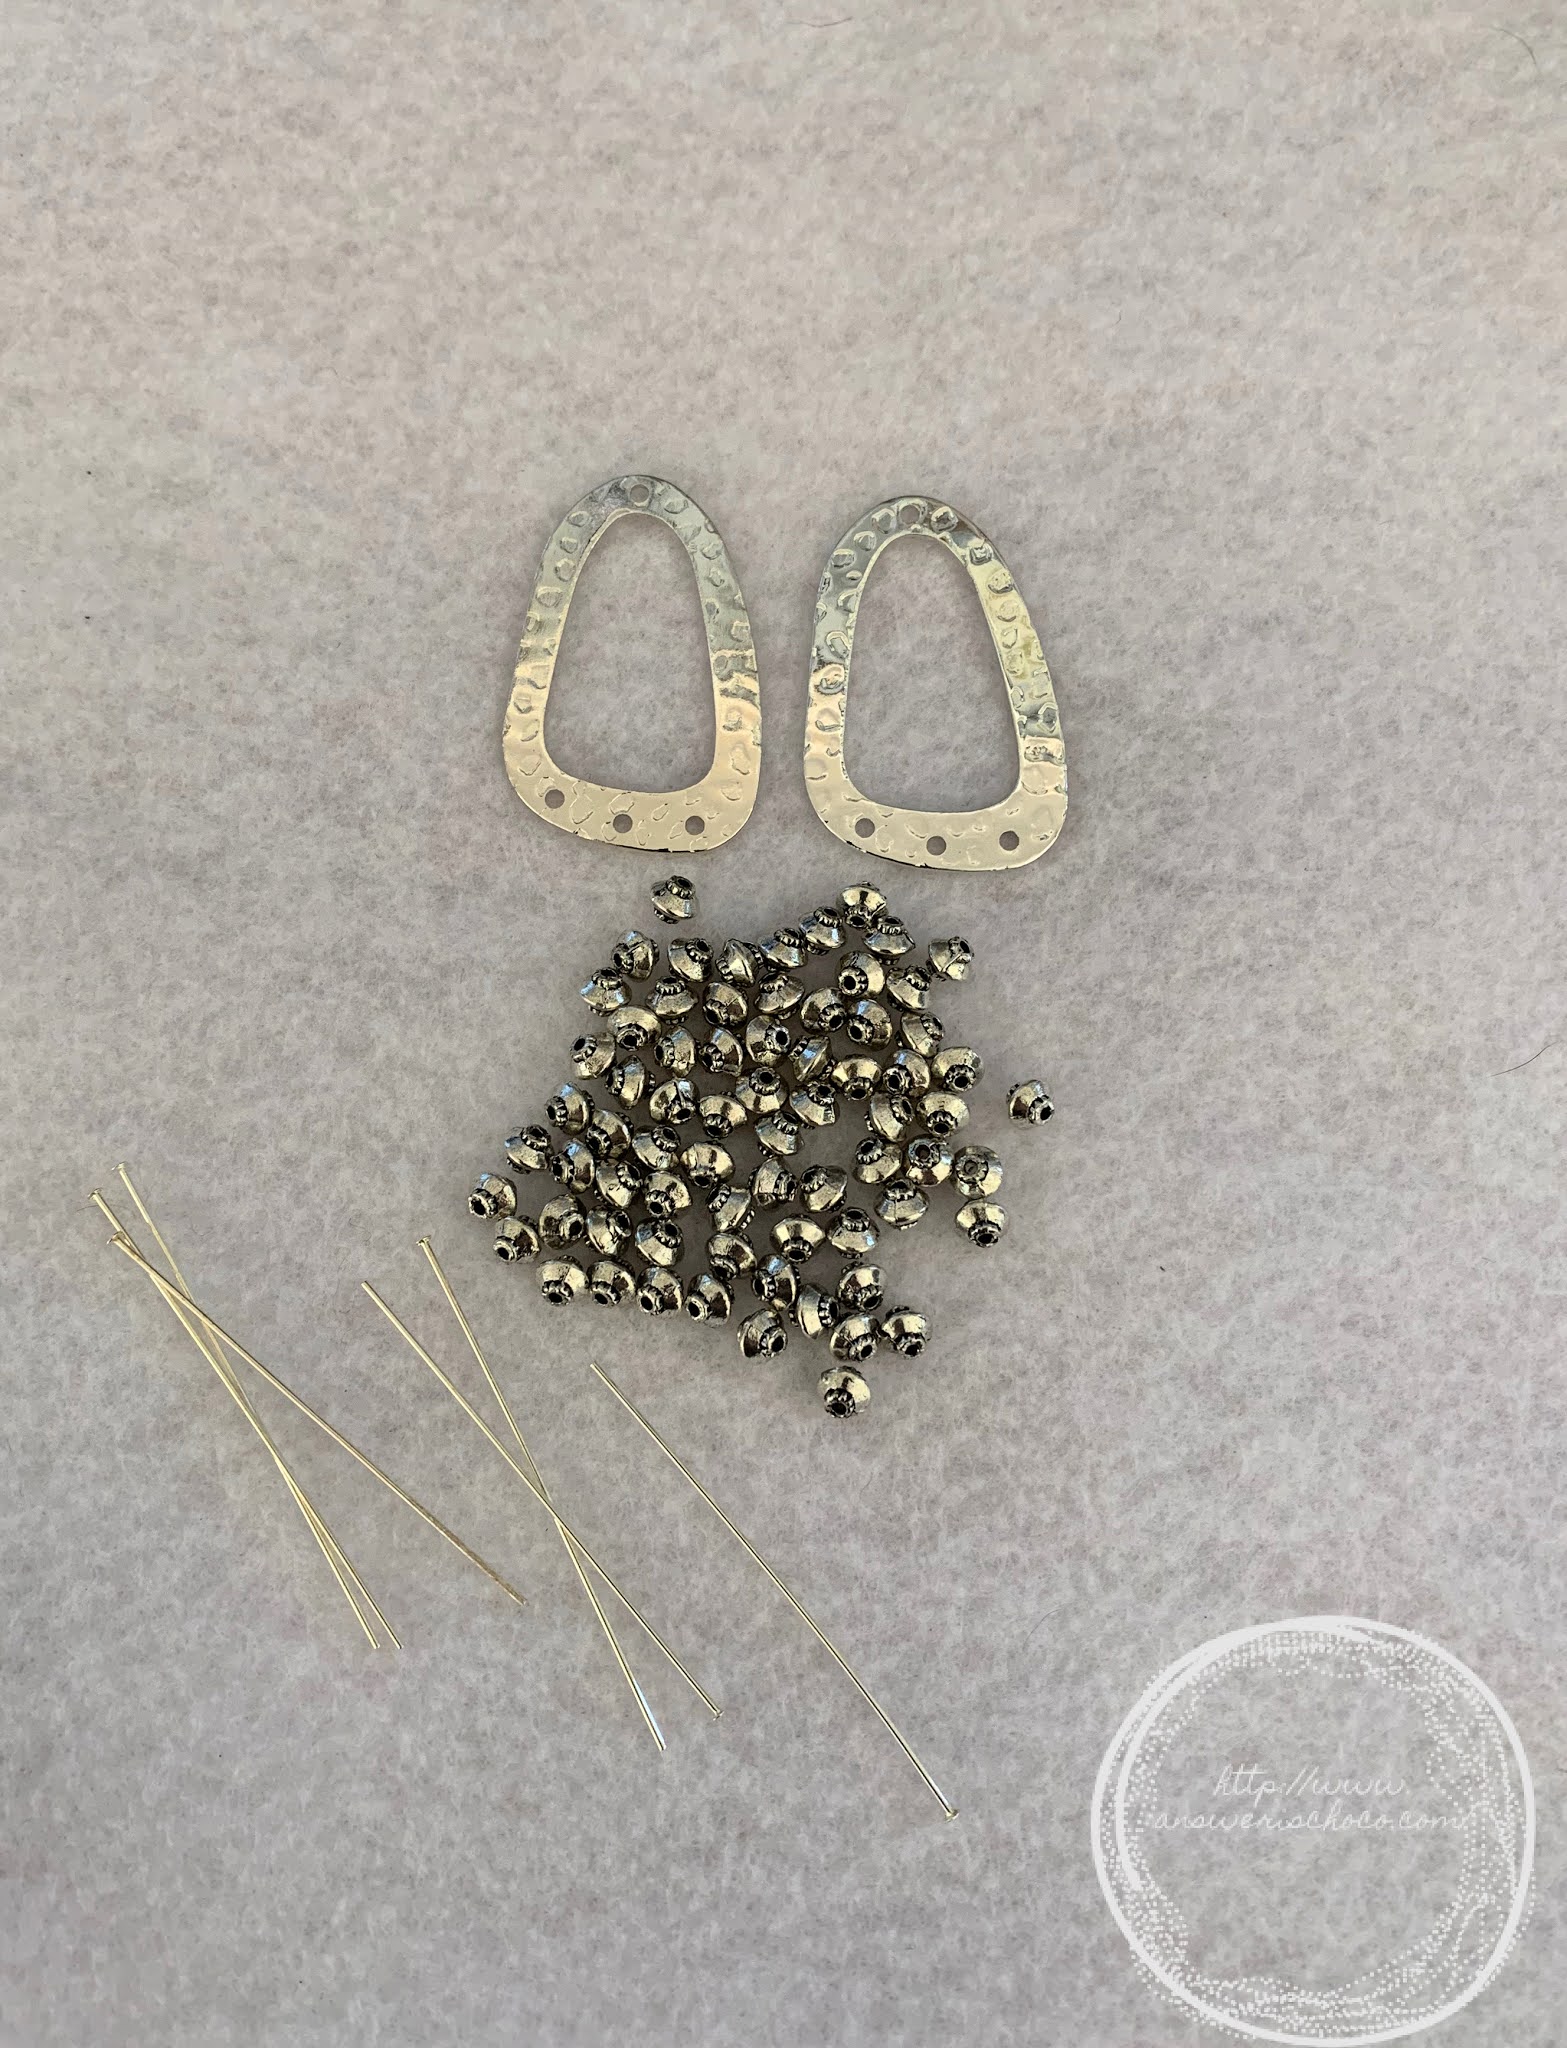
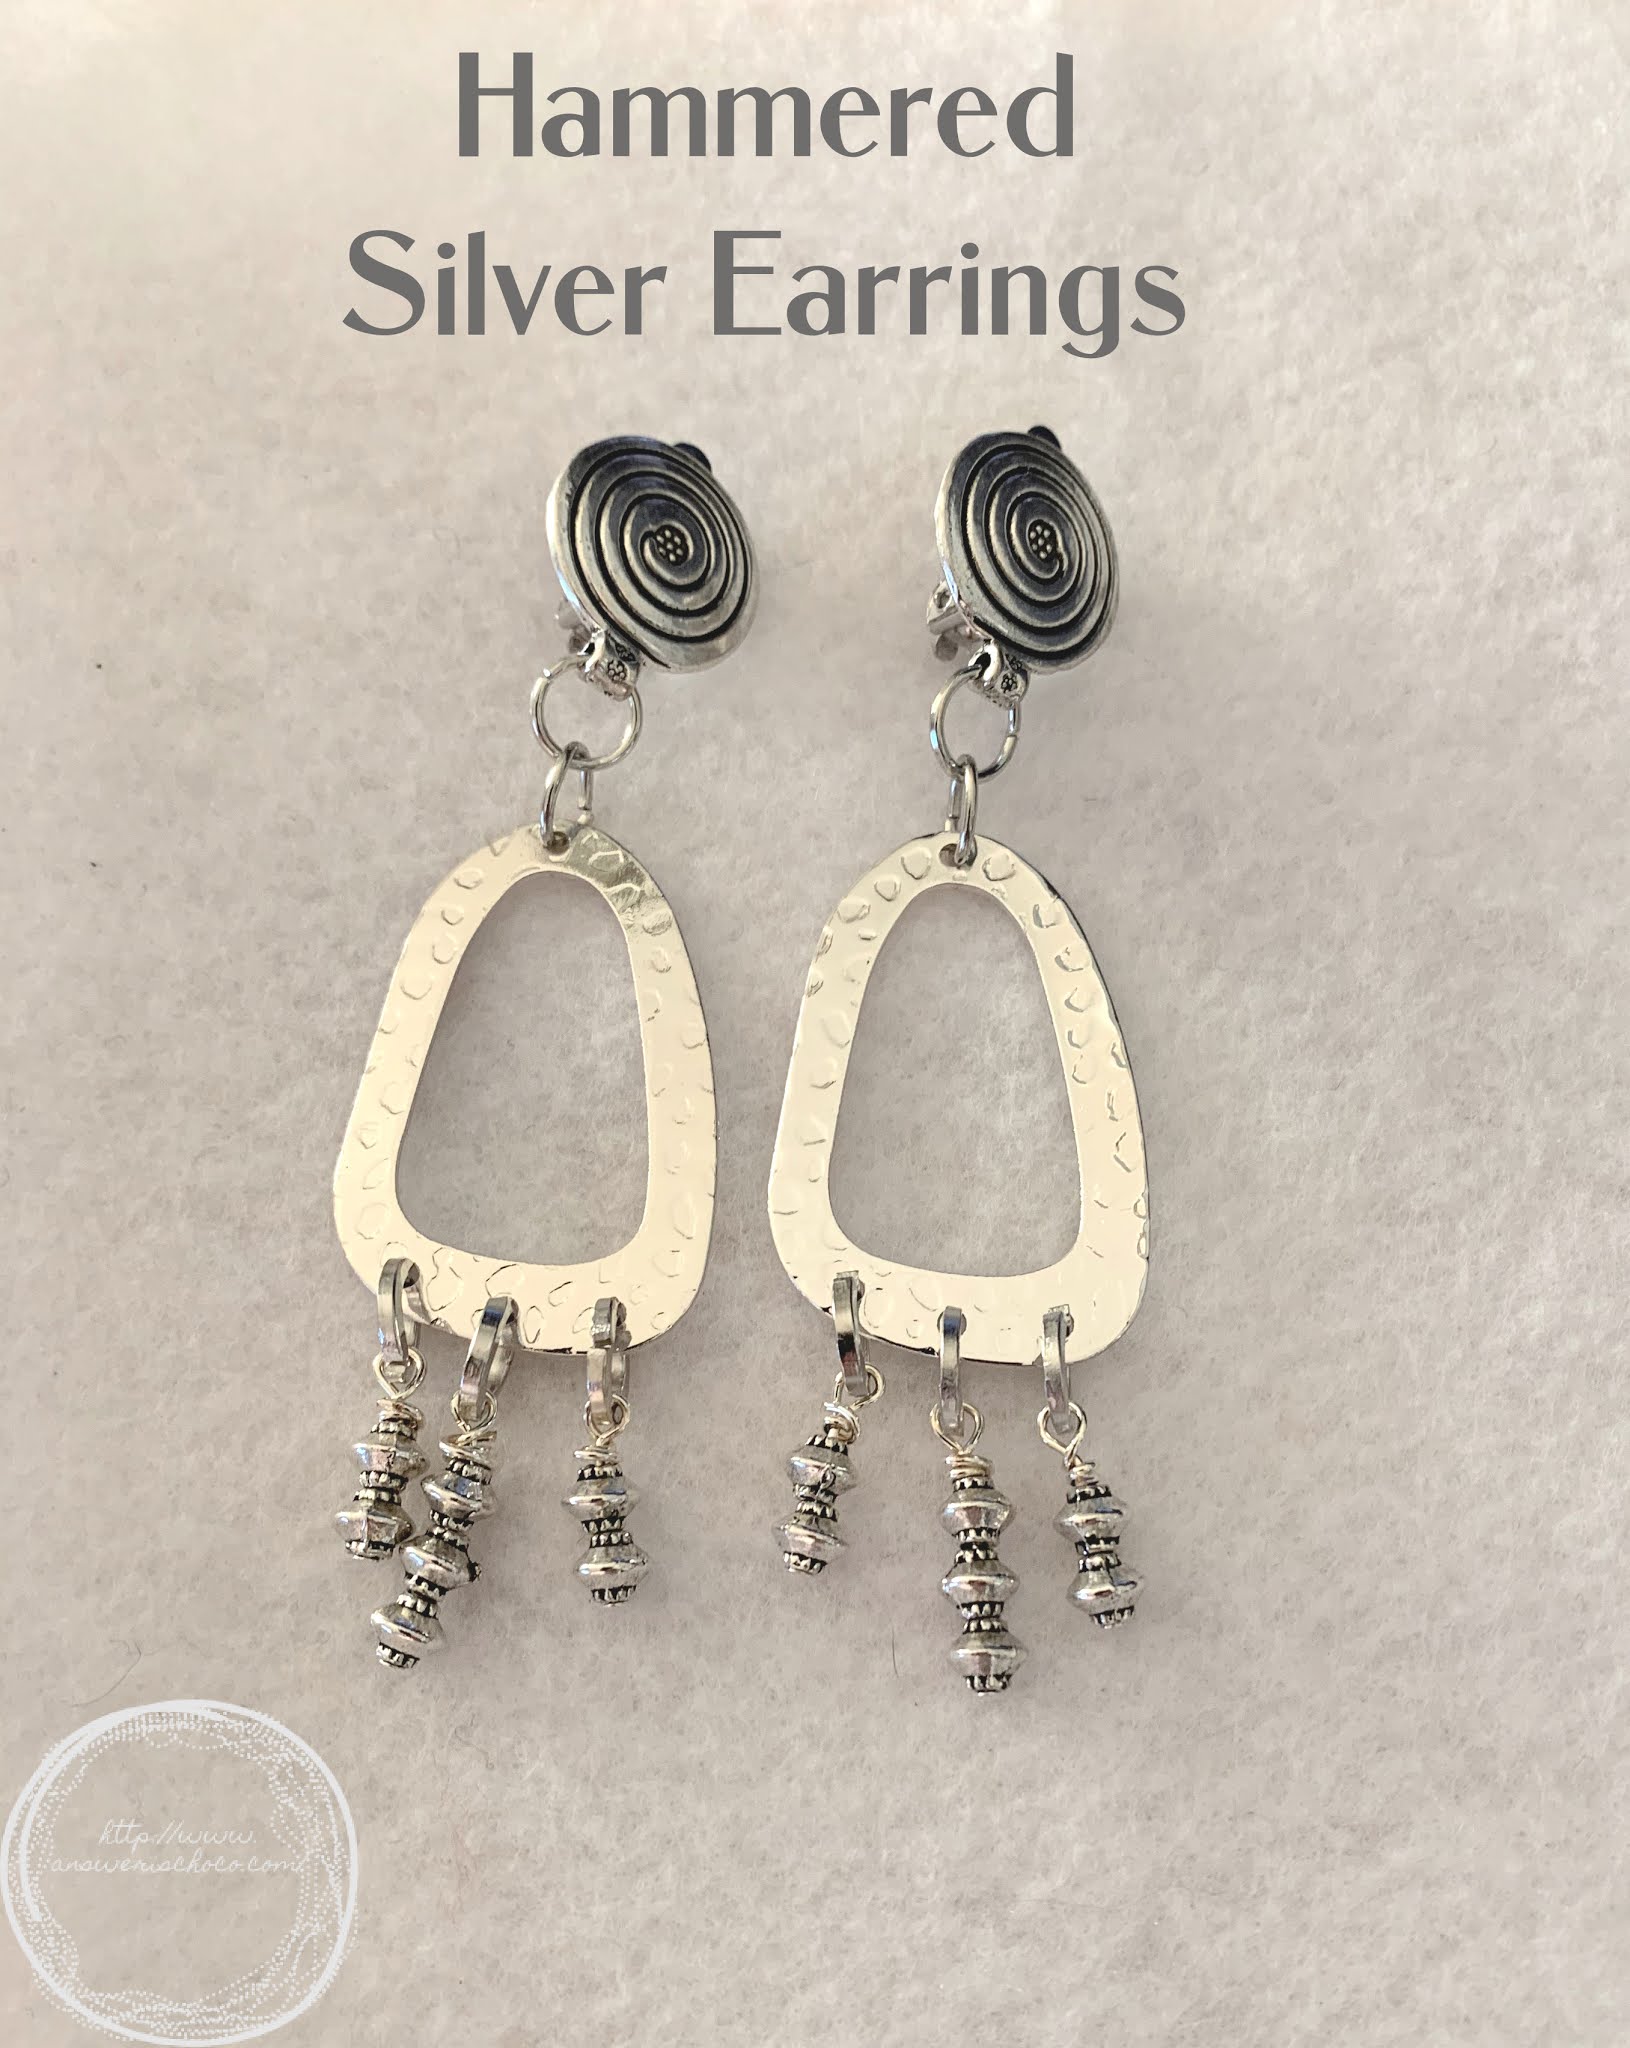
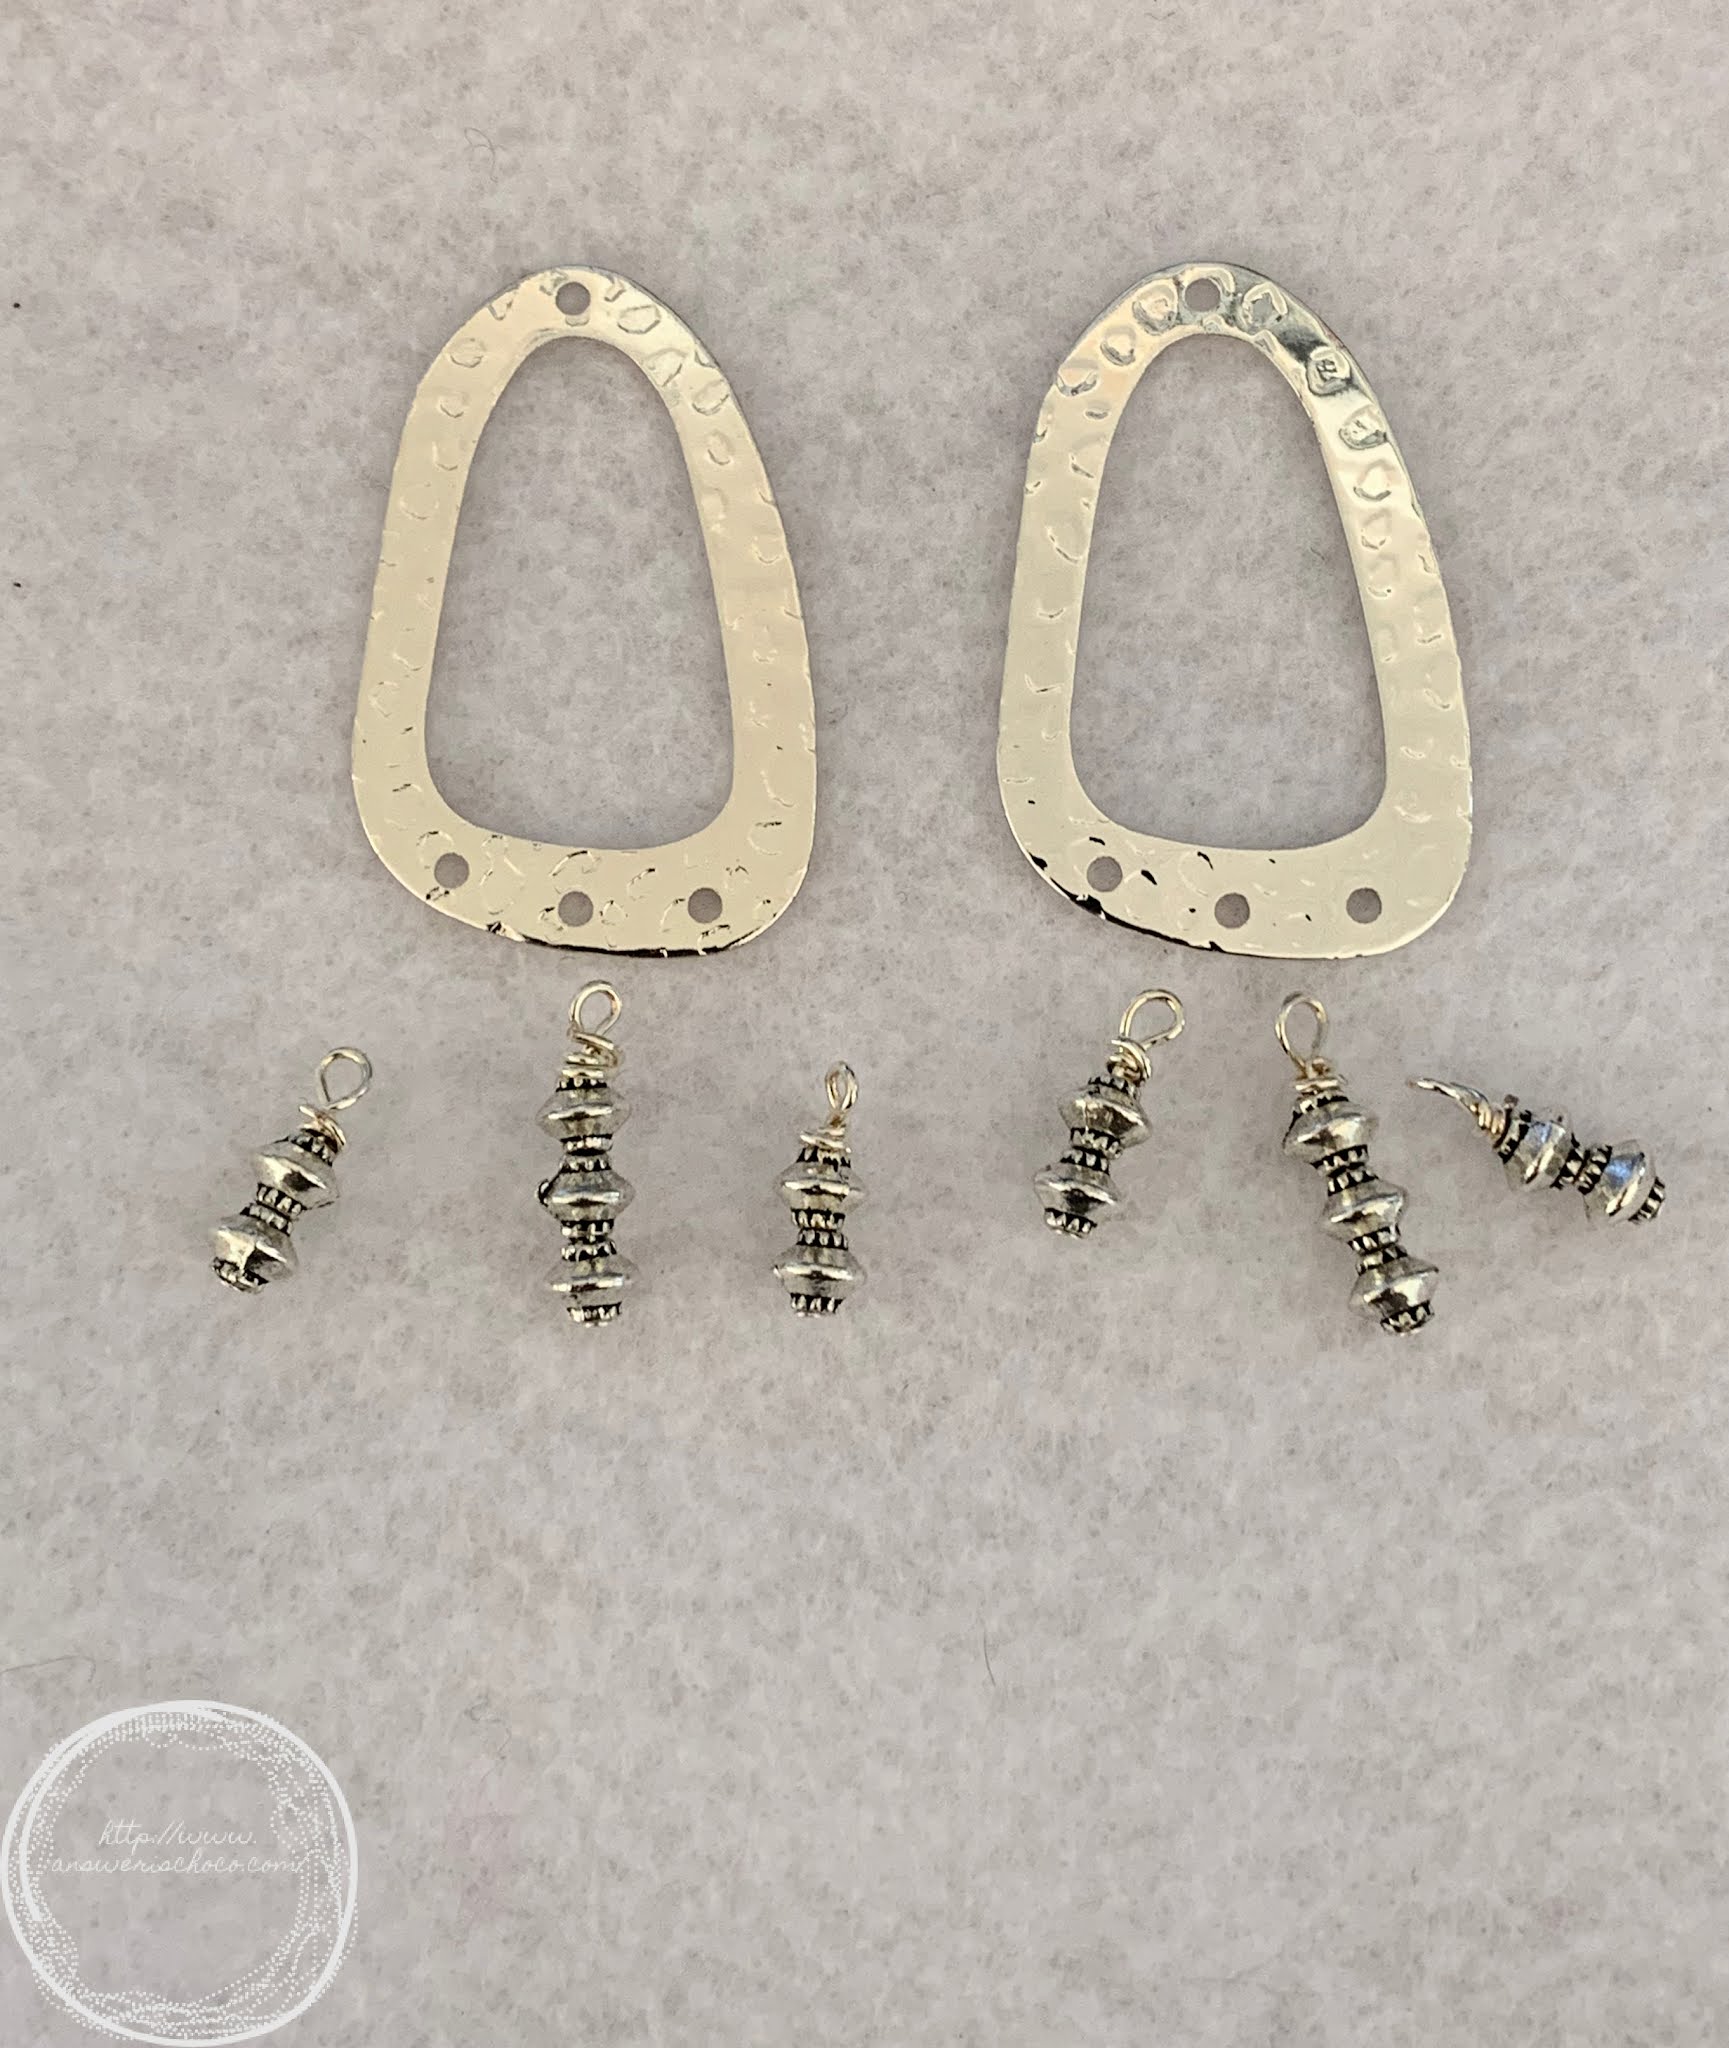
Since the main component had three holes I decided to make three beaded dangles using three beads for the middle and two beads for either side. String onto a Head Pin (these are the ones with flat ends vs Eye Pins which come with a pre-formed loop) and then finish with a wrapped loop.
For clip wearers like me, glue the clip backing to the piece to a flat back pendant shown in the supplies.
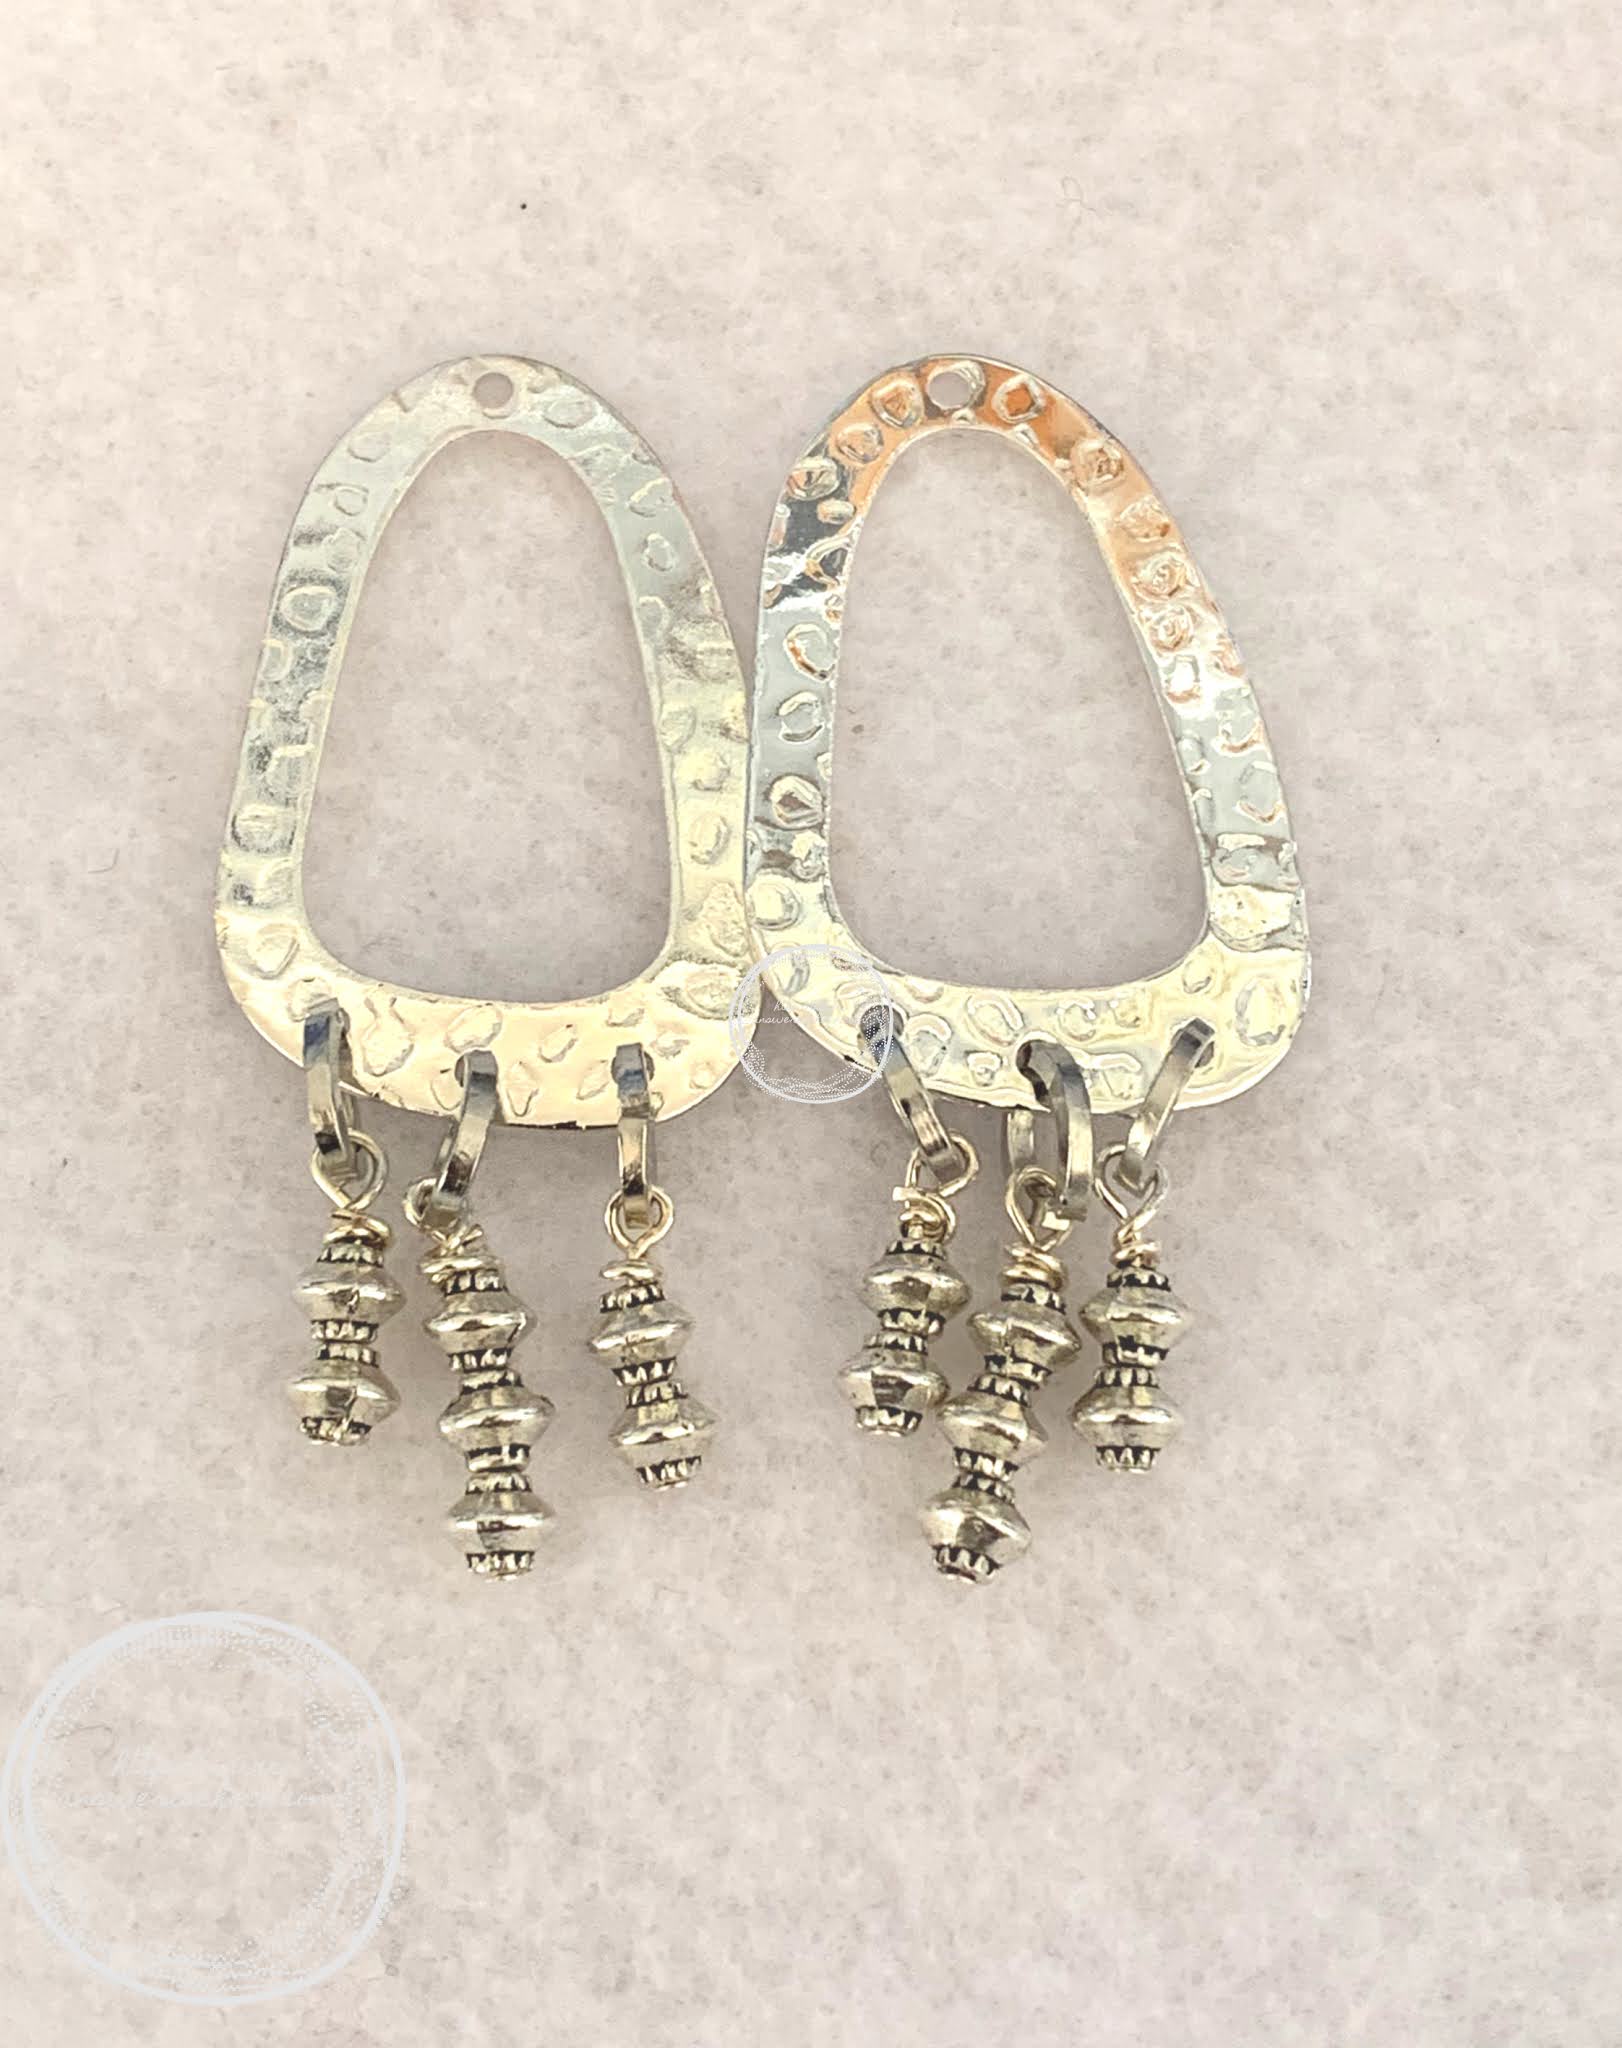
Attach the beaded dangles to the Hammered Silver component using jump rings. See How To Open and Close A Jump Ring here. Follow the same process to attach to the earring base or ear wire. And then you're done and you have another pair of earrings easy peasey!

Maybe I'll call them my Moving Earrings. Ha!