

So confession time- I never used to like doughnuts. Growing up, I remember going to pick up doughnuts and everyone in my family would pick the one they wanted and I always asked for a muffin. This continued into adulthood. My friends at work would tell me how the chocolate Long Johns that they served for grandparents day breakfast were the best Long Johns in the world, and I could care less. Then…we moved to Chicago. I don’t know what it is about Chicago doughnuts. Our favorite place to get them here is a shop called DoRite Donuts. The vanilla bean glazed yeasted donut that they make was a total game changer for me. All the sudden I was totally into doughnuts. We have taken all our guests who visit us to get them even if they don’t like donuts…..I’m looking at you Miss Lynne…we have also had multiple doughnut themed birthday parties for our kids. They sometimes try to convince us that other national donut chains have better doughnuts than some of the cool local donut shops in Chicago, but we know better. So, when trying to decide what new and challenging recipe I should make recently, I realized that I have never tried to make doughnuts. This ideas was also spurred on by my friend Mike who recently started sending me recipes from the Missouri Sesquicentennial Edition Cookbook. He sent me some very interesting sounding savory dishes but I was most intrigued by all the recipes for doughnuts in the cookbook. I finally landed on a recipe from bon appetit for Maple Glazed Doughnuts. I loved that the base of the doughnut was a delicious sounding enriched dough with a yummy fall maple glaze on top. Interesting side note, I also did not like maple syrup until about 3 years ago either. It is so funny how your tastebuds change. I opted to double the batch so that I could also try to replicate my favorite vanilla bean glaze on some of the doughnuts as well. It was a pretty big learning curve for me frying a dough for the first time, but the results were yummy and I’m super thankful to all the teachers at my son’s school who took all the extra doughnuts I made – they are the best!

The ingredients needed for the doughnuts are – 1 1/2 cups whole milk, 2 tablespoons active dry yeast, 1/2 cup granulated sugar, 7 cups (+3 tablespoons all purpose flour), 2 teaspoons course sea salt, 4 eggs, 4 egg yolks, 12 tablespoons unsalted room temperature butter cut into pieces + more for the bowl.
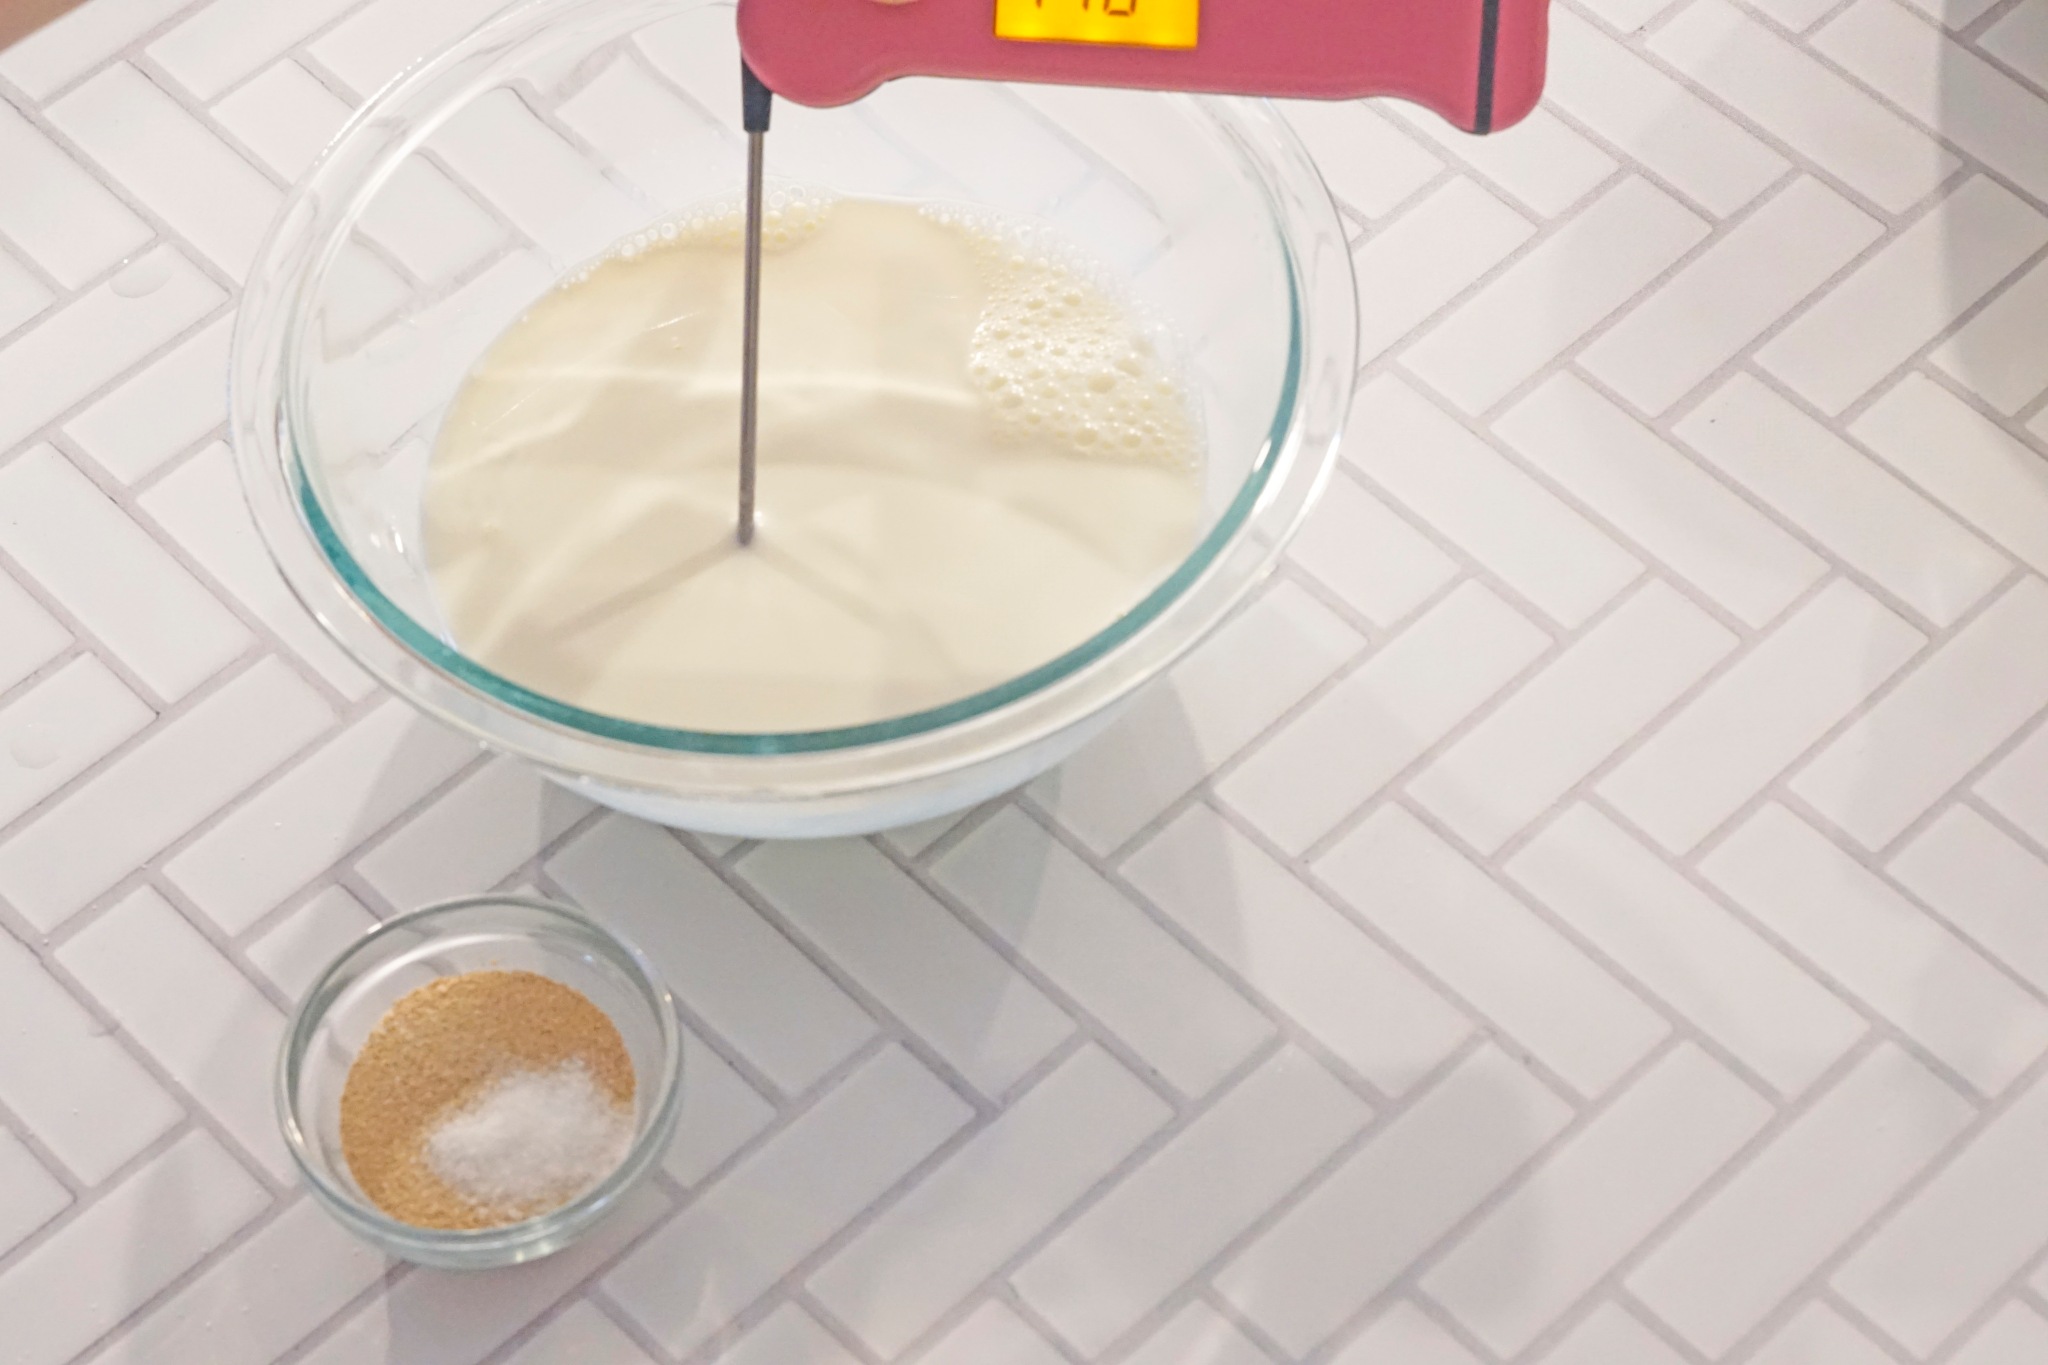

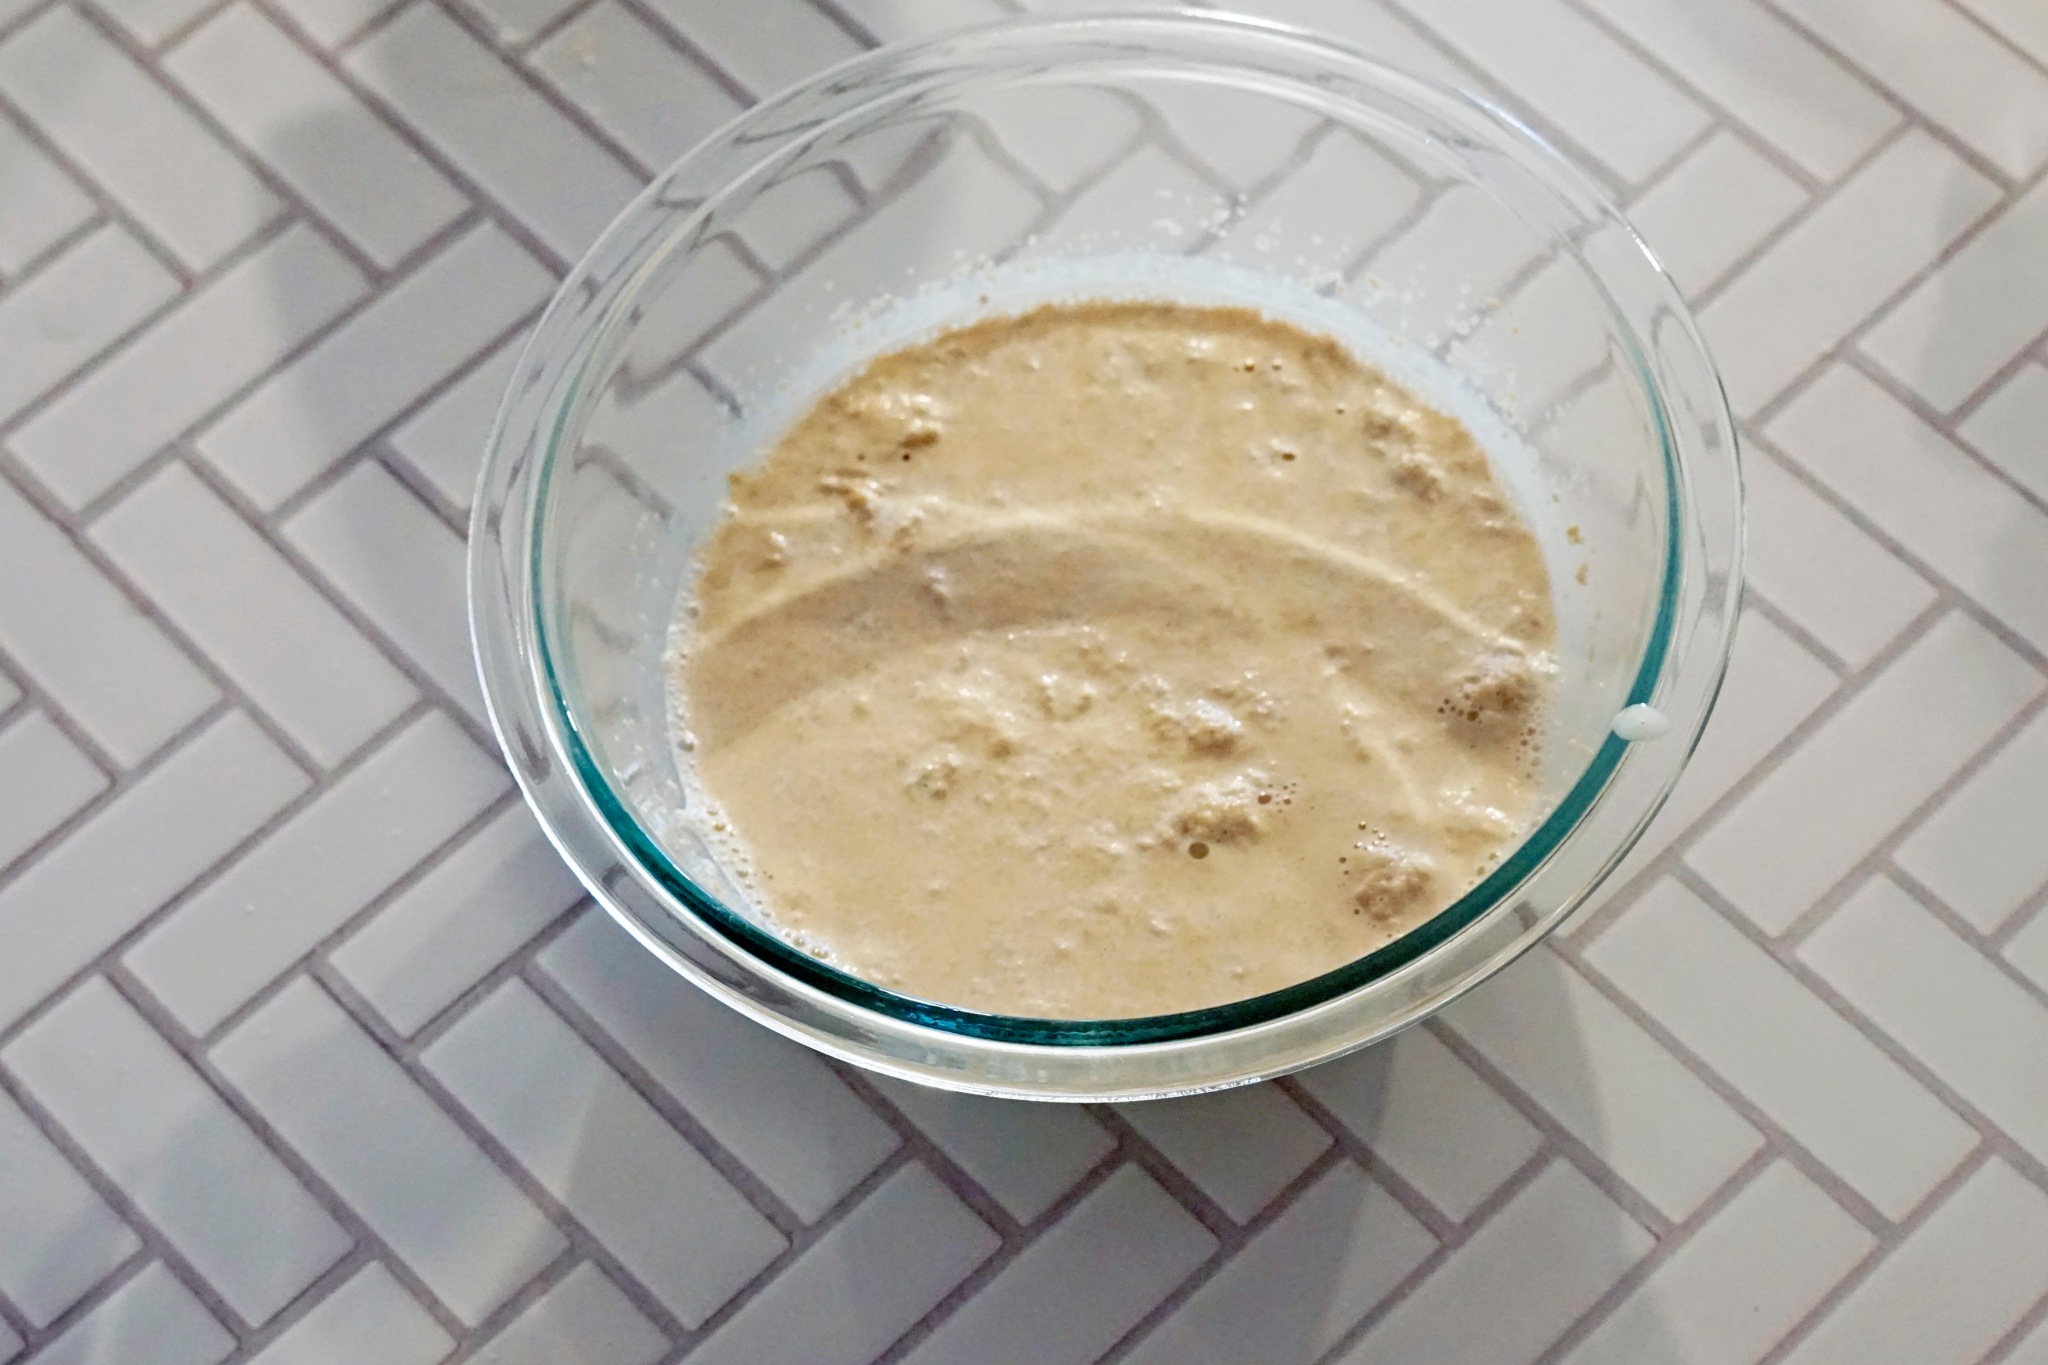
To begin making the dough, the yeast needs to be activated. I heated my milk to 110-115 F degrees. Everyone always says just until warm to the touch, but I’ve overheated it and killed my yeast too many times to count so I always uses my thermometer to double check before I sprinkle in the yeast and a large pinch of sugar. I sprinkled it over the top and then used a whisk to briefly mix it all together. I let it sit for 5 minutes to make sure that the yeast would begin to bubble and activate.
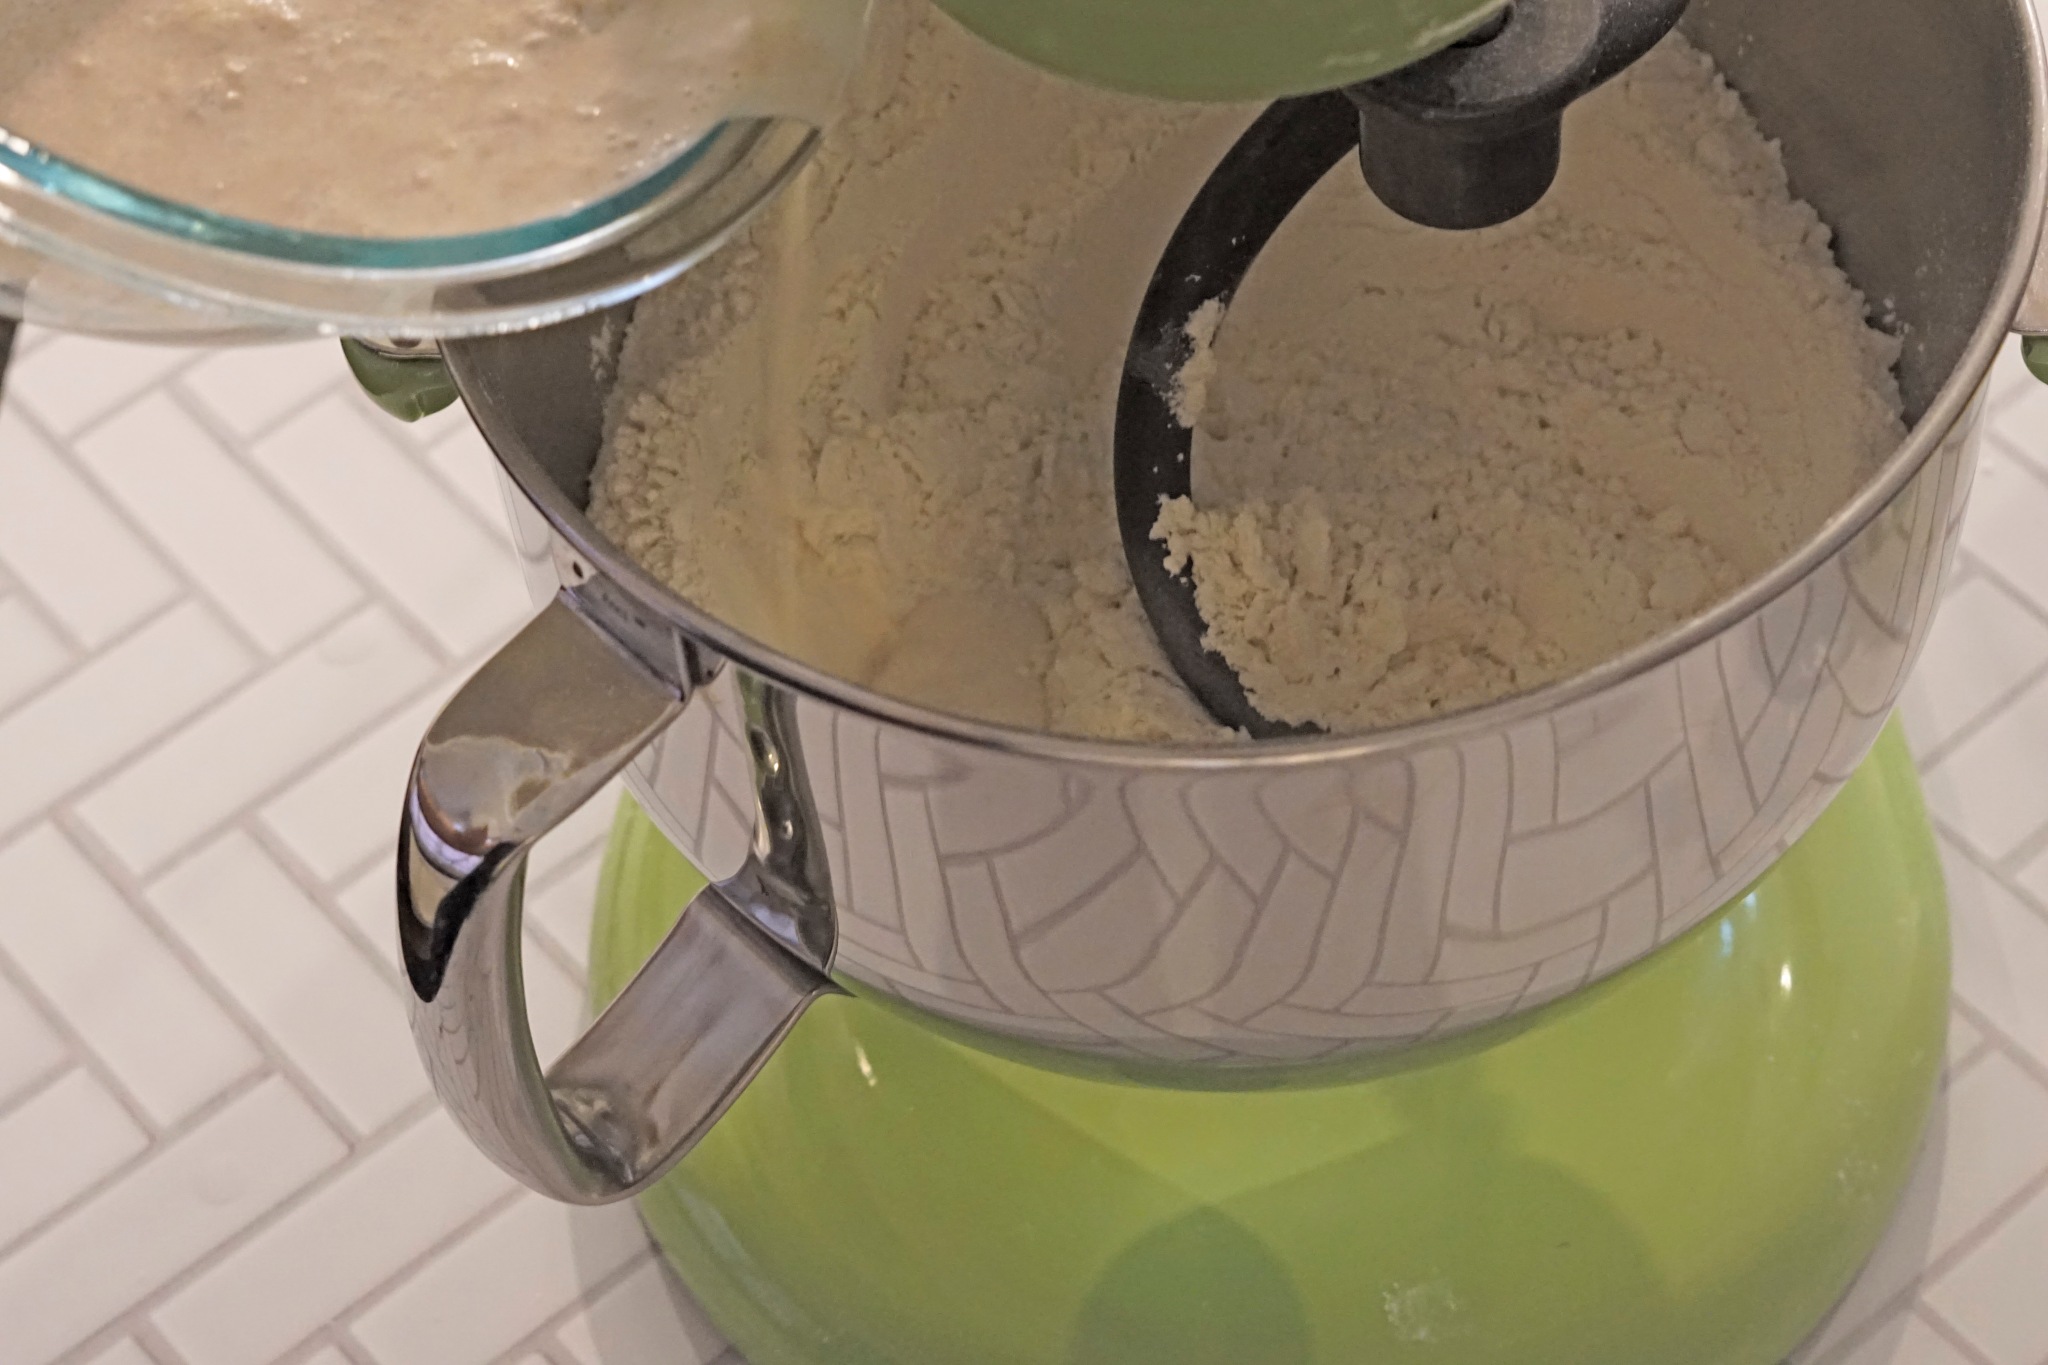


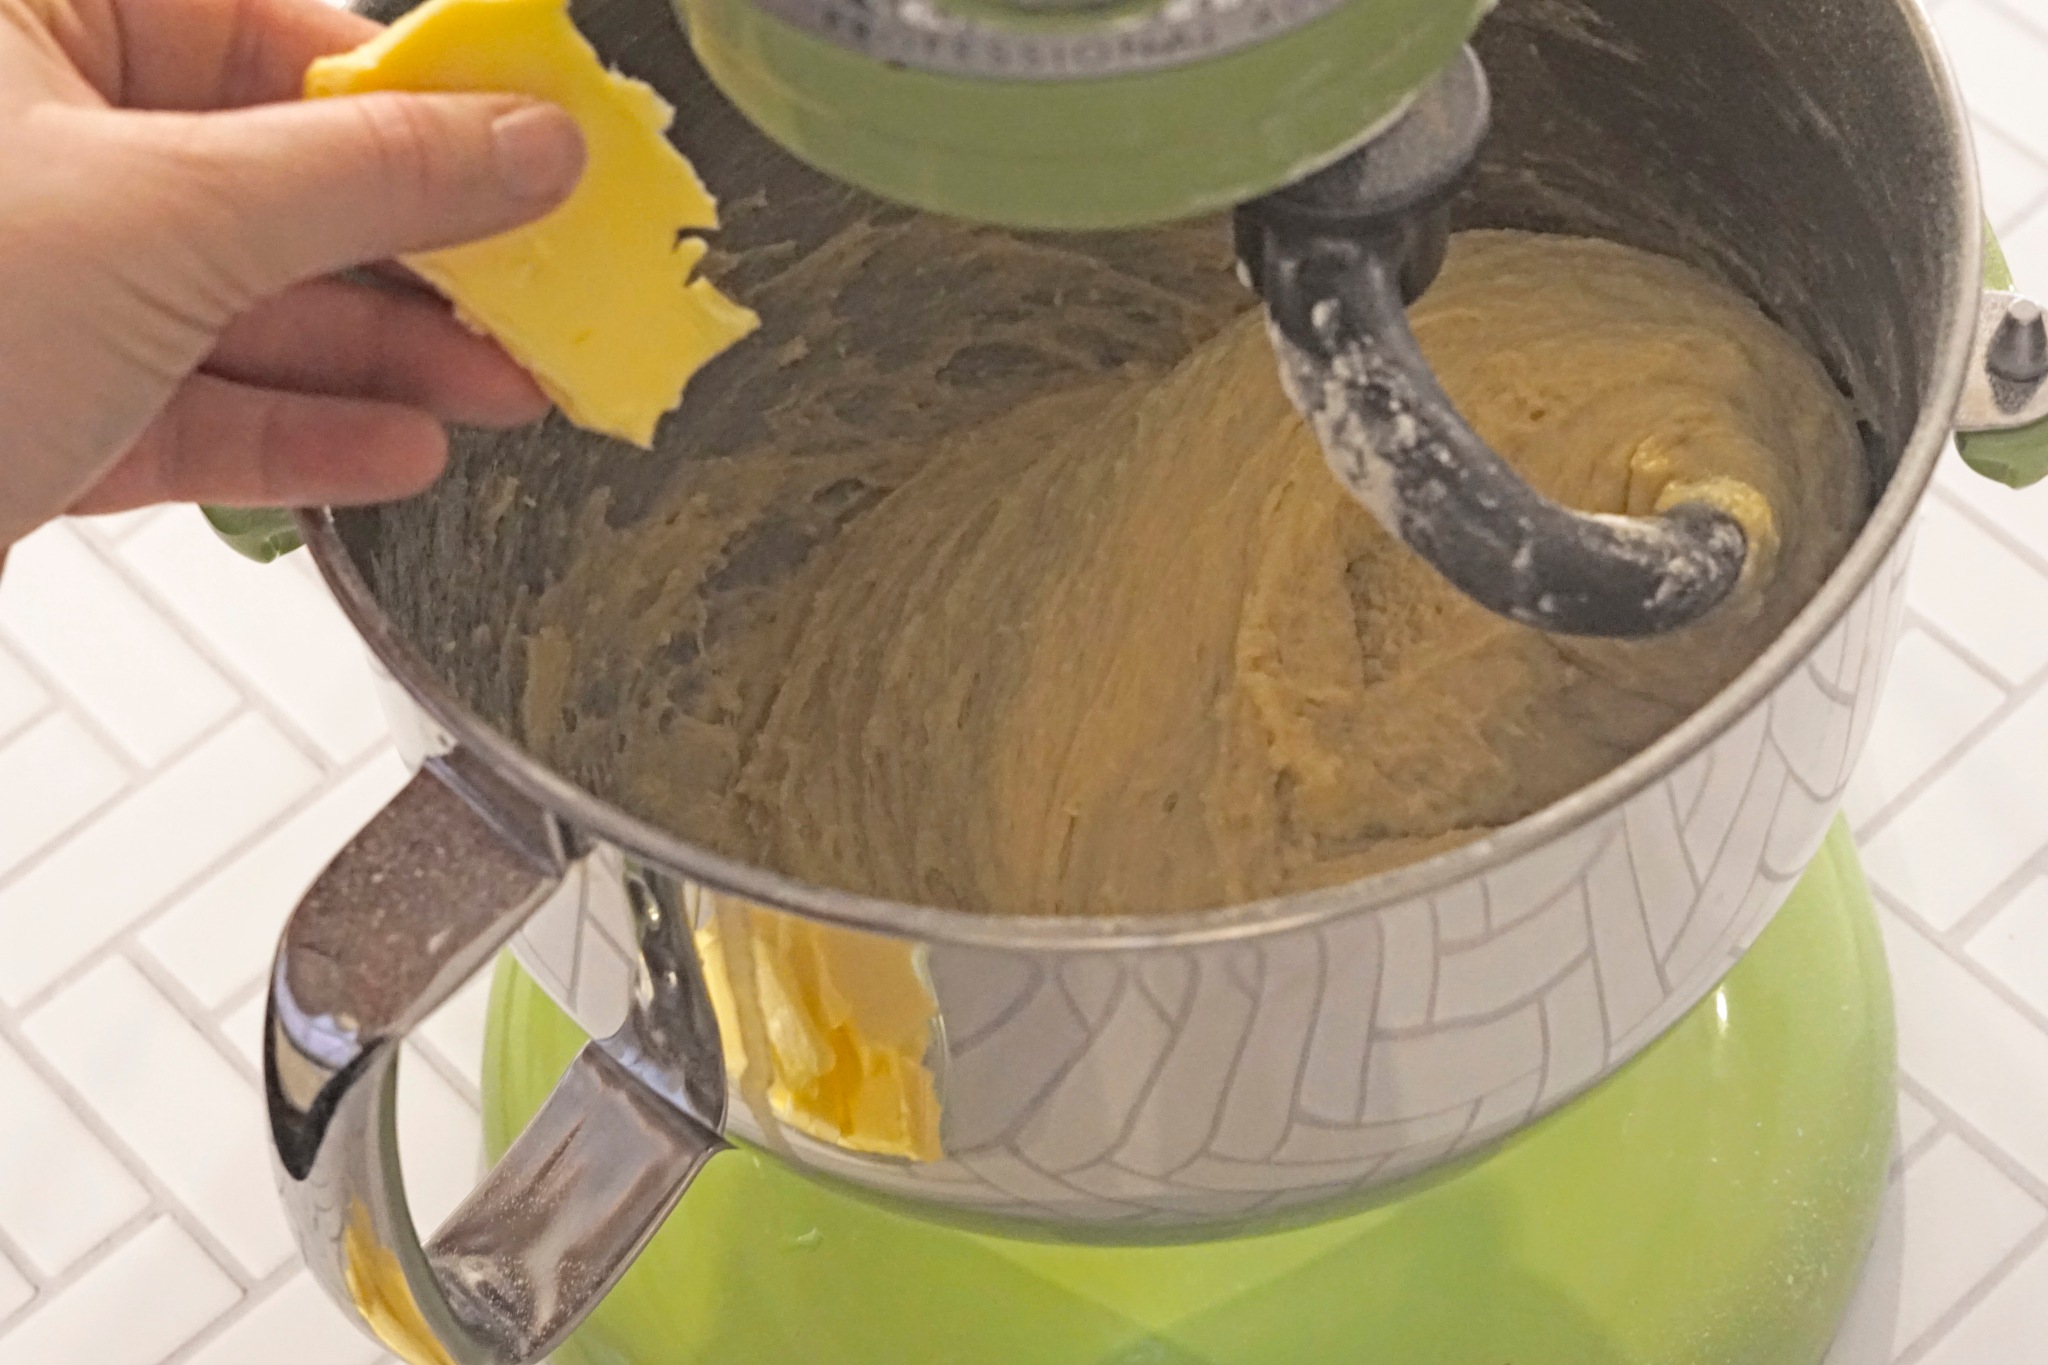


In the bowl of my stand mixer with my dough hook, I added my flour, salt and remaining sugar. I ran the hook for a little bit to mix all the dry ingredients together. Then while the mixer was still on low, I added in the milk mixture, followed by the eggs and egg yolks one at a time. I mixed well between each egg. I let the mixer run and work everything together for 3 minutes. I ended up adding in 3 tablespoons of flour to help it all come together and be workable – just don’t add too much or your dough will be tough. Next, I added in the butter, 1 piece at a time and let the dough hook fold it and work it into the dough. It can take some time and you may need to stop and use your spatula to help the butter begin to fold into the dough. Once most of the butter is incorporated, turn the mixer up to medium speed and let the dough work for 8 minutes. You will notice the dough becomes shinny, smooth and elastic as it kneads. This dough is different from some other bread doughs that feel like you can pick it up and easily manipulate it, this one is more fluid than that, so don’t worry and add lots of flour here. I have totally done that in the past and the results are not fantastic.
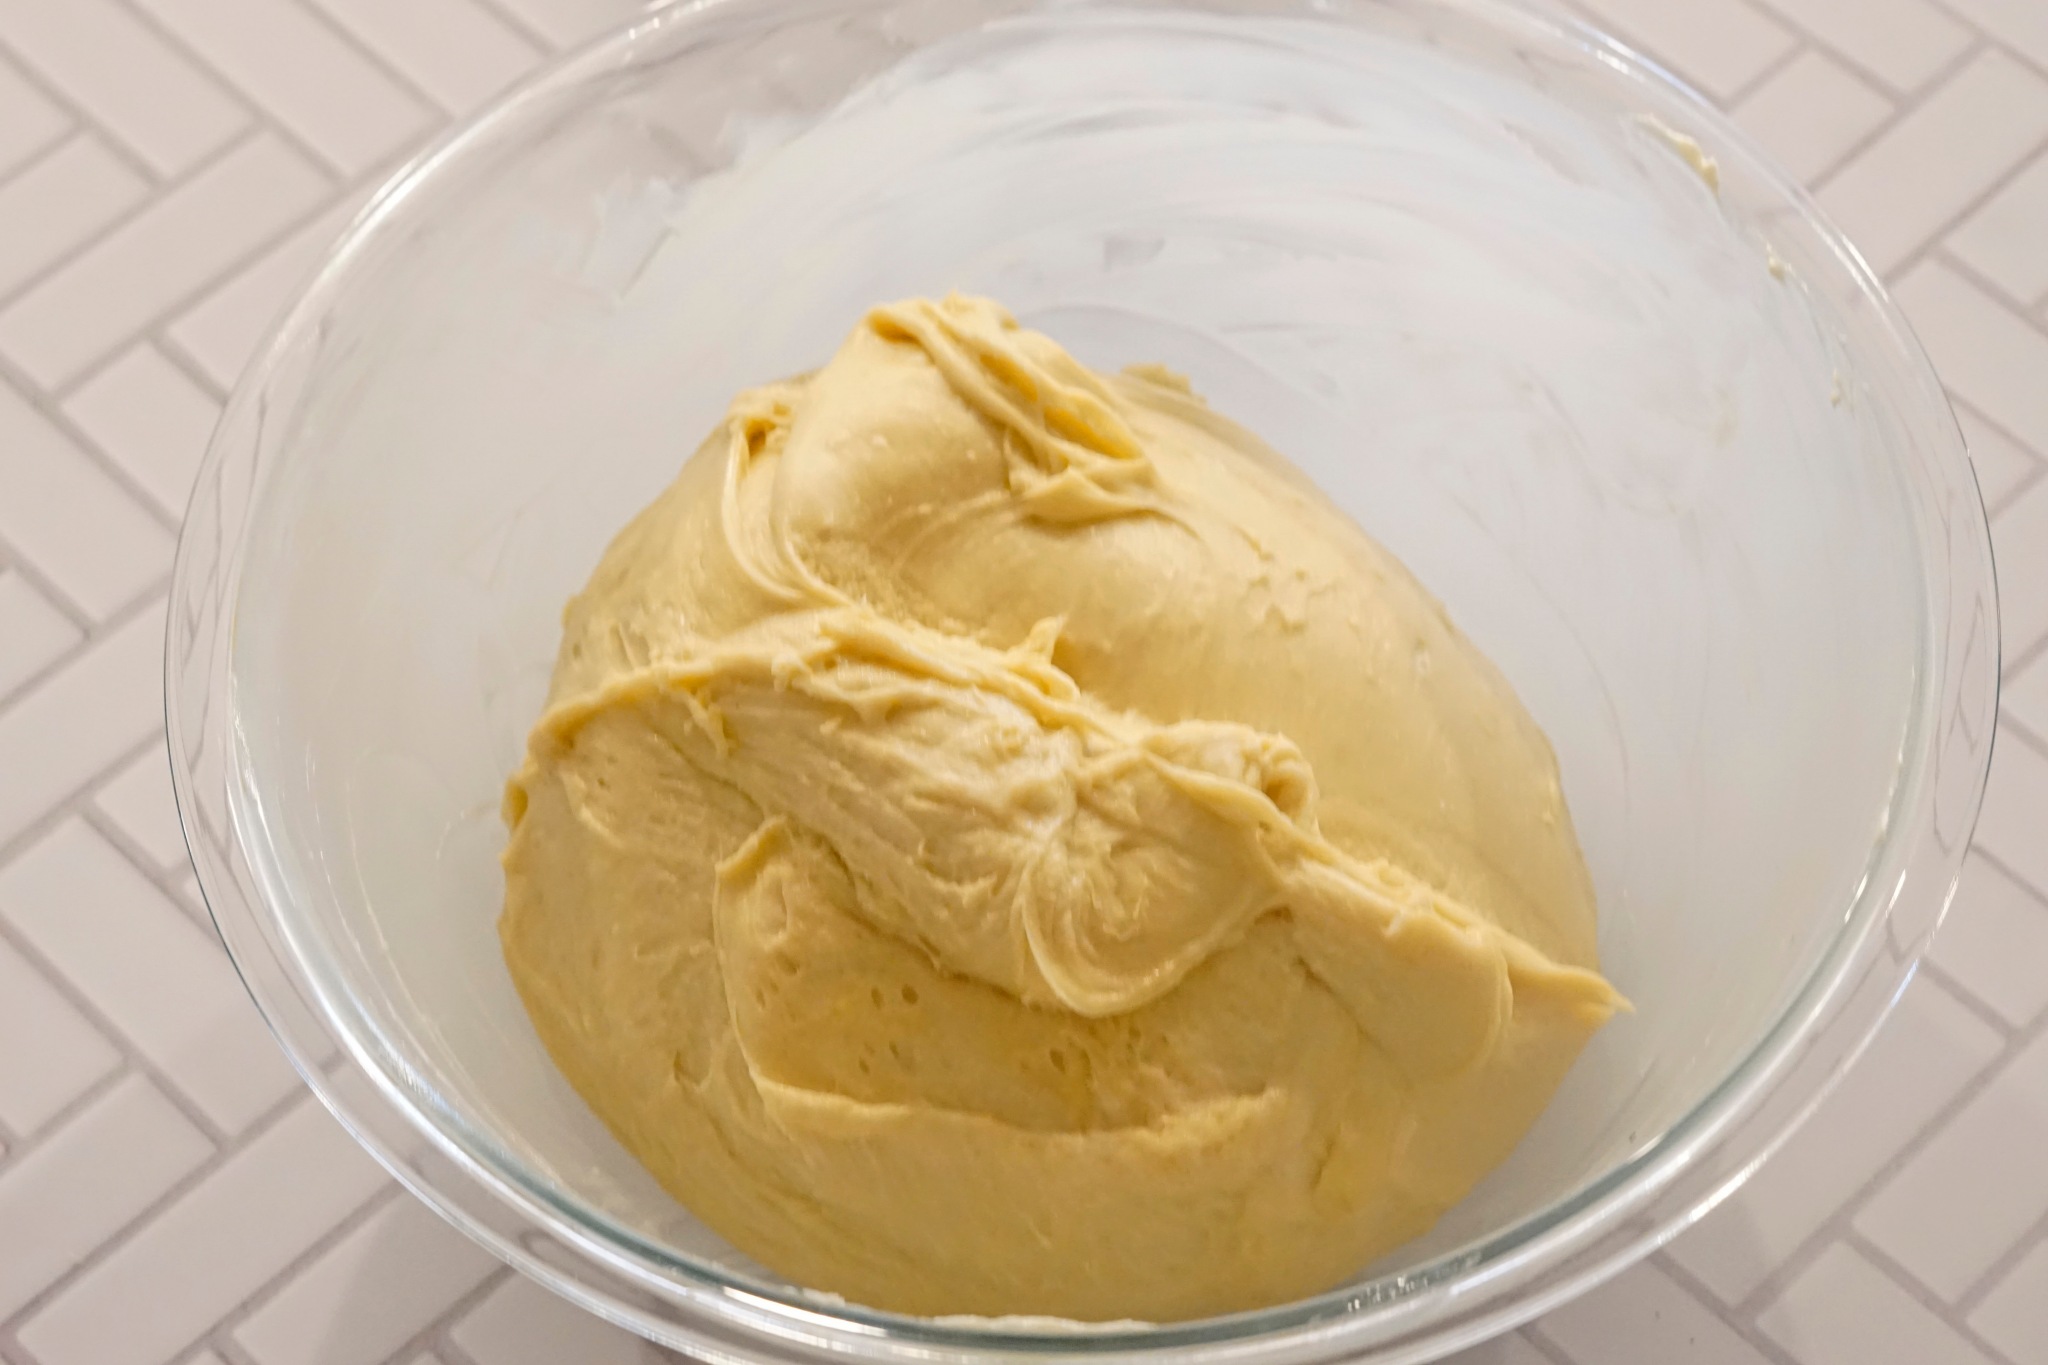


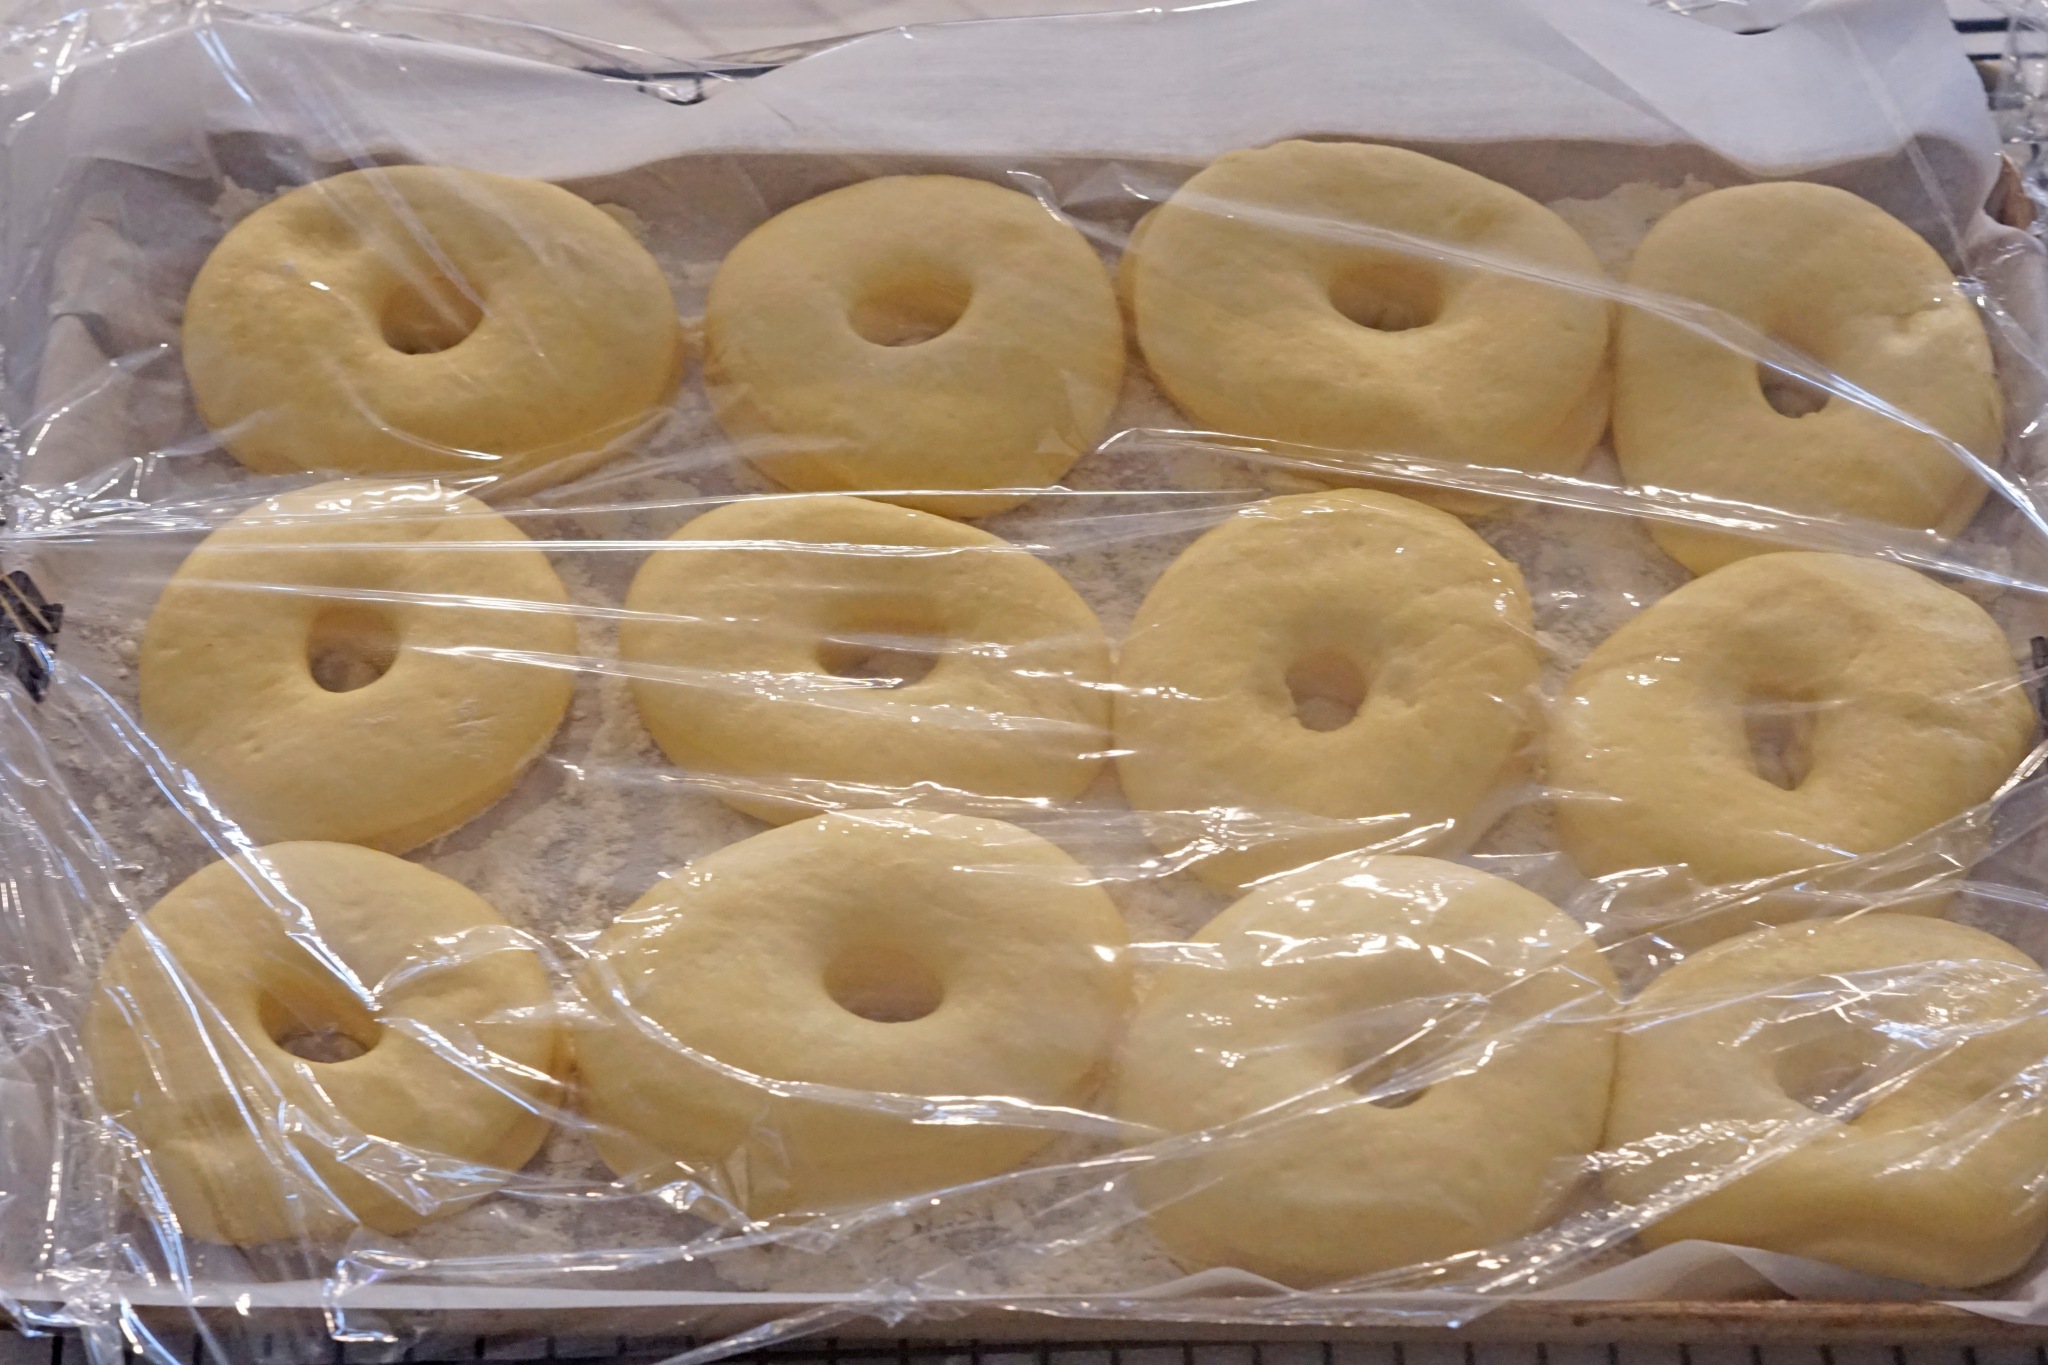
I buttered a large glass bowl generously with softened butter and then used my bowl scraper to gather all the dough out of my mixing bowl and transfer it to the prepared bowl. I covered it and placed it into my oven on the proofing setting (100 F degrees). You can also place it on the counter in a draft free place but the oven works the best for me. I let it rise for 45 minutes and then dumped it out onto my dough mat that I sprinkled with flour. I rolled the dough out to roughly 1/2 inch thickness. Before I started punching out the dough, I lined baking sheets with parchment paper and generously sprinkled flour on top. Next, I used a 4 inch round circle cutter to cut out the doughnuts and then a 1 inch round circle cutter to cut out the middles for doughnut holes. I transferred the doughnuts and holes to the prepared sheets and then gathered the scraps and rerolled the dough to cut out as many doughnuts as possible. I ended up with 22 doughnuts and tons of doughnut holes. Then, I loosely covered the sheets with plastic wrap and put the trays back into my oven on the proofing setting (100 F degrees).


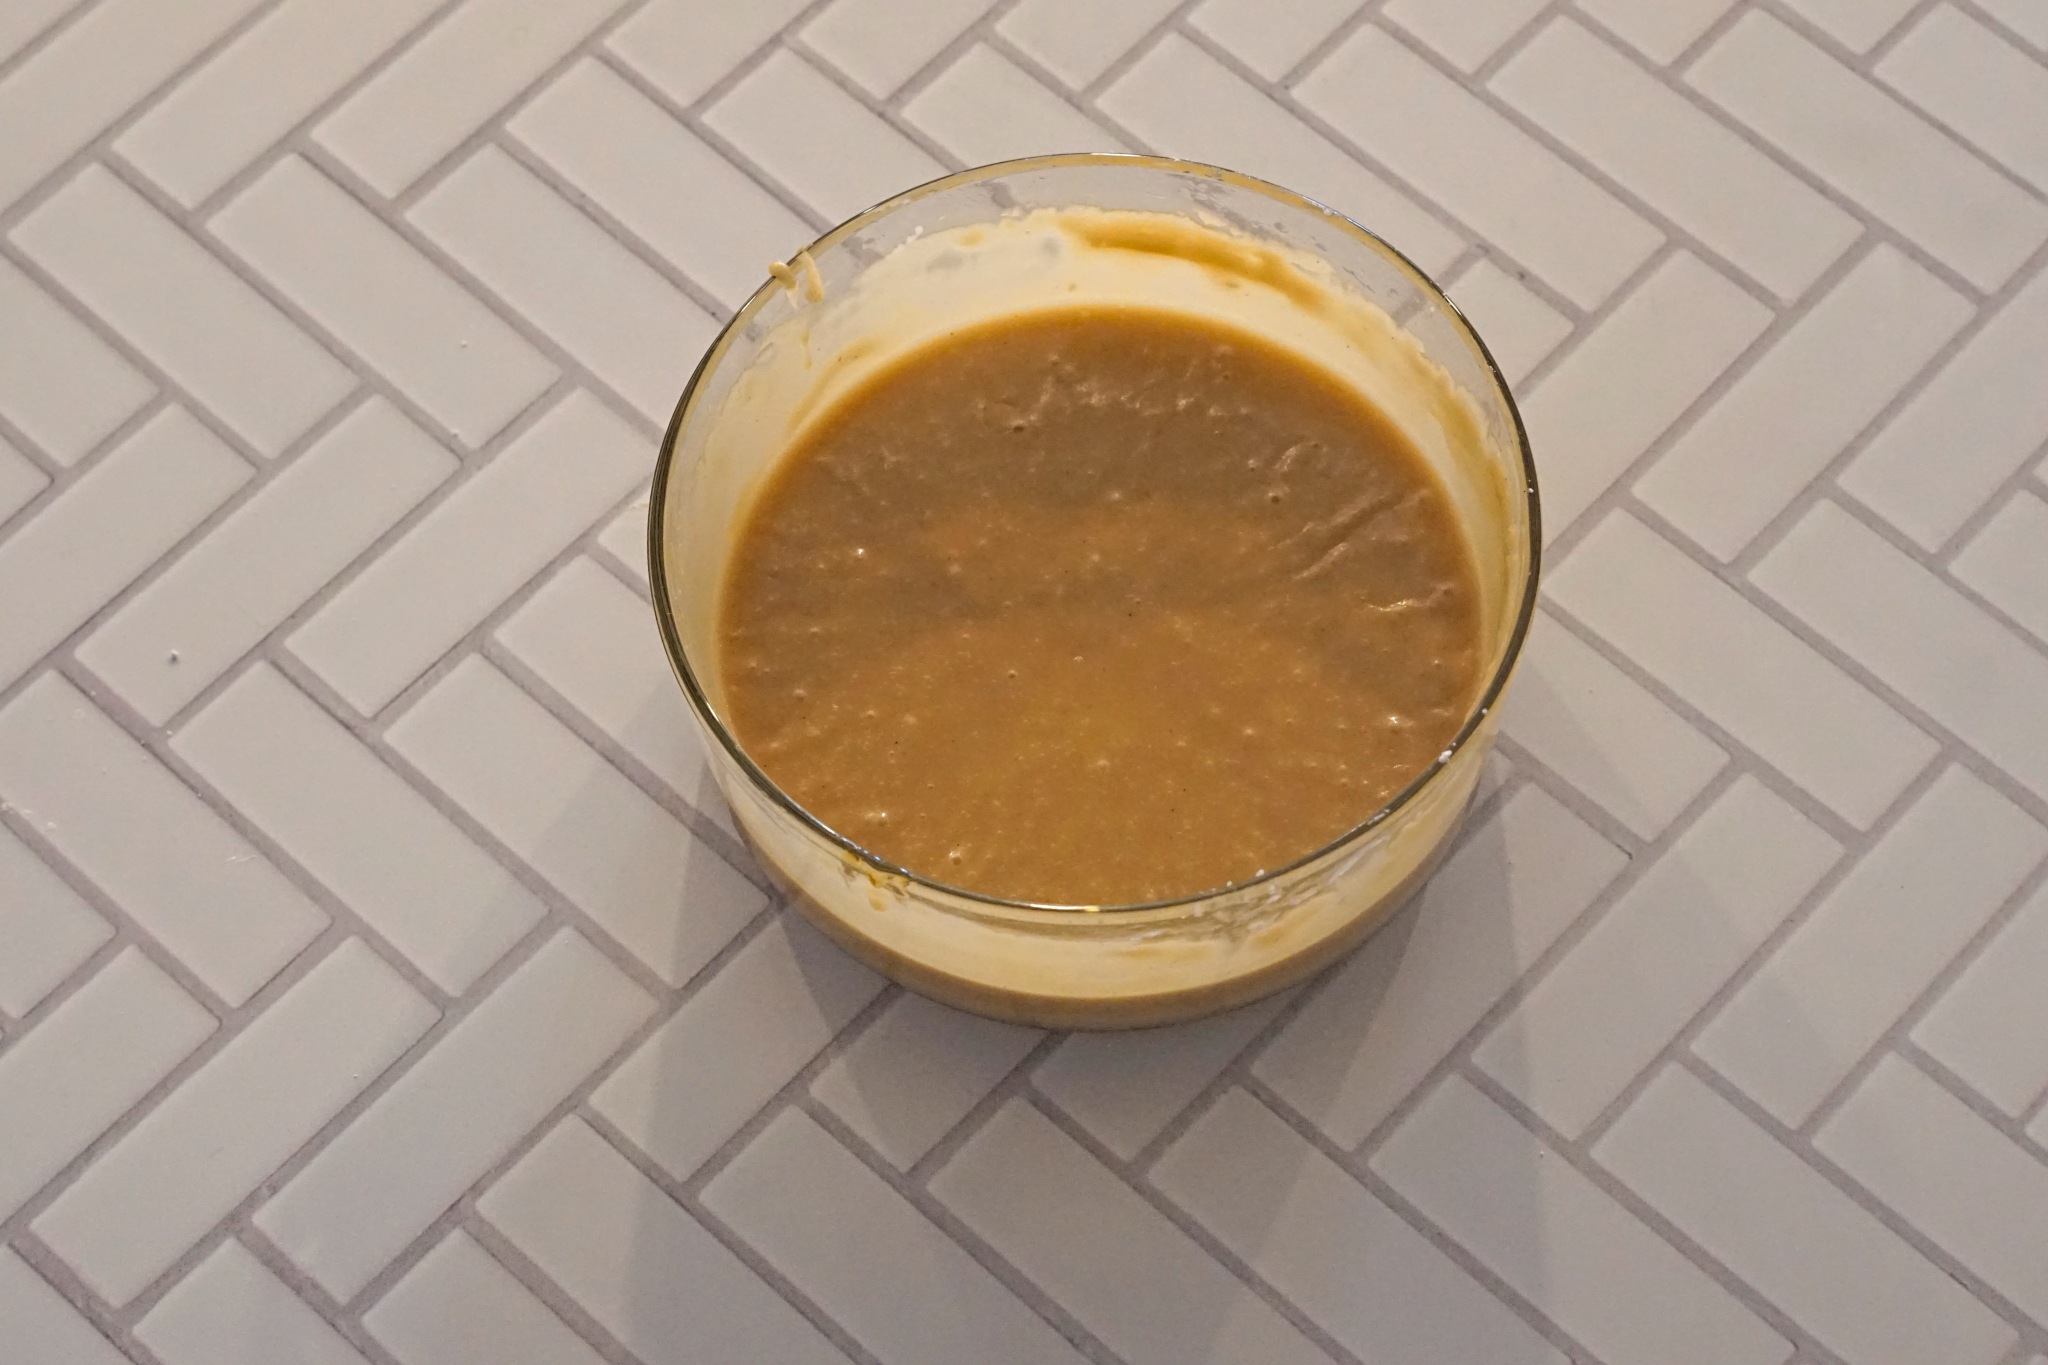
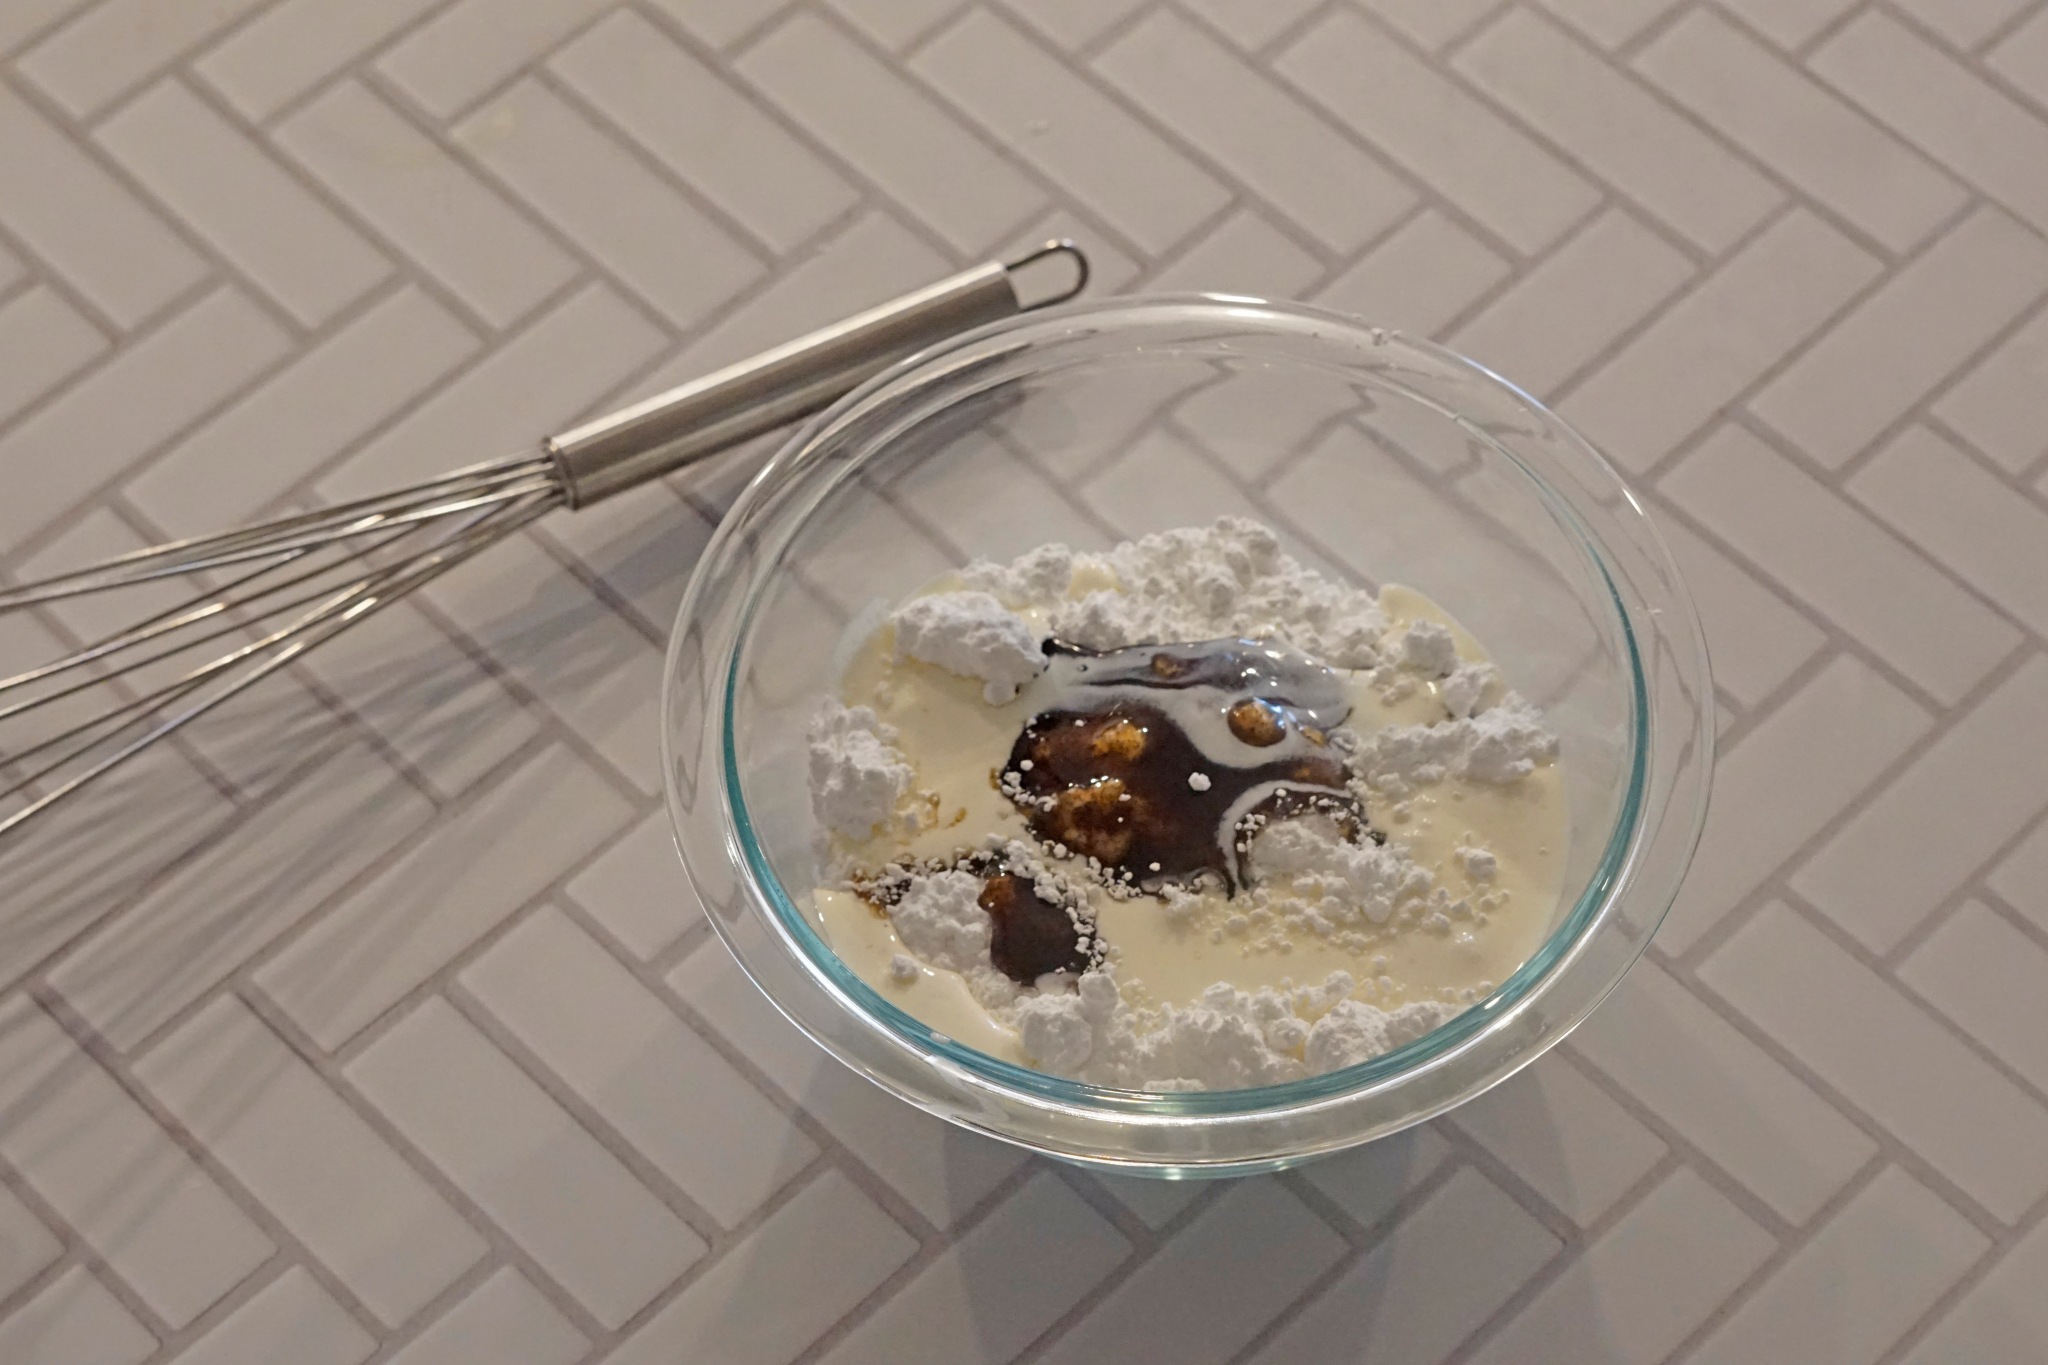


While the doughnuts are resting in the proofing oven, I prepared my glazes. The ingredients needed are 1 cup of maple syrup, 2 cups of powdered sugar – divided, 2 pinches of course sea salt, 1 tablespoon of vanilla bean paste and 4 tablespoons of whole milk divided. I placed the maple syrup in a saucepan and boiled it for 10 minutes to reduce it – I think that I probably needed more time to reduce the maple further. Then, I whisked it into the powered sugar and salt. I added the milk a little at a time until I reached a smooth consistency. For the vanilla bean glaze, I whisked together the powdered sugar, salt, vanilla bean paste and milk until I had a nice, smooth, glaze. I also lined a large baking sheet with paper towels and placed a cooling rack on top to catch the doughnuts after they came out of the oil.

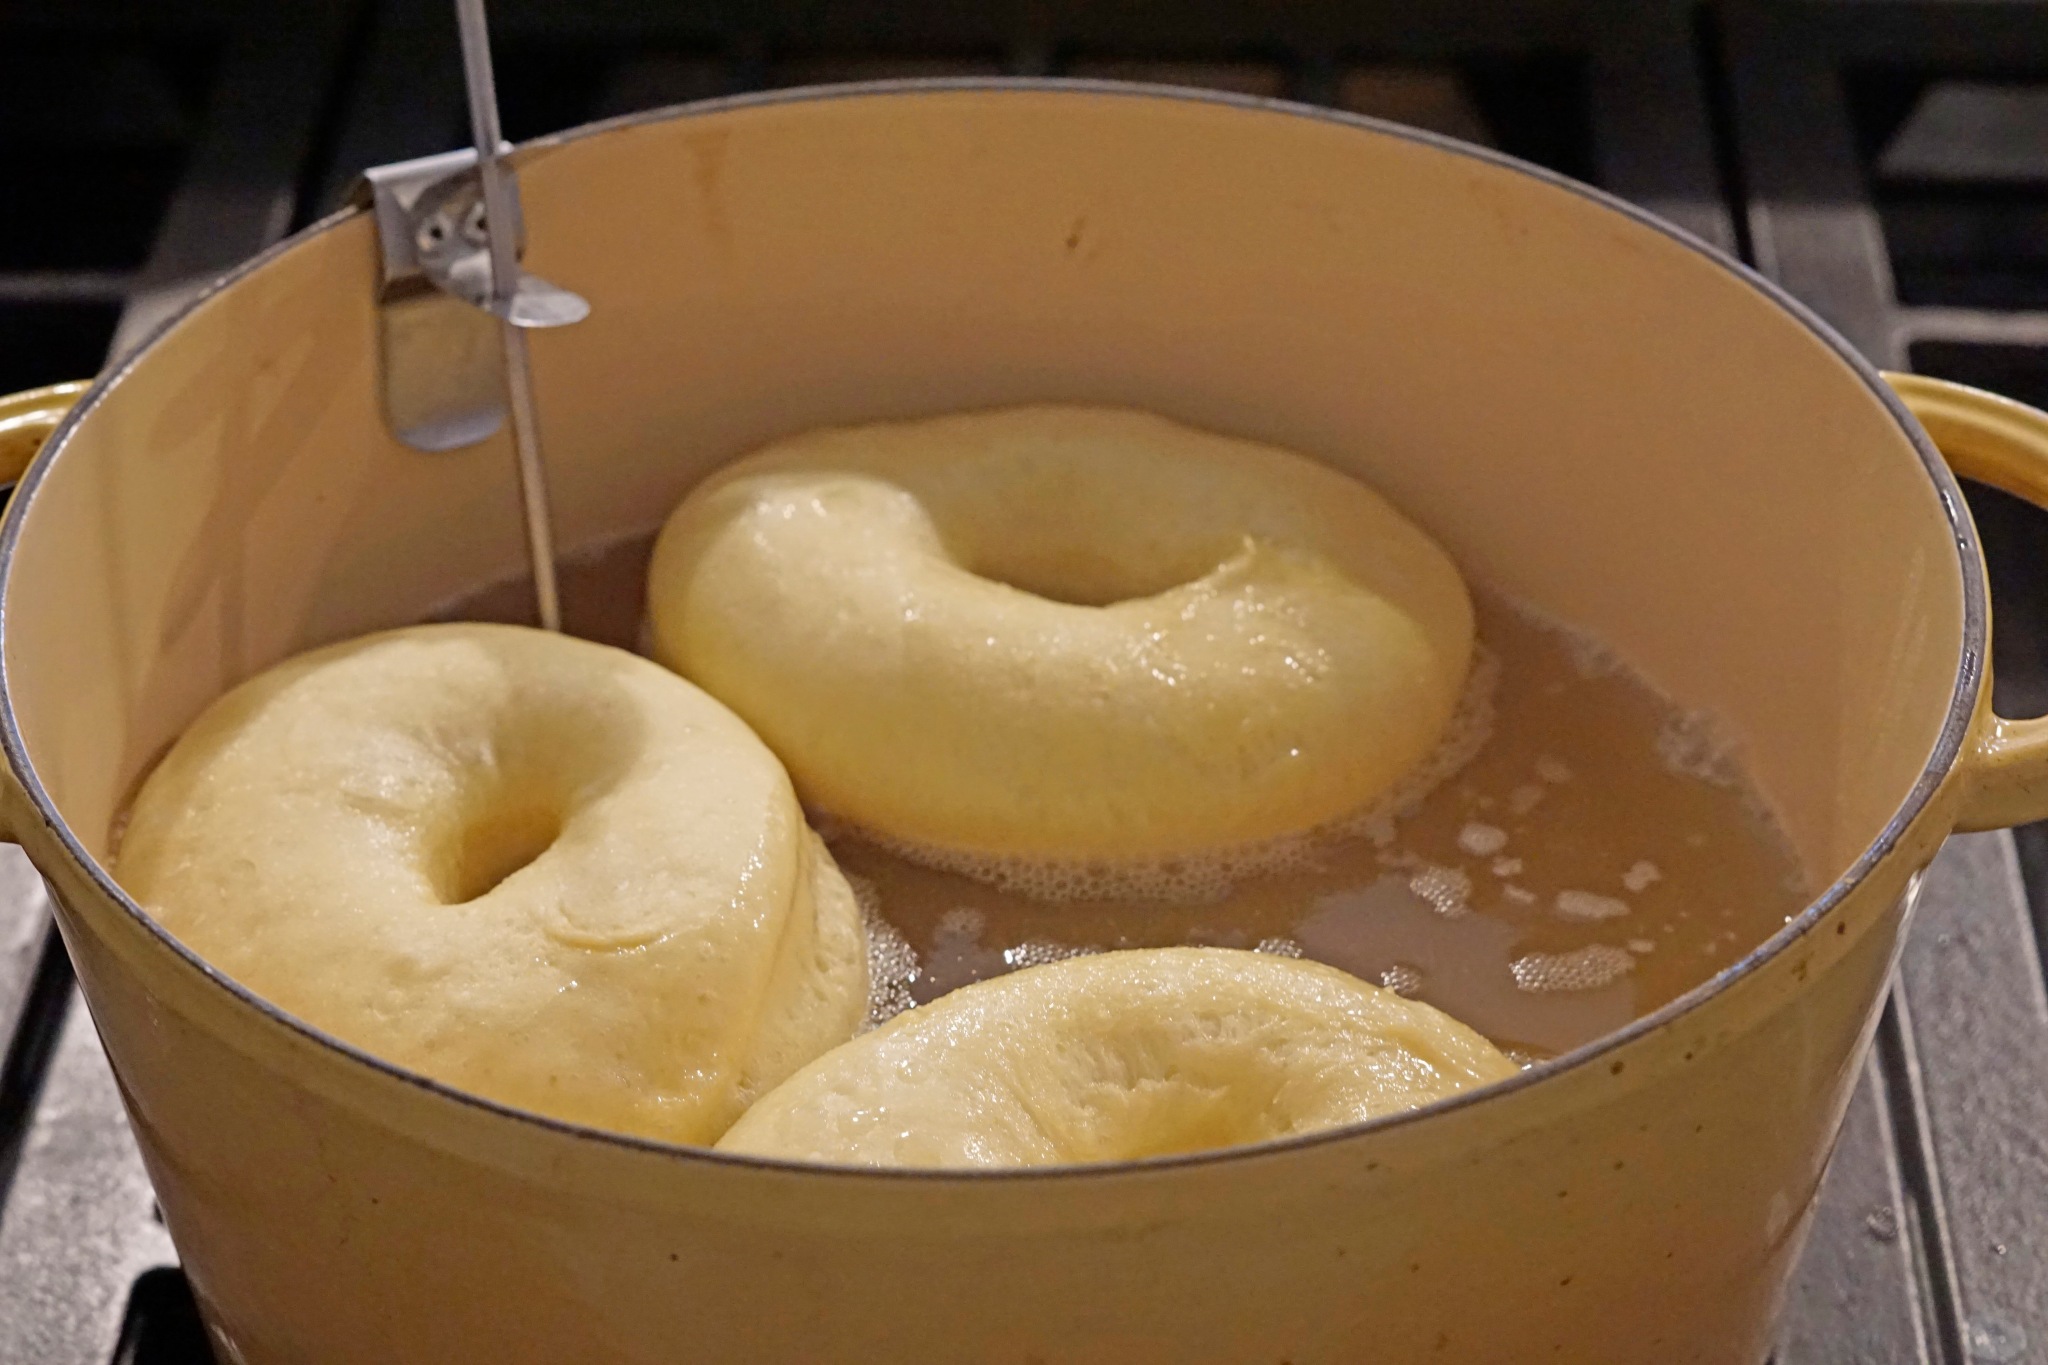

After I finished the glazes, I put my dutch oven on my stove and placed my clip on candy thermometer on the side and poured in 48 ounces of pure sunflower oil. I put the heat on medium so that it could begin to warm up while the doughnuts were proofing. I checked on the doughnuts at the 30 minute mark and the tray of doughnut from the original round of cutting was ready. I knew that they were ready because when I touched the dough it did not bounce back right away, but the ones that I had rerolled needed about 10 more minutes to be ready. Once the doughnuts were proofed enough, I pulled the trays out of the proofing oven and sent them on the counter and carefully watched the thermometer on the oil until the temperature reached 350 F degrees. Then I used my spider to carefully set 3 doughnuts at a time into the hot oil. I set a timer to fry the doughnut for 2 minutes. After 2 minutes, I flipped the doughnuts and fried them for 2 more minutes. You may need to watch the temperature as you add and remove batches of doughnuts. I had to raise and lower my heat a few times to keep the temperature around 350 F degrees.

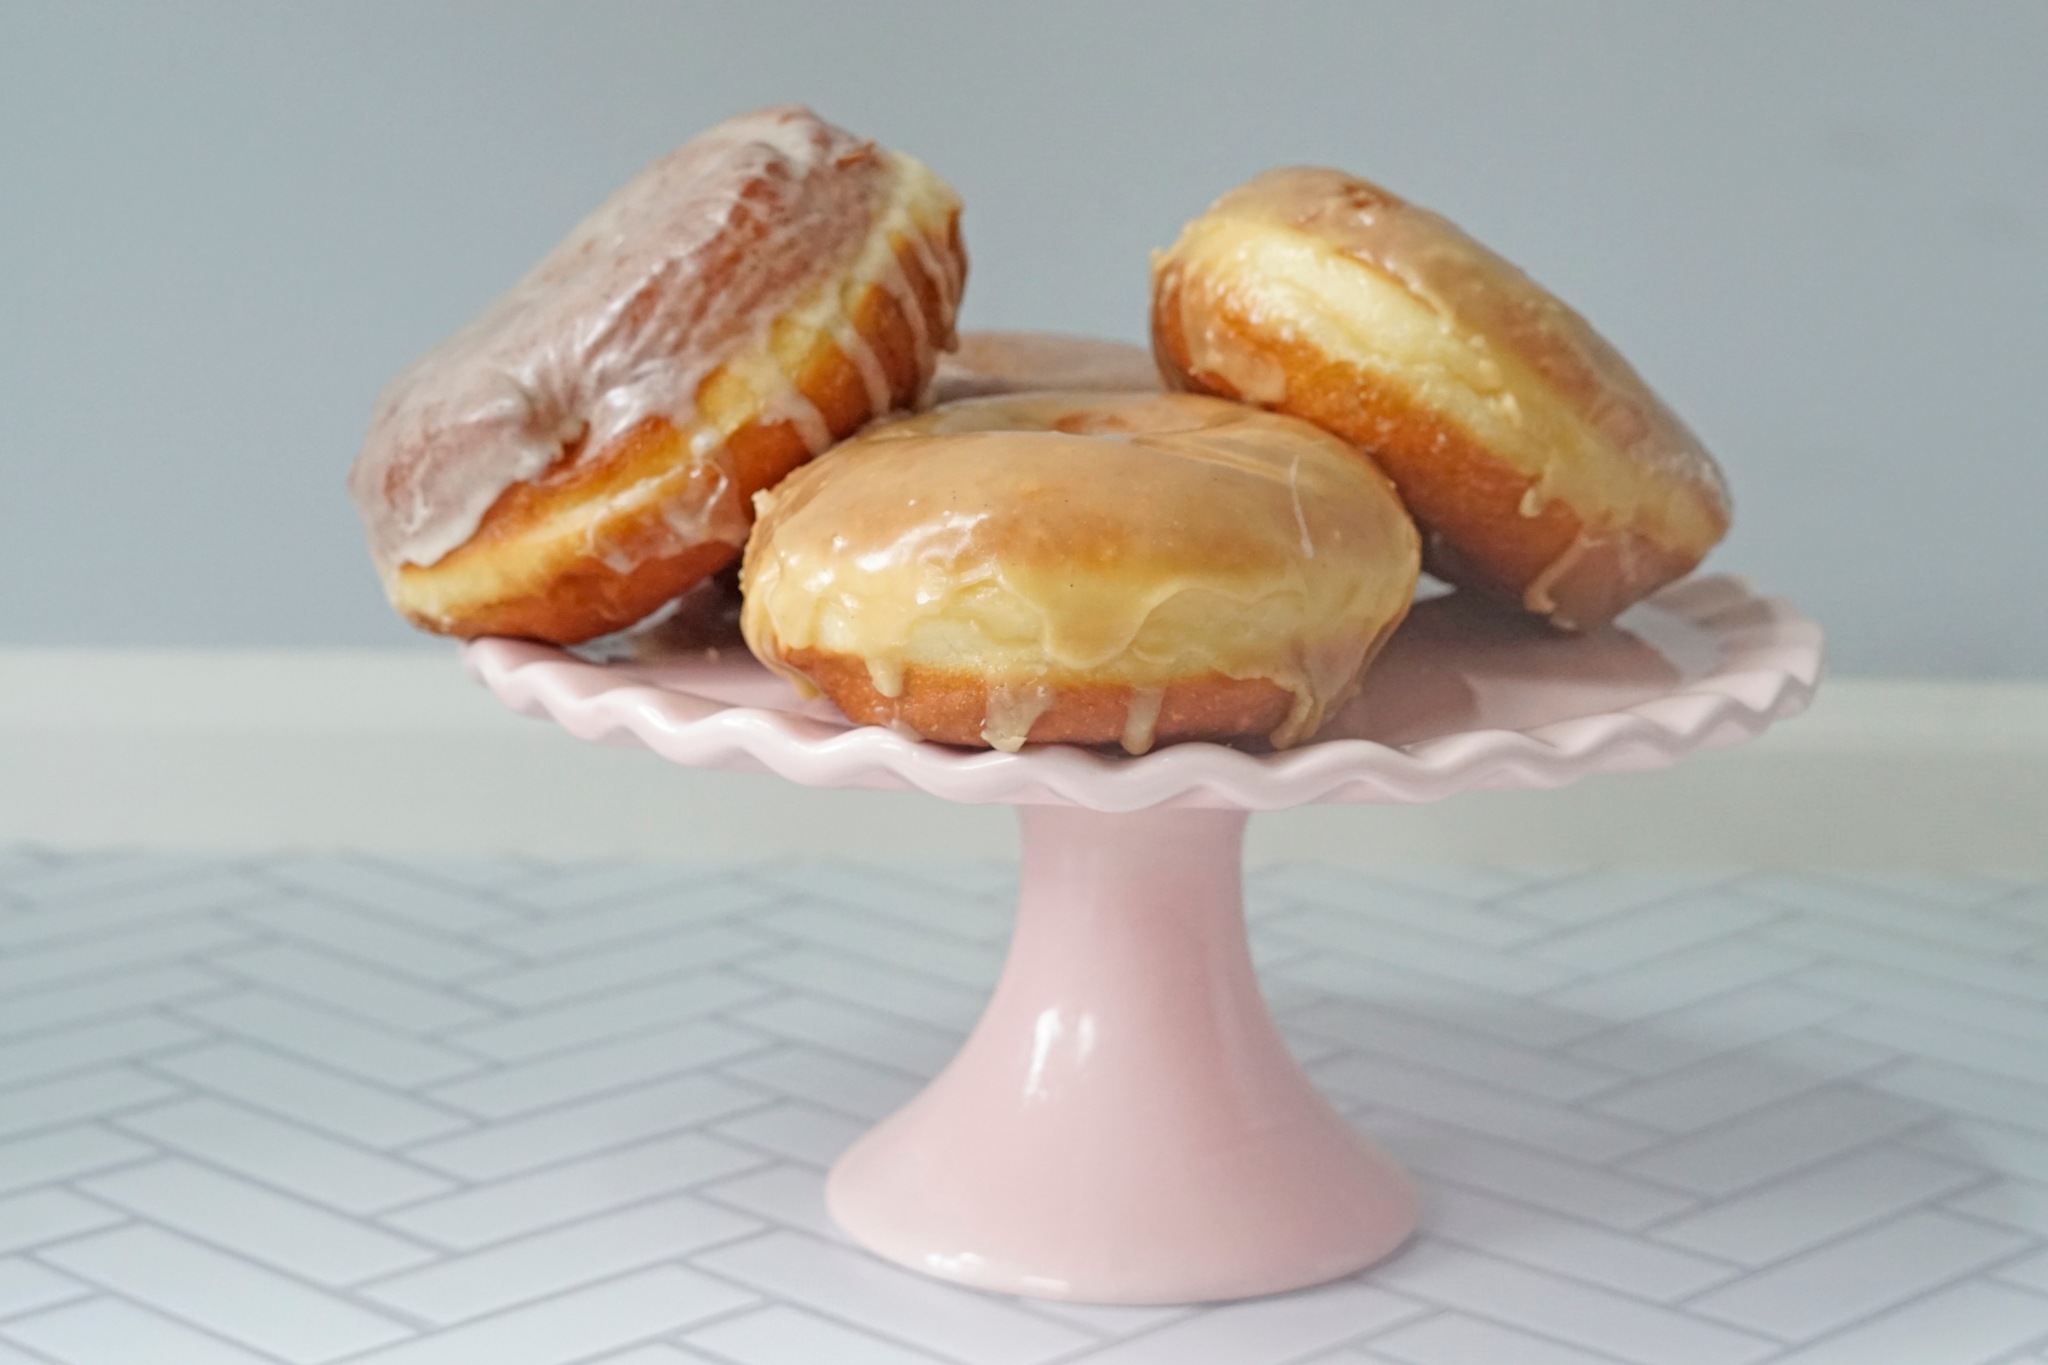
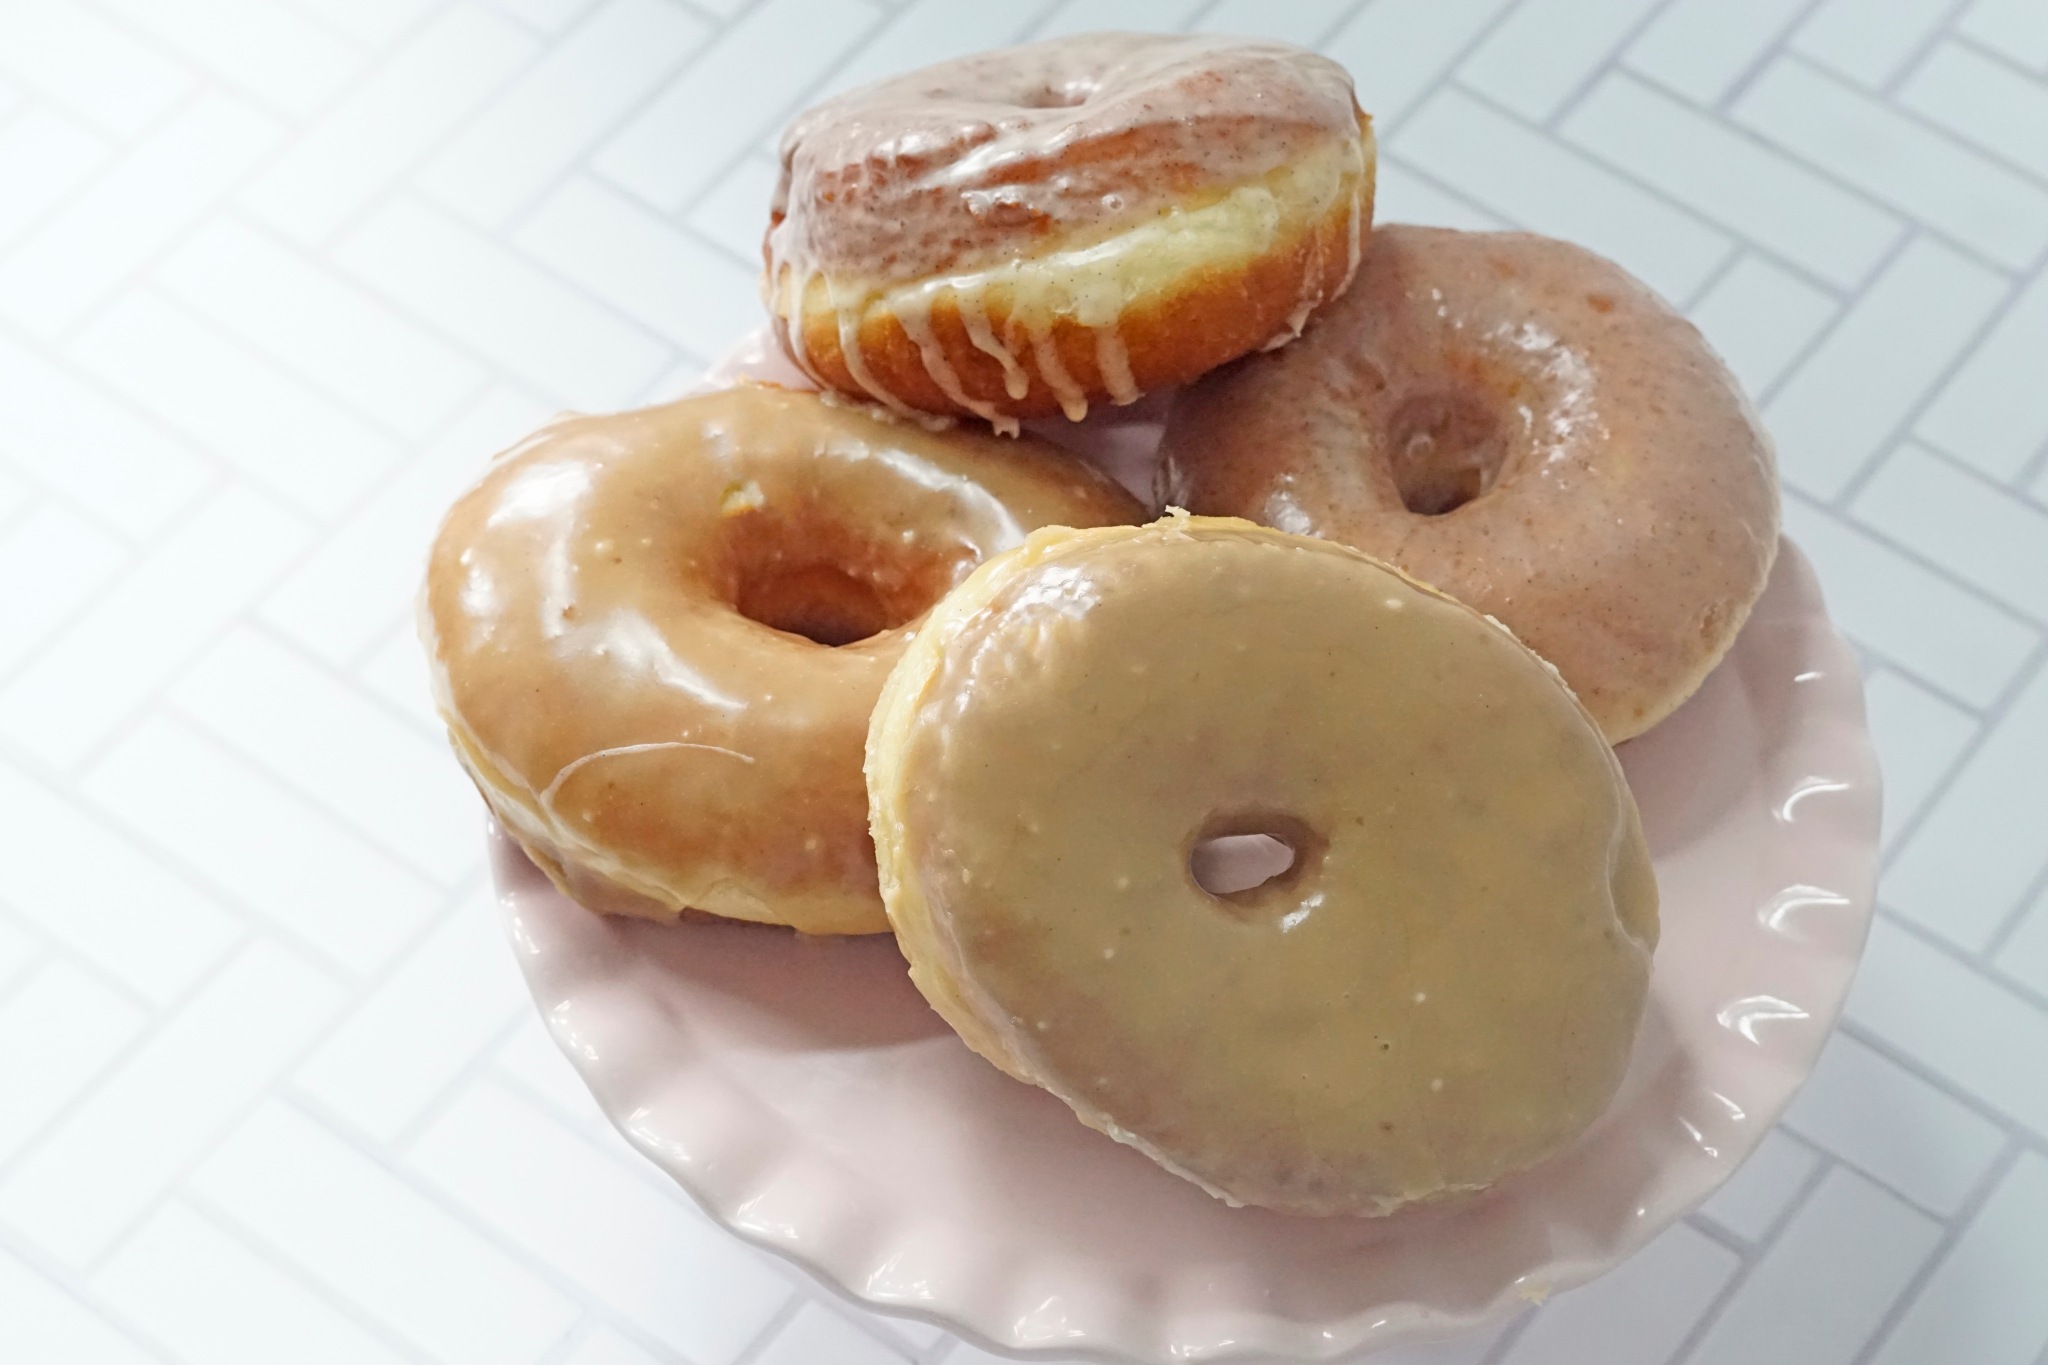
As soon as the doughnuts were finished frying, I used my spider to pull them out of the oil and placed them on the cooling rack. I let each doughnut cool until I could pick them up with my fingers, but they were still warm to the touch. I used my whisk to mix up the glazes again quickly and then I dunked the top of each doughnut into one of the glazes. I did double glaze some of the doughnuts after letting the first round of glaze set up for a few minutes. I allowed the doughnuts to cool completely on the drying rack. I noticed that the maple glaze set up harder than the vanilla bean glaze.

I ended up frying the doughnut holes in 3 batches and when I pulled them out of the oil, I placed them into a large bowl with cinnamon sugar and mixed them up to cover them with a cinnamon sugar coating. Then, I put them on the cooking rack to finish cooling. These ended up being my boys favorite flavor of all of the doughnuts and were by far the fastest version to make. I think it would be even easier to put the cinnamon sugar in a paper bag and shake these doughnut holes to cover them.
Okay so back to confession time – I have sat on this post for a few weeks before writing and publishing it. I don’t 100% know why but I think it has to do with how the pictures turned out. It was a pretty dark and rainy day when I made these. I have a daytime babysitter who comes for a few hours a week and that is when I usually bake for the blog and I should have just waited and chosen a different day to bake. You live and you learn though. Also, I think that these were good, but I still prefer the doughnuts from all the cute doughnut shops around town more than these. Ultimately, I am very proud of myself for choosing something that I was intimidated by to try and live up to my fears, but I most likely won’t be making any more doughnuts anytime soon!
Recipe: Maple and Vanilla Bean Glazed Doughnuts and Cinnamon Sugar Doughnut Holes
Ingredients:
- Doughuts
- 1 1/2 cups whole milk (340.5 mL)
- 2 tablespoons active dry yeast (18.6 g)
- 1/2 cup granulated sugar (99 g)
- 7 cups all purpose flour + more if needed (840 g)
- 2 teaspoons course sea salt
- 4 large eggs
- 4 large egg yolks
- 12 tablespoons unsalted room temperature butter, cut into pieces + more for the bowl (170+ g)
- Maple Glaze
- 1 cup maple syrup (156 mL)
- 1 cup powdered sugar (113 g)
- pinch of course sea salt
- 1 tablespoons whole milk
- Vanilla Bean Glaze
- 1 tablespoon vanilla bean paste
- 1 cup powdered sugar (113 g)
- pinch of course sea salt
- 1-3 tablespoons whole milk
- Doughnut Holes
- 2 tablespoon ground cinnamon
- 1 cup of granulated sugar
- Assembly
- 48 ounces pur sunflower oil
- Extra flour for dusting
Instructions:
- Heat the milk in a small sauce pan until it reaches 110-115 F degrees. Transfer it to a medium bowl and stir in the yeast and a pinch of sugar. Let it sit until it bubbles – about 5 minutes.
- In the bowl of a stand mixer fitted with a dough hook, mix the flour, salt and sugar, mix to combine. While the mixer is running, add the milk mixture and then the eggs, one at a time. Mix well between each egg. Let the mixer run for about 3 minutes to bring all the ingredients together. You should have a workable dough, if not add a little flour at a time (I needed 3 tablespoons more).
- Then add the butter, 1 piece at a time until each piece is incorporated, then add 1 the next piece. You may need to stop your mixer and help the butter fold into the dough. Once all the butter is mixed in, turn the speed of the mixer up to medium and let the mixer run for a full 8 minutes, until you have a very smooth and elastic dough that is still slightly sticky.
- Butter a large bowl with the extra softened butter and transfer the dough to the bowl and cover. Put into your proofing oven (100 F degrees) or warm, draft free place to let it rise until it is doubled in size – 45 – 90 minutes.
- Line 3 baking sheets with parchment paper and flour.
- Dump the dough out onto a floured baking mat and roll the dough to 1/2 inch thickness. Use a 4 inch round cutter to cut out doughnuts. Use a 1 inch round cutter to cut out the doughnut holes from the middle of the 4 inch circles. Place the doughnuts and holes onto the prepared baking sheets.
- Gather the scraps and re-roll them and cut out as many doughnuts and holes as possible.
- Cover the baking sheets lightly with plastic wrap and place the doughnuts back into the proofing oven or warm place until the doughnuts double in size and do not bounce back when gently touched.
- While the doughnuts proof make the glazes. In a saucepan boil the maple syrup until it reduces in half – 10 + minutes. To make the maple glaze – add the powdered sugar and salt to a bowl and add the reduced maple and whisk until smooth, add the milk as needed to reach your desired consistency. To make the vanilla bean glaze – add the powdered sugar and salt to a bowl and add the vanilla bean paste and milk a little at a time. Whisk until smooth. Add milk until you reach your desired consistency. In a bowl or paper bag, add the cinnamon and sugar and mix.
- Add the oil to a dutch oven and clip on a candy thermometer. Turn the oil on medium heat to begin heating the oil. Line a very large baking sheet with paper towels and put a drying rack on top.
- Once the doughnuts are ready, make sure the oil is heated to 350 F degrees. Use a spider to gently lower 3 doughnuts into the oil. Fry them for 2 minutes and then flip and fry the other side for 2 more minutes. Remove the cooked doughnuts from the oil and put them on the prepared drying rack to cool down. Repeat with the rest of the doughnuts, be sure to check the temperature as your fry and adjust the heat to stay as close to 350 F degrees as possible.
- As soon as the doughnuts are able to be picked up by hand, but still warm, dip the tops into one of glazes. Let it set up a little and then double dunk if you would like a thicker glaze.
- Fry the doughnut holes in a few batches. Try to flip the holes after 1 minute or hold them down with the spider if they will not stay flipped. When you pull them out of the oil add them to the cinnamon sugar mixture and cover the doughnut holes. Put them on the drying rack to finish cooling.
- Enjoy!
Recipe adapted from bon appetit