Have you wanted to make a wood project using iron-on vinyl? Learn how to add iron-on vinyl (HTV) to wood. I’m sharing an easy craft project I made along with how to style a tiered tray for Valentine’s Day.
I used this technique (shared below) for this Valentine’s day craft. Adding to my decorations and decor for Valentine’s Day.
Affiliate links may be included in the post. By clicking the links for qualifying purchases we earn a small commission. This is at no additional cost to you.
How To Style A Tiered Tray For Valentine’s Day
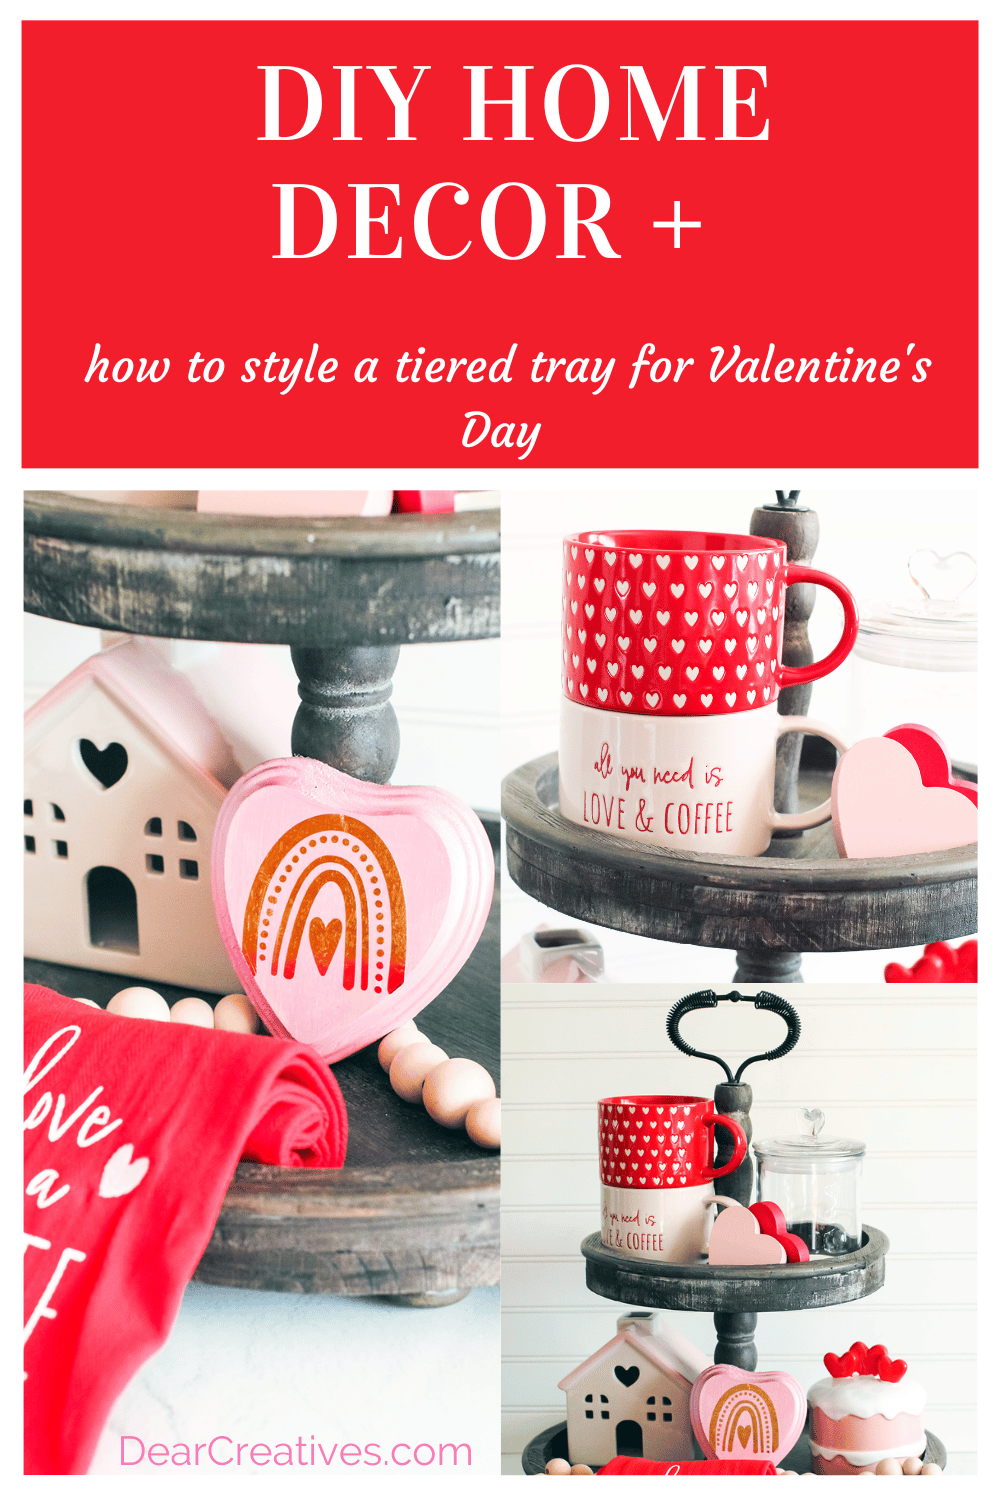
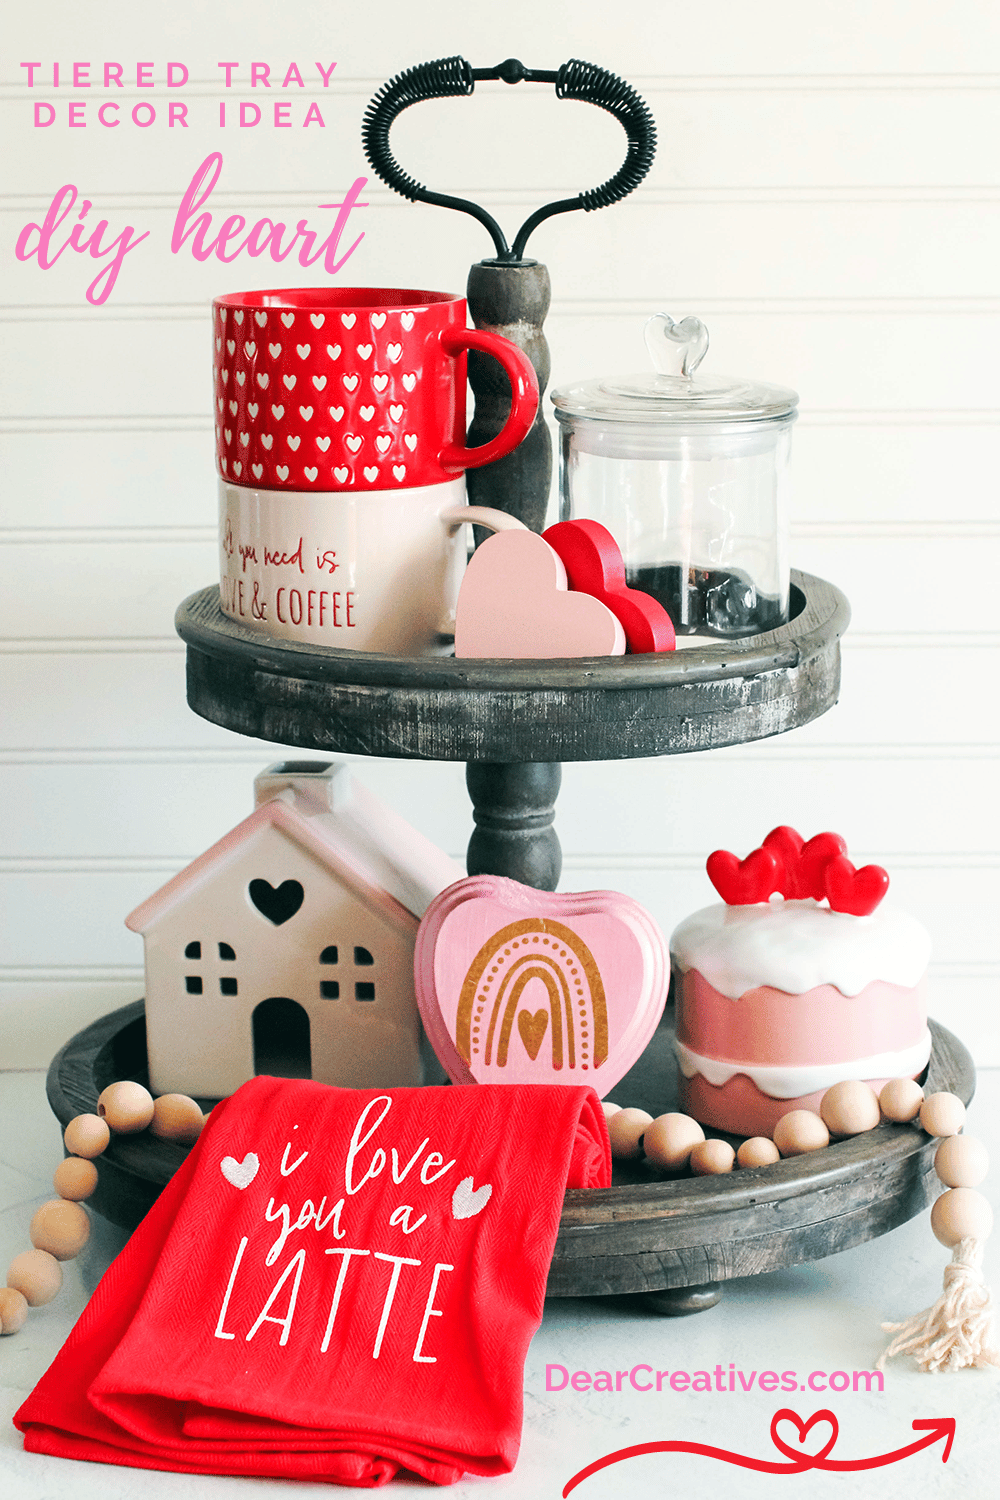
Add cute decor such as Valentine’s Day Coffee Mug set, Love Me Love Me Not Sign, Valentine’s Day Coffee Mugs, Valentine’s Day kitchen towel, Glass Jar With Heart Lid Wood Hearts, Ceramic Cake with Hearts, or other decorations.
When styling tiered trays find coordinating colors and decorations to go with a theme. Pick colors for the season you are decorating for; such as pink and white, red and white colors, or other colors for a different theme or season.
You can use these Valentine’s Day ideas or do something similar using the tips and tutorial for other seasonal decorations and tiered tray decorations.

For the wood heart Cricut craft project I used copper/bronze foil and painted my wooden heart a soft pink. I had also already made my wood bead garland. I opted not to paint it so it can be used for other seasonal home decorating.
To be honest, I’ve had this up since right after Christmas was taken down! It’s so easy and quick to decorate tiered trays once you have tiered tray decorations. And you have all of February to have your sweet decorations up! Yay! Cheers To the sweetest month of the year.
DIY Wood Heart With Foil Iron-On
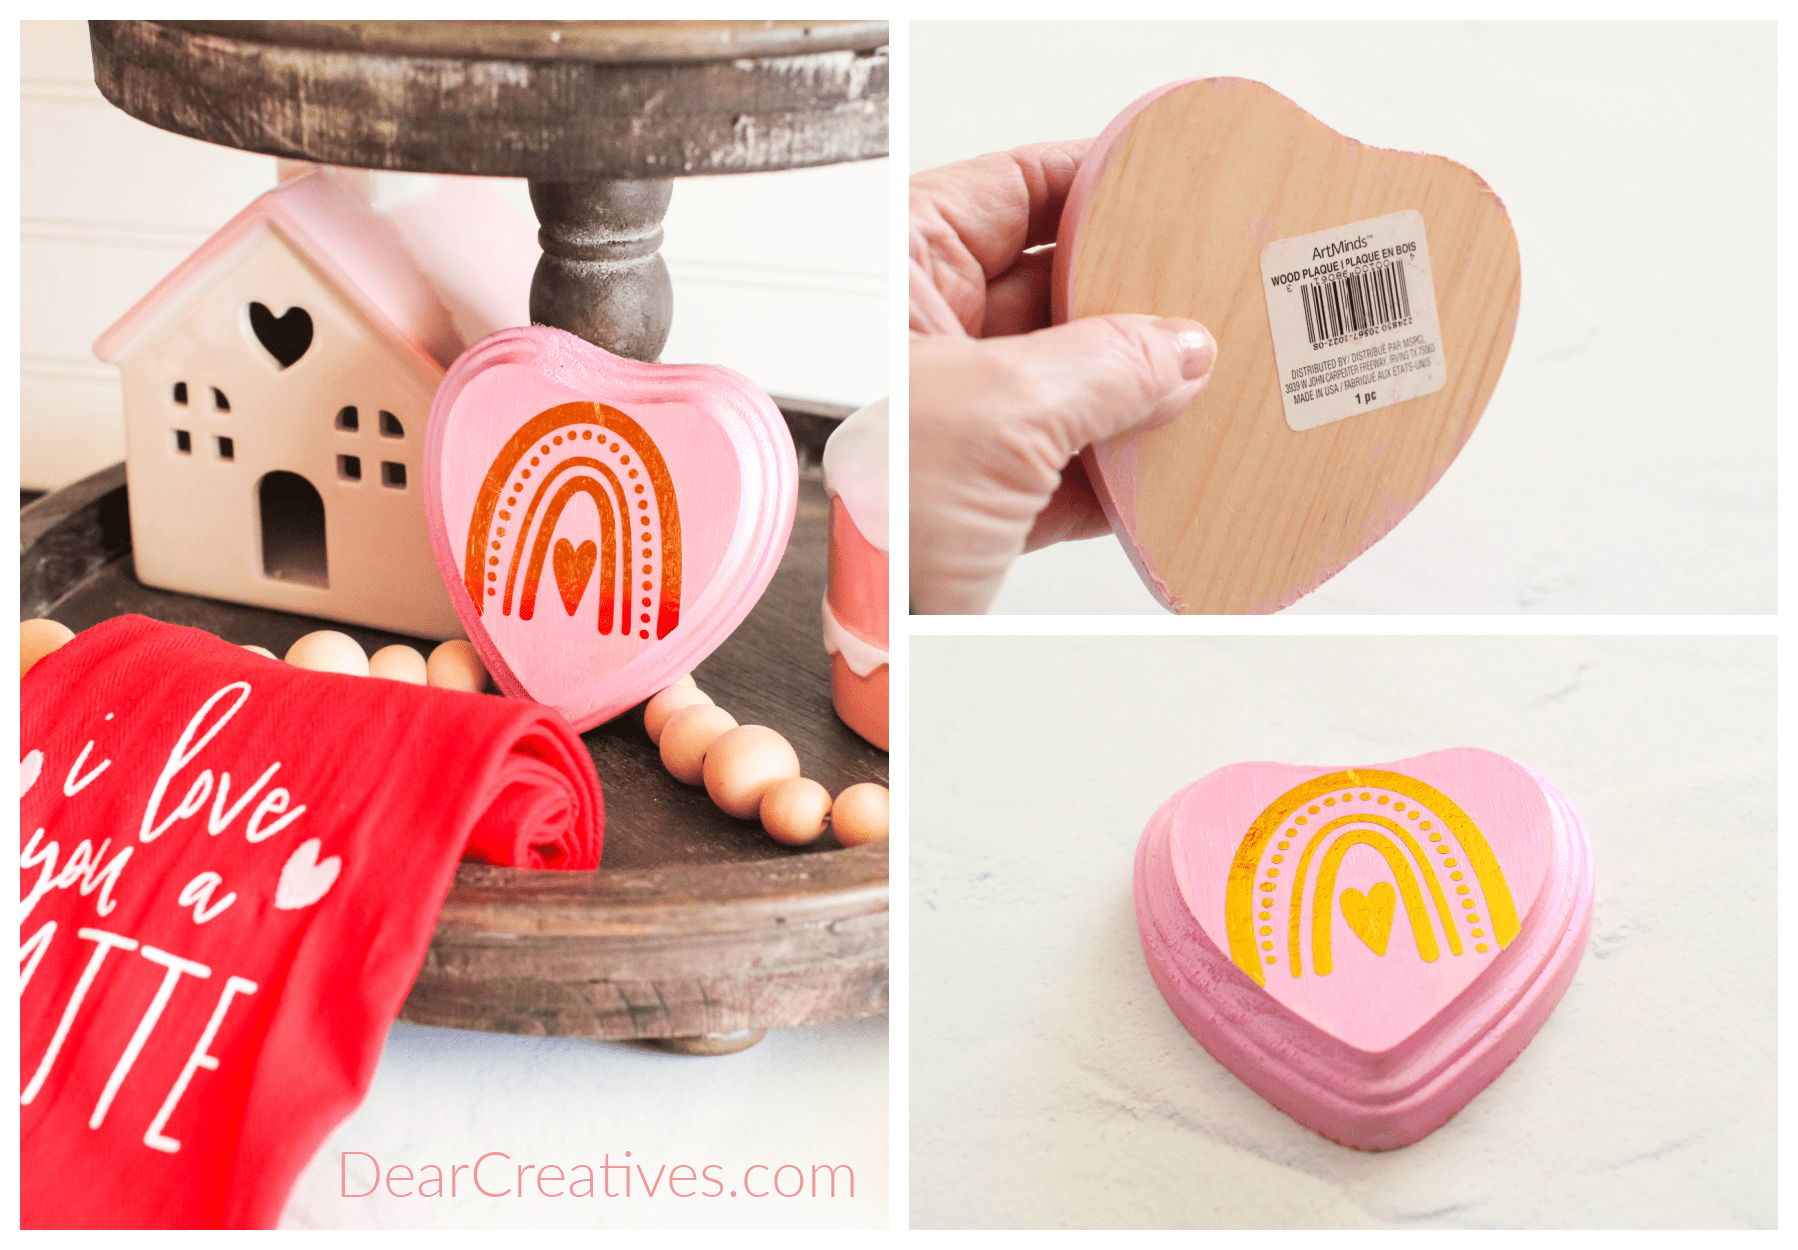
This is one easy Cricut project! Looking for other things to make with your new Cricut? See all our Cricut Crafts. I made this project to add to my wood tier tray. I love decorating it with seasonal tiered tray decorations.
You can use this technique for any seasonal project. The key to success is if you are painting a wood blank make sure it has had a few days to dry. You don’t want the paint peeling up. Or purchase a pre-painted wood blank.
You can use this technique for seasonal DIY home decor projects. Do you like making DIY decor? Here’s where to find more of our home decor ideas.
Crafts Supplies
- Wood Heart – ( wood heart or maybe you’d like this 3-piece wooden heart paint kit with smaller hearts. Both are from Target.)
-
Acrylic paint–Rose Pastel I used this one from their metallic acrylic line.
(FolkArt Acrylic Paints are my favorites) - Paintbrush
- Iron-On Vinyl – HTV (I used the foil iron-on)
- Mod Podge (use a foam brush to apply it)
- Design, graphic, or clip art (I’ll list my favorite places to purchase designs below)
- Cricut
- Cricut EasyPress (mini)
- Cricut Tool Set with Weeding Tools and Scissors
- Transfer Tape
- ReUseable Heat Resistant Craft Mat
If you are already a crafter you probably have many of these supplies. I only had to buy the wood heart and acrylic paint. Happy Crafting and Making! But, I did splurge on new decorations thanks to my #TargetFinds. I dusted my piano, laid down a runner, and added my decorations and tiered tray. Then I arrange the decorations onto the tiered tray. Be sure to tag me @DearCreatives (on Instagram and Twitter) with how you decorate your tiered trays!
How To Add Iron-On Vinyl To Wood
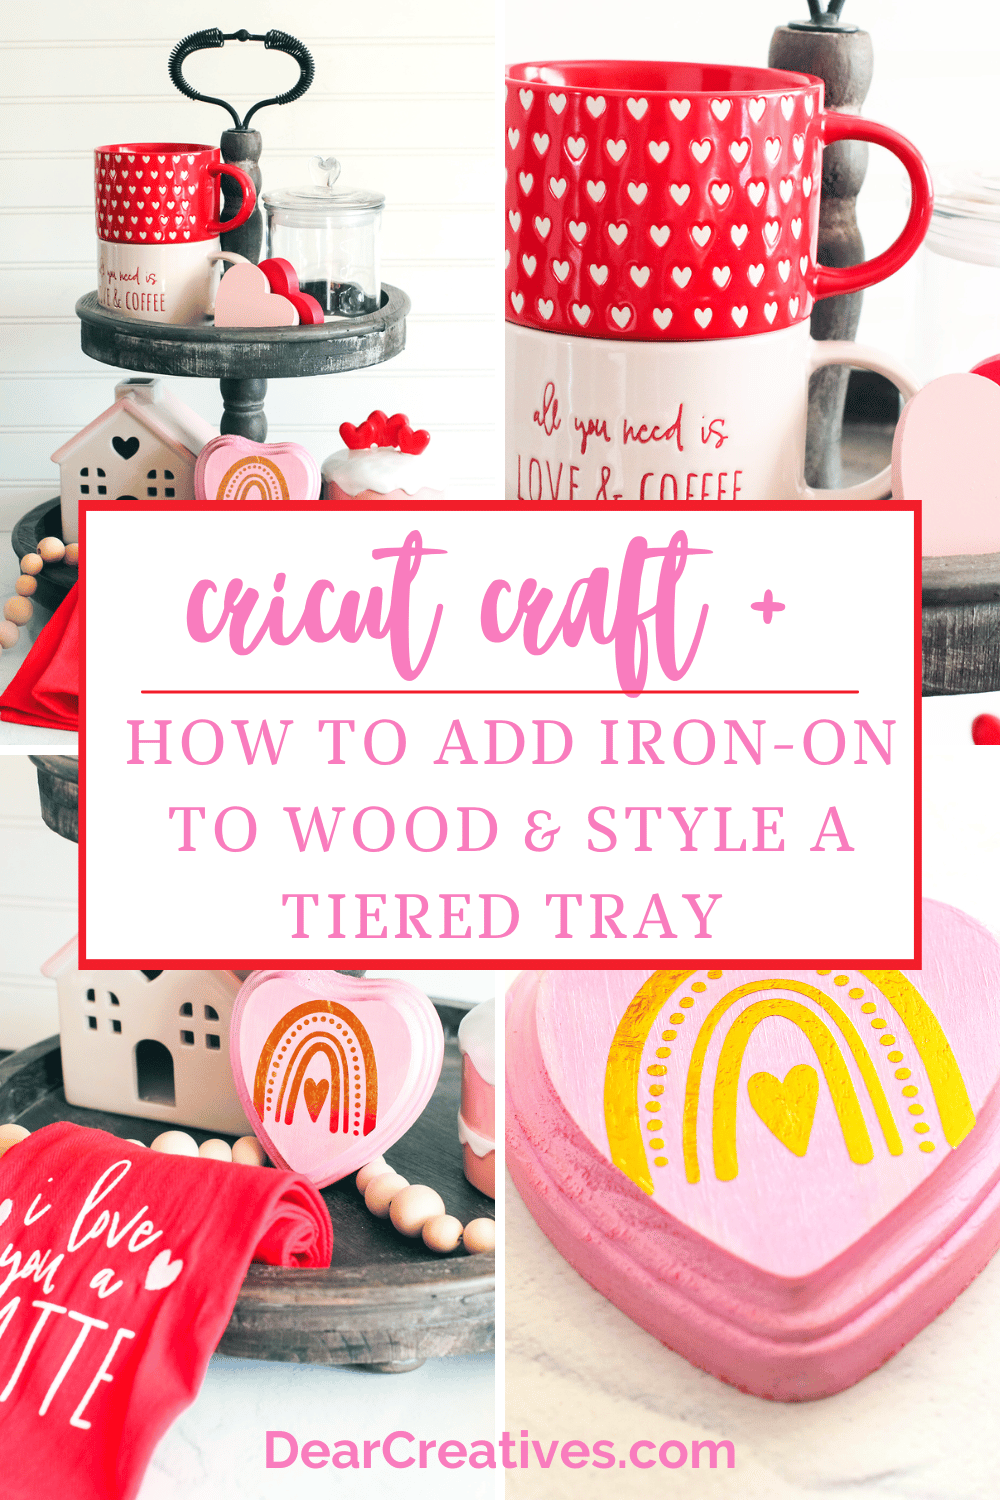
Directions
- Sand the wood if needed and wipe with a clean cloth.
- Paint the wood with acrylic paint. Let the paint on the wood dry completely (and cure).
- Create or purchase a design to place onto the wood.
I cut mine with the Cricut using a file in Design Space. It’s free to use. Some designs are free or get the Cricut Access subscription to use for a monthly fee. - Cut and weed the design.
- Use the transfer tape to move the weeded design onto the wood.
- Place the design in the wood heart’s center.
- Heat your EasyPress. Selecting wood and Iron-On Vinyl.
- Cover with a protective sheet (or) parchment paper.
- Iron over the protected design (using the pre-heated EasyPress) heating it long enough to adhere it to the wood.
- Let the design cool and remove the transfer tape carefully (if needed repeat the iron-on process in trouble spots).
- Optionally, finish by adding a layer of Mod Podge to seal the design on the wood. You can use gloss or a matte finish.
That’s It! If you need to see a video from start to finish for how to add iron-on to wood pop over to see this video that shares the steps – Cricut Iron-On Wood For Beginners. And here’s our short video of how we made it!
I hope to you get to make your own DIY decor soon! Be sure to tag me on social media @DearCreatives with the things you make!
- New here? Be sure to Subscribe.
- Pin it for Later
- Follow us on Pinterest
- Shop our favorites on Amazon
Where to get design files to use?
Are looking for files to add to your craft projects? Try Cricut Access or shop for specific design files, graphics, and clip art…
More places I love looking at for design resources, graphics, SVG files, PNG files, and clip art… are
- Etsy
- The HungryJPG (They have weekly freebies, and $1 deals on files) Lovestruck Bundle
-
Canva Pro
(Pro users can access all the things for one price a year! Try a free 30-Day CanvaPro trial)
If you are looking for commercial design files all these places have them. Just be sure to see what the terms of use are for the files you are purchasing (for personal use) or (for commercial use). Commercial files also have specific terms of use too.
The post How To Add Iron-On Vinyl To Wood (HTV) appeared first on Dear Creatives.

