

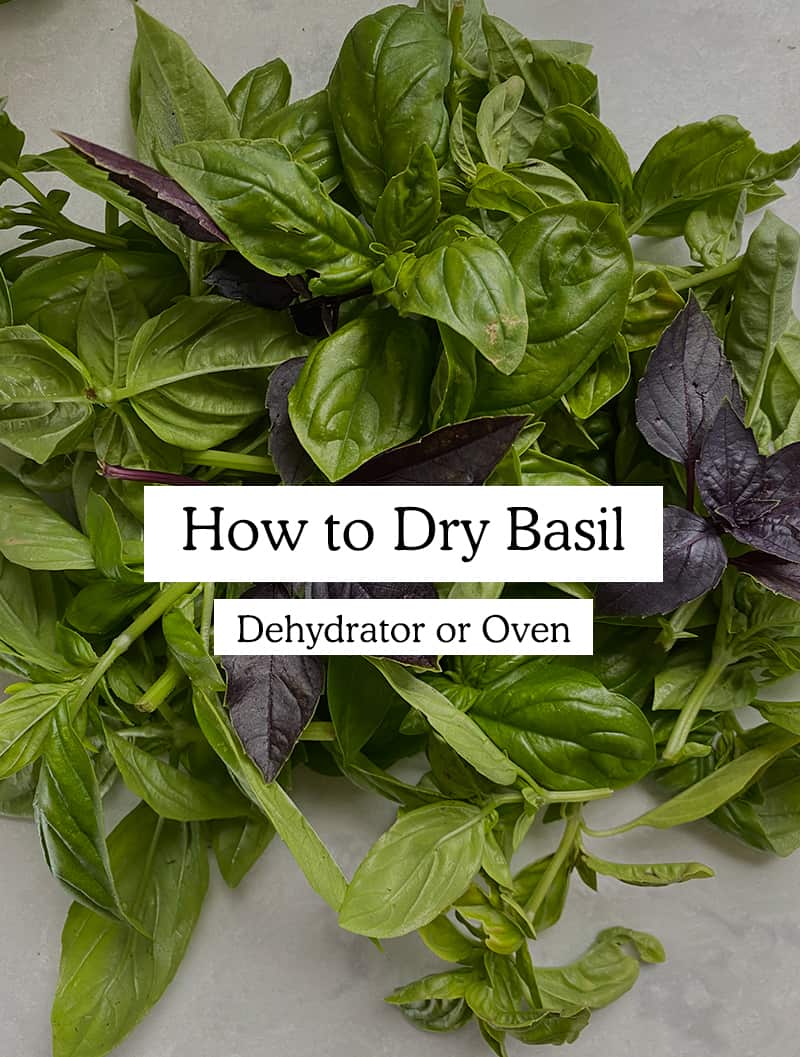
Basil is incredibly easy to save in many ways but drying is one of the simplest ways to save your basil for long-term storage. This is the simplest and easiest way to dry basil quickly to enjoy well past summer.
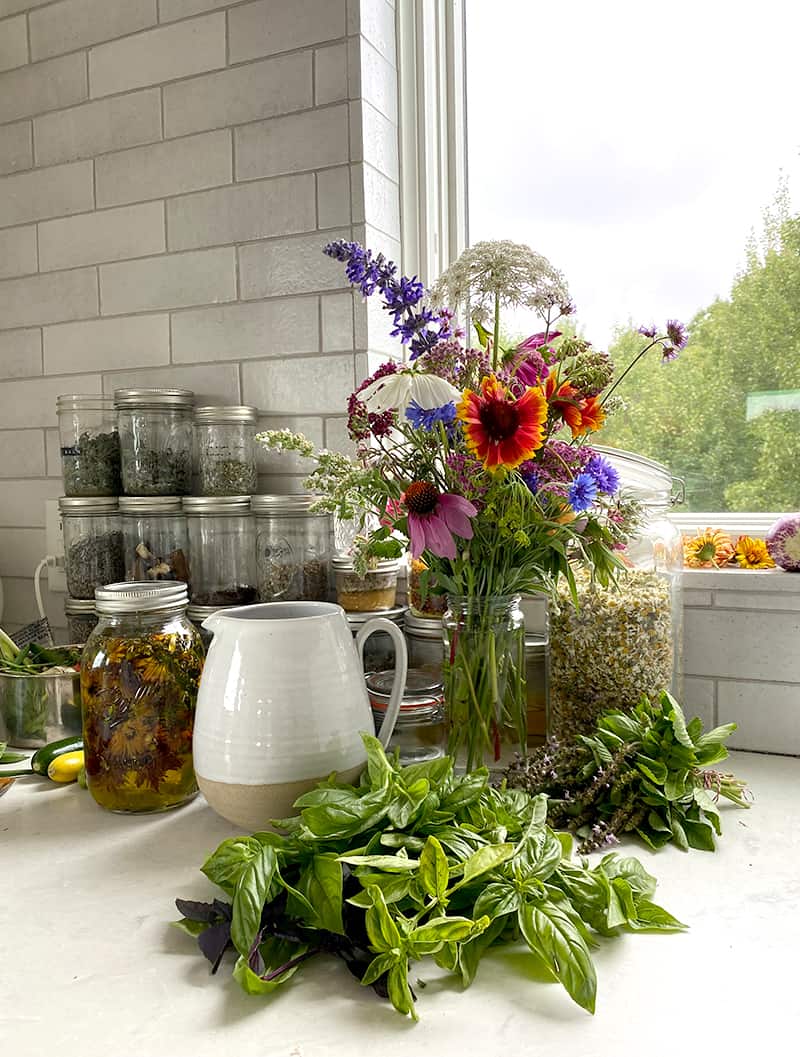
When the garden is abundant, especially if you took the challenge of growing an herb garden this year, it is confusing to know how to handle and save the abundance of your garden. Drying basil may be one of the simplest ways in which you can save your basil that is extremely abundant in the summer months while being able to enjoy it deep into the winter months. There are many ways you can Dry Herbs for winter use but the best way is to dry basil through a low and slow heating method using a dehydrator or your oven on a very low setting. I share all the best tips on saving it so you can enjoy the benefits of basil for your health throughout the whole year and not just in the summer.
If you are looking for another alternative, I also highly suggest making this Dairy-Free Pesto recipe with your basil because it is freezer friendly and a great way to save basil or other dense greens like Kale or Swiss Chard when they are very abundant.
What is the Best Way to Dry Basil?
The best way to dry basil is to use a “Low and Slow” method. There are 2 ways to do this with heat that works best for basil in particular. I prefer using a Dehydrator such as this Nutriware, which we have, but there are many types of dehydrators, and most work just fine particularly for herbs.
The other way is to set your oven extremely low and place the basil on cookie sheets with silicone pads or parchment paper underneath. They will cook for an extended period of time, but take care to watch them in the oven to not burn. The temp is low enough that the concern of fire is low, but every oven is different so it is important to watch them very close toward the end of their time.
- Low and Slow: You want to use this method to properly store the nutrients and flavor of the herb
- Dehydrator: takes a longer amount of time but lowers the chance of fire. Still monitor the herbs closely
- Oven: This can be done quickly because heat cannot go as low as the dehydrator, but make sure to crack the oven if at 180 degrees Fahrenheit or higher. Watch carefully after 45 minutes.
Can I use a Microwave to Dry Basil?
The answer is yes if you are looking for something really quick. You can absolutely do it this way, but when we use a microwave to cook things it degrades the quality and nutrient values of the food we are consuming. I would suggest not using a microwave to dry your basil because of this. Basil holds a ton of nutrients that can heal the liver, fight cancer, and even lower high blood pressure. When we microwave the leaves we lower those values and benefits because it radiates them and degrades them. Also, Microwaving herbs can be a fire hazard as well. They dry quickly and if not watched closely it can be a fire hazard very quickly.
How to Dry Basil a Step-By-Step:
-
Gather and Harvest Basil:
Gathering basil is incredibly easy and most likely you are doing it far less than you actually could. Basil loves a good clip often to produce really well. You want to clip to a place where you see two leaves on either side of the stem and clip there. Doing this often will encourage your plants to bush and become larger. -
De-stem Basil and Rinse:
Once you have gathered the basil you will want to remove the stems and wash it really well. This is very easy to do and you really just want to keep the large leaves of the basil. Once you have the leaves all separated from the stems you will want to wash them in lukewarm water so you don’t shock the basil and turn it brown. Too cold isn’t good and neither is too hot. -
Fully Dry Basil:
Before you begin drying the basil make sure the leaves are fully dry. Layout a clean kitchen towel and lay the leaves in a single layer. Roll the basil in the towel gently to help it dry evenly and really well. -
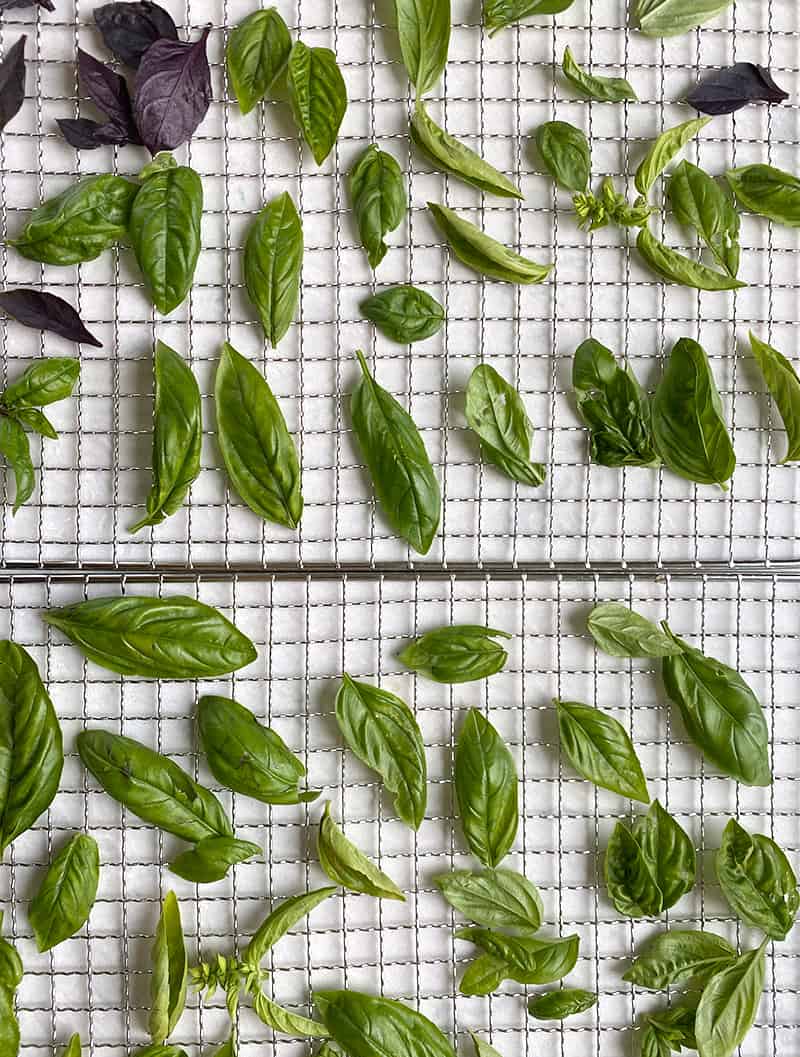
Spread Basil on Baking Sheets or Your Dehydrator Racks:
Once you have the basil fully dry you can lay the leaves in a single layer on a baking sheet or on the dehydrator racks. Keep them well spaced and not overlapping so they dry evenly.
If you are using an oven you will want to preheat the oven to the lowest temp you can get to. This should be about 170-180 degrees Fahrenheit. -
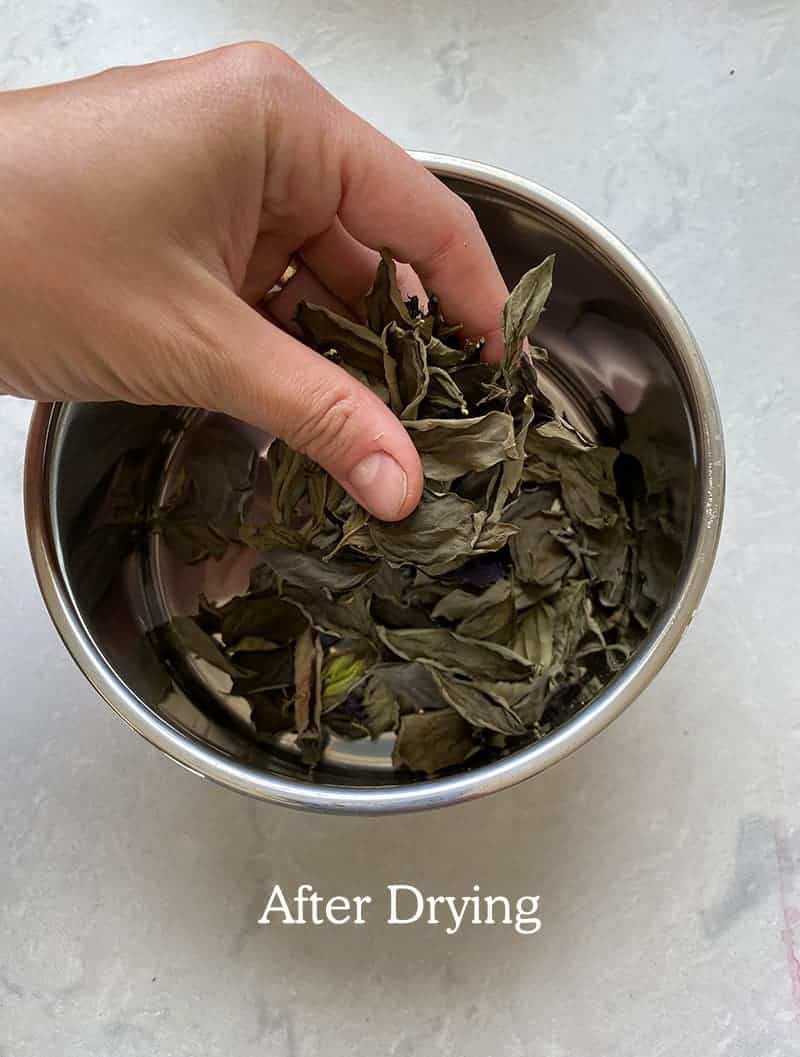
Dry the Basil:
If you are using a dehydrator set your temp on a low setting around 120 or even 115 if you can. You can turn it on. Depending on your dehydrator this can take anywhere from 4-10 hours of dehydration to work so keep an eye on the leaves every hour or so to see where they are. If using the oven place them on the racks in the middle section of the oven. If your oven only goes to 200 or 180 make sure to crack the door to ensure you are not burning the basil leaves. Keep a close eye on them. They will be done far quicker than in the dehydrator. The time the basil takes to dry out in the oven will be about 1.5 hours. Check it at this point. If it is still not crumbly to the touch, return for another half hour till it finally is crumbly. Remove any leaves which are crumbly till all are crumbly. -
Process and store:
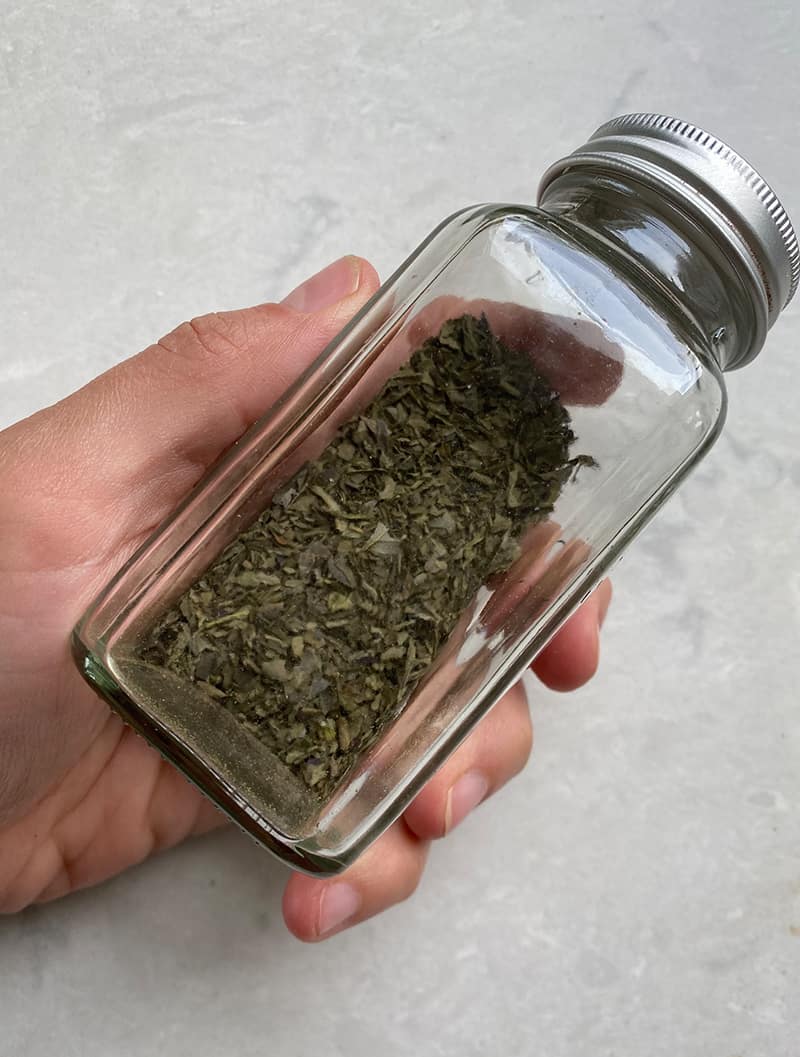
To process for storage place all the leaves in a mortar and pestle or in a bowl. You can then process them by either using the pestle to crush them or you can use your hands to do it. Once crumbled up can place them with a funnel into air-tight jars such as these spice jars that I suggest in my Kitchen Essentials post. Make sure to label them well with variety and year of drying.
How to Store Dry Basil:
Once you are certain your basil is fully dry you will want to store the basil in an air-tight container of your choice. I like placing it in spice jars and labeling with tape what it is and the year it was saved. This is also a great option for a gift to give to new neighbors, friends, or for Christmas. Everyone loves a stock-up of fresh herbs from a garden in the dead of winter!
How to Use Dry Basil:
Using dry basil is simple. In most cases, you can substitute dry basil for fresh basil and this is particularly true if you decide to make my dairy-free pesto recipe as well. Either one can be used as a substitute even in something like this easy summer Panzanella recipe. You can also add it to a simple tomato sauce that can be frozen for winter or added to tomato sauce in the depths of winter. Using dried basil is as easy as using it fresh in your cooking.
Print
How to Dry Basil – Using An Oven or Dehydrator
- Author: Megan Gilger
-
 Prep Time: 5 minutes
-
Cook Time: 1.5-10hours
-
Total Time: 36 minute
-
 Category: Preservation
-
 Method: Drying
Description
Easily dry your fresh basil clippings with this simple recipe. Whether you use a dehydrator or you use your oven. Either one works out completely fine.
Ingredients
A Bunch of Basil of any size or quantity
Instructions
-
Gather and Harvest Basil:
Gathering basil is incredibly easy and most likely you are doing it far less than you actually could. Basil loves a good clip often to produce really well. You want to clip to a place where you see two leaves on either side of the stem and clip there. Doing this often will encourage your plants to bush and become larger. -
De-stem Basil and Rinse:
Once you have gathered the basil you will want to remove the stems and wash it really well. This is very easy to do and you really just want to keep the large leaves of the basil. Once you have the leaves all separated from the stems you will want to wash them in lukewarm water so you don’t shock the basil and turn it brown. Too cold isn’t good and neither is too hot. -
Fully Dry Basil:
Before you begin drying the basil make sure the leaves are fully dry. Layout a clean kitchen towel and lay the leaves in a single layer. Roll the basil in the towel gently to help it dry evenly and really well. -
Spread Basil on Baking Sheets or Your Dehydrator Racks:
Once you have the basil fully dry you can lay the leaves in a single layer on a baking sheet or on the dehydrator racks. Keep them well spaced and not overlapping so they dry evenly.
If you are using an oven you will want to preheat the oven to the lowest temp you can get to. This should be about 170-180 degrees Fahrenheit. -
Dry the Basil:
If you are using a dehydrator set your temp on a low setting around 120 or even 115 if you can. You can turn it on. Depending on your dehydrator this can take anywhere from 4-10 hours of dehydration to work so keep an eye on the leaves every hour or so to see where they are.If using the oven place them on the racks in the middle section of the oven. If your oven only goes to 200 or 180 make sure to crack the door to ensure you are not burning the basil leaves. Keep a close eye on them. They will be done far quicker than in the dehydrator. The time the basil takes to dry out in the oven will be about 1.5 hours. Check it at this point. If it is still not crumbly to the touch return for another half hour till it finally is crumbly. Remove any leaves which are crumbly till all are crumbly.
-
Process and store:
To process for storage place all the leaves in a mortar and pestle or in a bowl. You can then process them by either using the pestle to crush them or you can use your hands to do it.Once crumbled up can place them with a funnel into air-tight jars such as these spice jars that I suggest in my Kitchen Essentials post. Make sure to label them well with variety and year of drying.
Want more great ideas for your basil and herbs in your garden, here are some posts you shouldn’t miss:
Dairy-Free Pesto – With Substitution ideas