

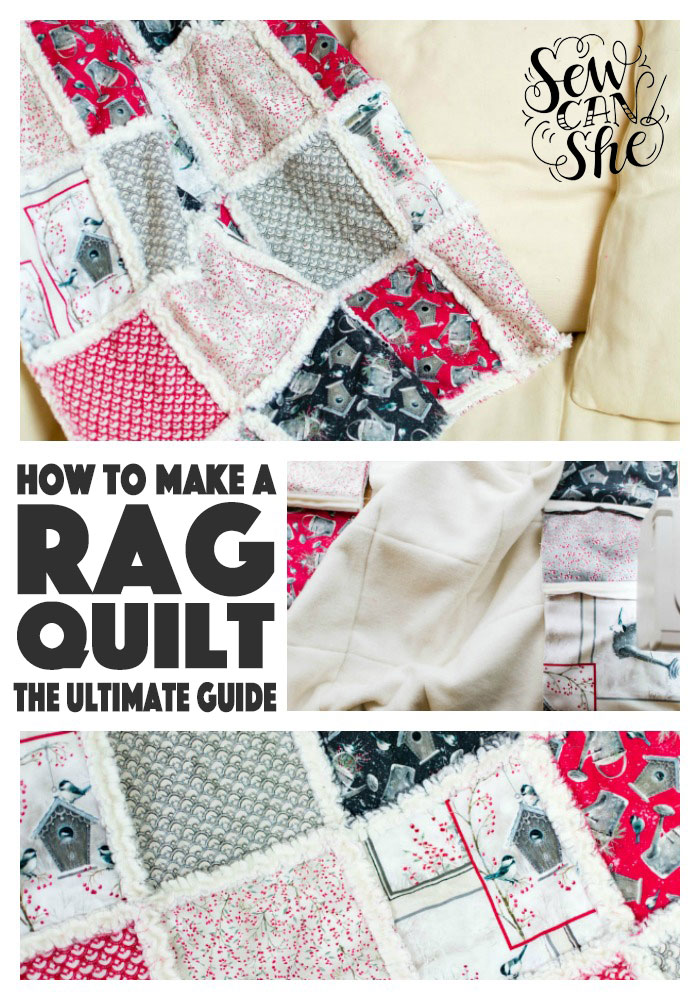
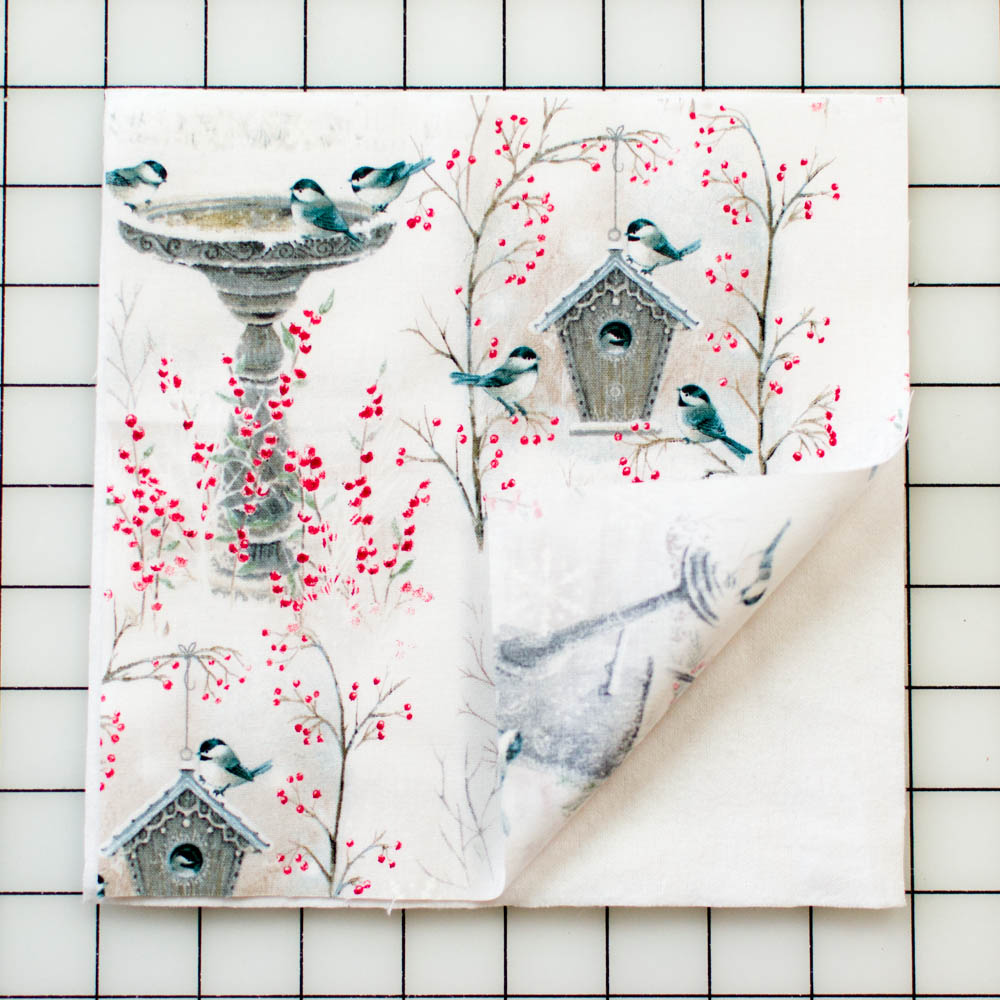
The front of my rag quilt features Winter Garden from QT Fabrics
Learn how to make a rag quilt - using any fabric you want. This is the ultimate guide.
Rag quilts are fast, fun to make, and so cozy! And contrary to what the 'quilt police' might tell you, you can use just about any fabric too! So pull up a chair and get ready to learn how to make a rag quilt. It's easy, I promise!
Fabrics for a Rag Quilt
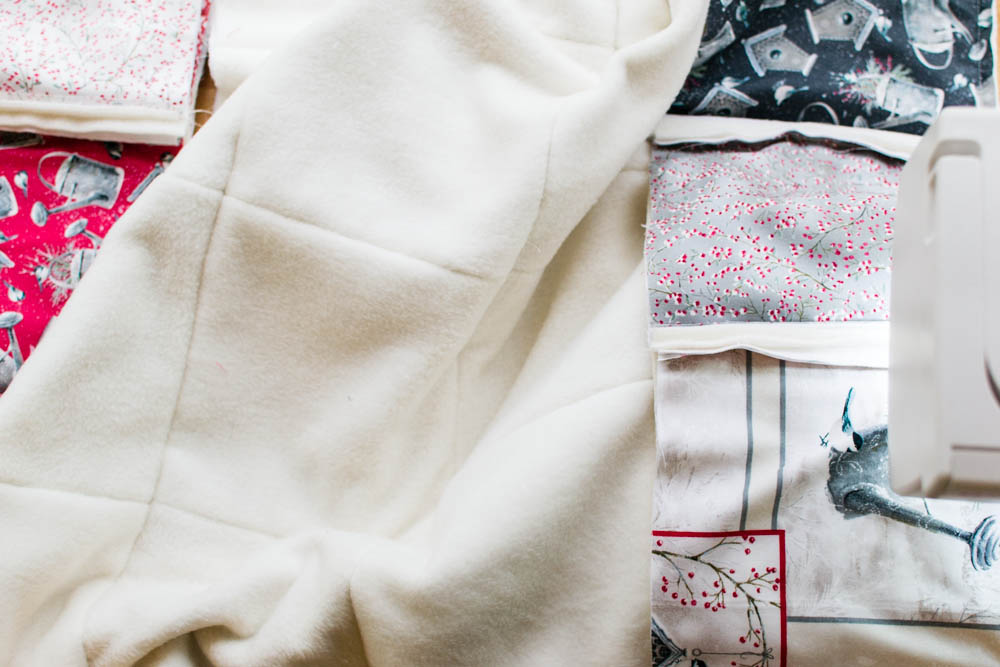
Rag quilts get their name because of the fuzzy frayed seam allowances that show on the right side of the quilt. There are normally 2-4 (or more) layers of fabric in a rag quilt.So keep in mind that you want to want to use at least one fabric that will fray a lot so you get that frayed effect on the seam allowances. I love to use fleece on the back of my rag quilts because it makes them so soft and cozy! But fleece does not fray - so I am careful to use other fabrics that fray better for my other layers.
Here's a quick guide for choosing fabrics for your rag quilt...
High fraying fabrics:
flannel
denim (old jeans!)
some silk (how about old scarves?)
some woven cotton fabrics (especially lower quality fabrics)
Medium fraying fabrics:
high quality quilting cottons
linen
cotton sateen
high quality silk (but it's probably too expensive for this)
Low fraying fabrics:
fleece
stretch fabrics
most polyester fabrics
If you are in doubt about how much a fabric will fray, you can always cut into your fabric and see if the threads start coming apart. For a rag quilt, fraying is good!
3 layers is a good start for your first rag quilt so pick three fabrics to start. You can decide on your next rag quilt if you'd like to try more or fewer layers. Make sure at least one of your layers is in the 'High fraying fabrics' list above.Then let's get to it!
How to make a Make a Quilt
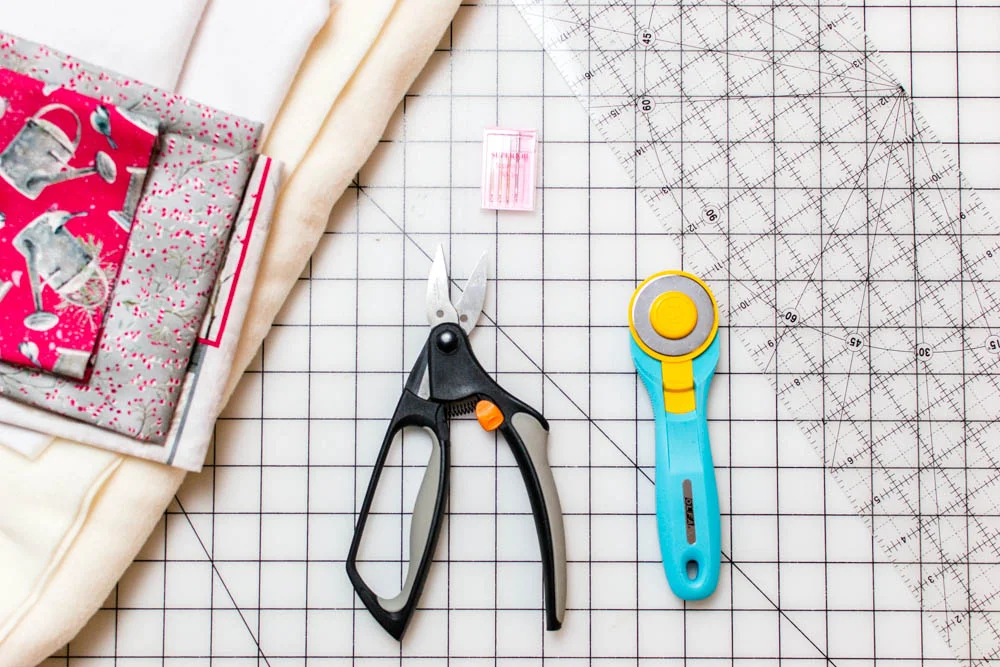
Important tools:
a heavy duty universal sewing machine needle (90/14 or heavier)
rotary cutter, mat, and ruler for cutting
a walking foot for your sewing machine (very helpful)
Spring-loaded rag quilt scissors (a must if your quilt is larger than mini-size, trust me)
Plan your rag quilt:
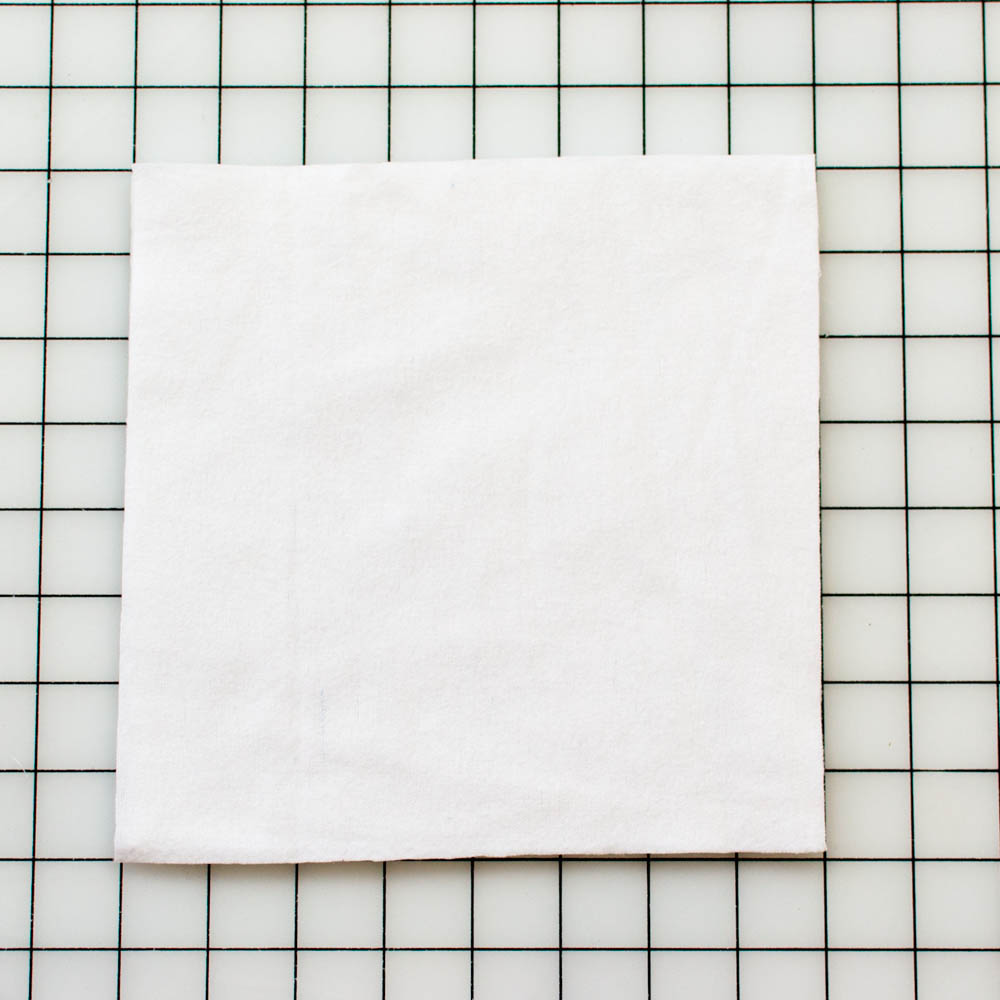
1. Choose to cut squares or strips. Both make ADORABLE rag quilts. For this quilt, I am using squares.
2. I planned 9 rows, each row with 8 squares. My squares are 8'' when cut, and then finish at 7'' (with a 1/2'' seam allowance). So this finished quilt is a generous lap quilt size - about 56'' x 63''.
If you are cutting squares, anywhere between 4'' - 12'' is great.
If you are cutting strips,anywhere between 3'' - 8'' is a great size.
Have fun and plan your quilt on graph paper, keeping in mind that you'll lose 1/2'' on each side for the seam allowance.
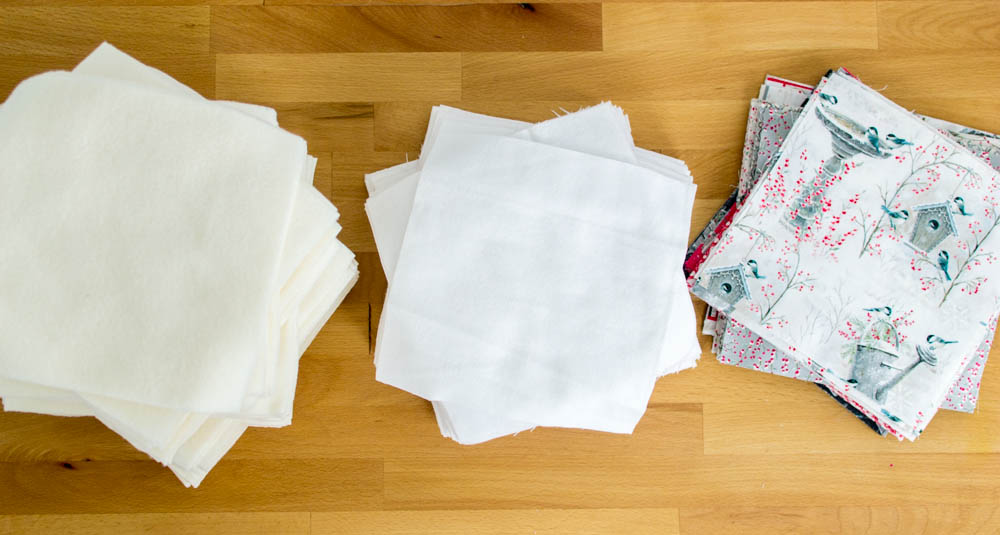
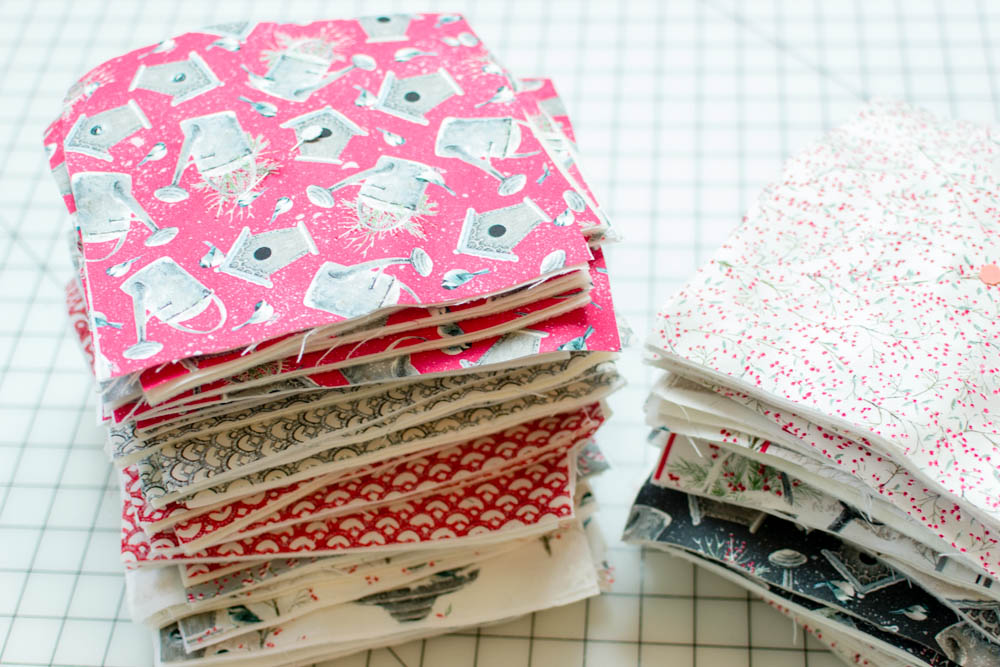
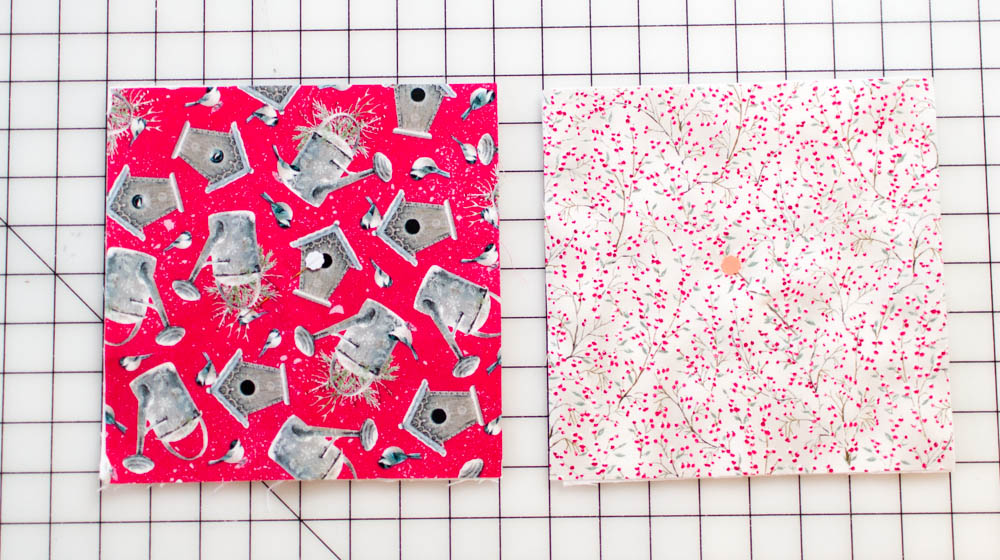
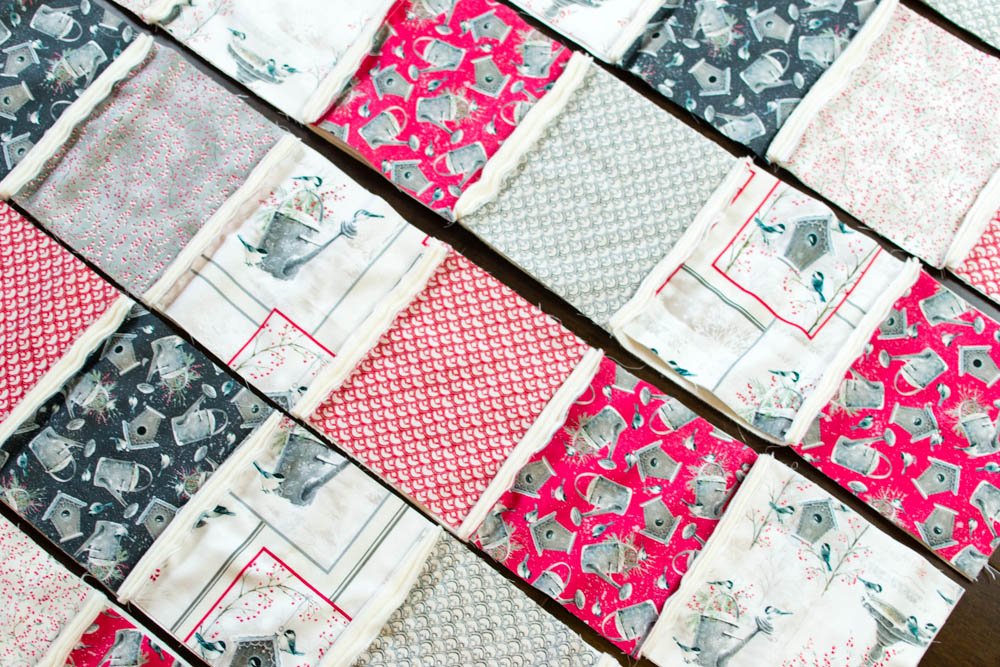
3. Cut 3 layers of fabric (or more or less, if you prefer) for each square or strip.I cut 72 squares of each of my 3 fabrics, to make my 8x9 patchwork grid.
As you can see from the photo above, I cut 72 pieces of cream fleece, 72 pieces of white flannel, and 72 pieces of beautiful Winter Garden from QT Fabrics.

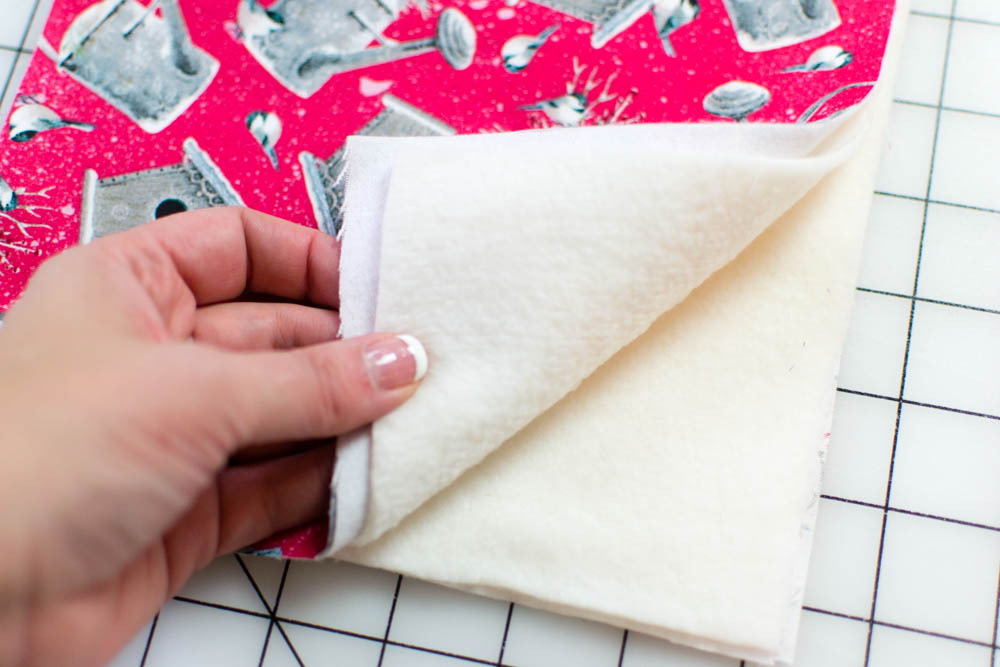
Stack and pin your rag quilt layers:
1. Place the backing layer right side down on your work area.
2. Place your middle layer(s)on next (right side up or down - doesn't matter).
3. Put your top layer on last, right side up.
4. Place a pin in the middle to hold the layers together. Repeat for all of your blocks or strips.
Note: at this point, some quilters like to sew an 'X' in the middle of the block to hold the layers together. That's fine, but not necessary because we are not using quilt batting that has to be quilted in order to hold it's shape. I prefer not to sew the 'X' because I like a cleaner look.
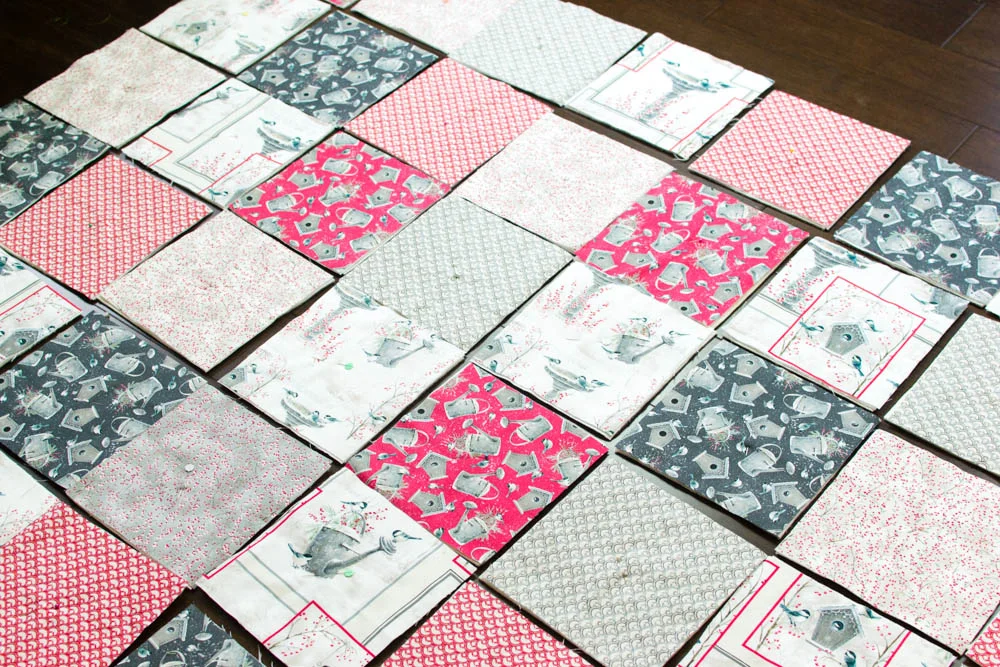
5. Lay out your squares or strips to plan how they will look when sewn together.
Sewing the rag quilt together:
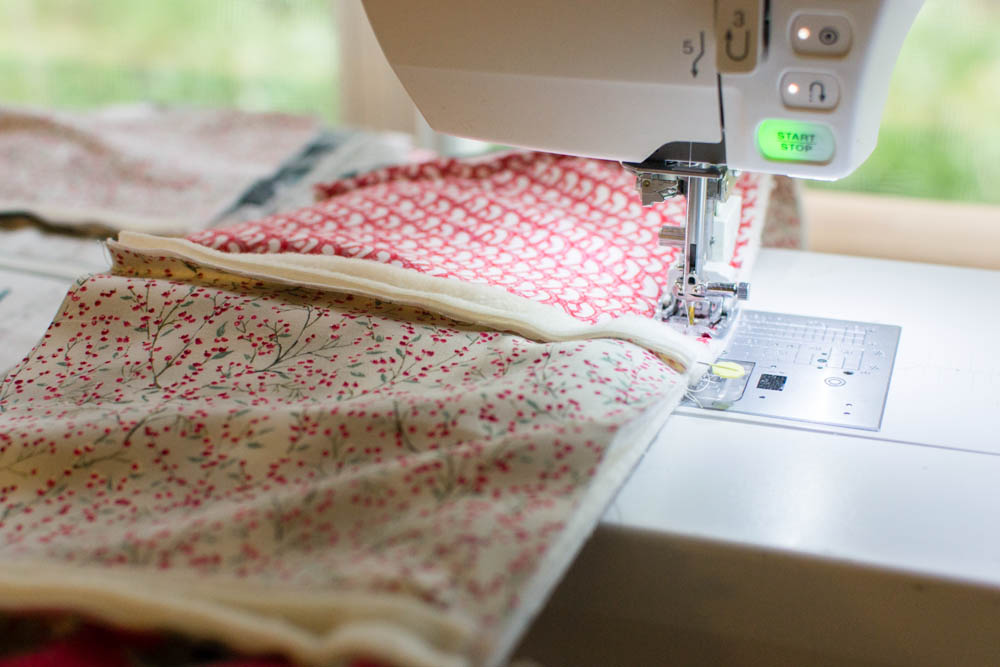
1. Start with the first two squares in your row (or the first two strips. Place the stacks wrong sides together.
This is a lot of layers and they often don't line up perfectly - that's just fine. Our 1/2'' seam allowance is very forgiving!
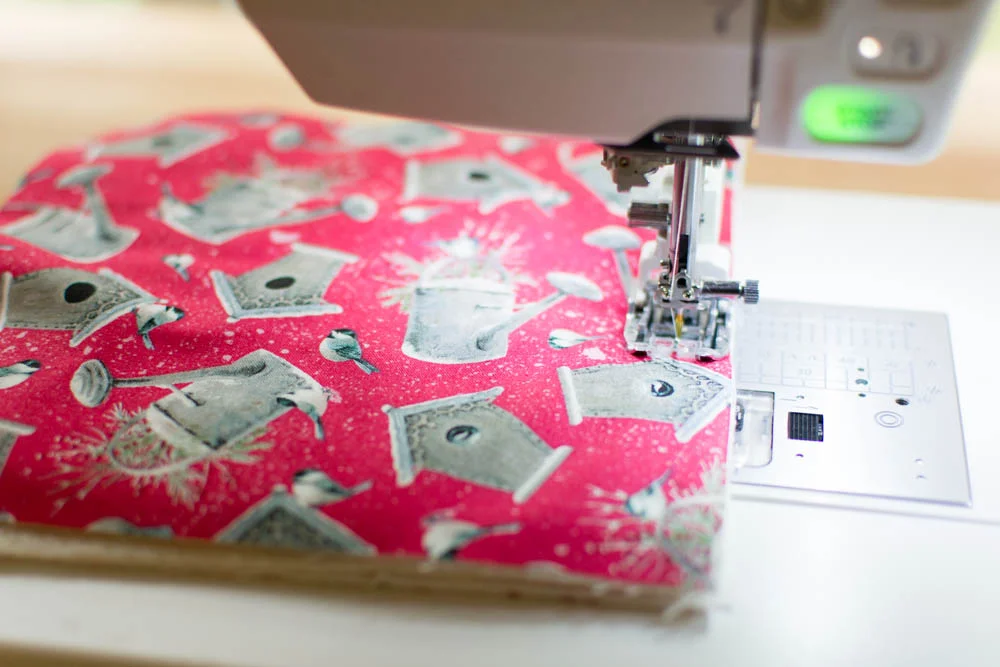
If you have a walking foot (or dual feed foot) for your sewing machine, it makes sewing all these layers a breeze. Make sure your needle is size 90 or larger too, so it doesn't struggle or break.
2. Sew the first two blocks together with a 1/2'' seam allowance. Backstitch at the start and stop.
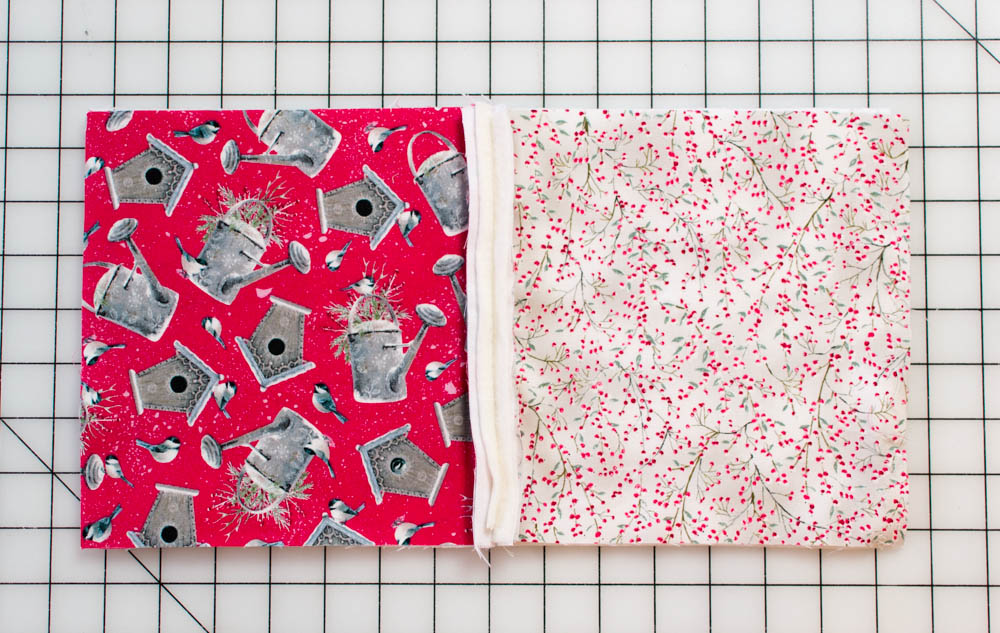
3. Open the layers out - cute!
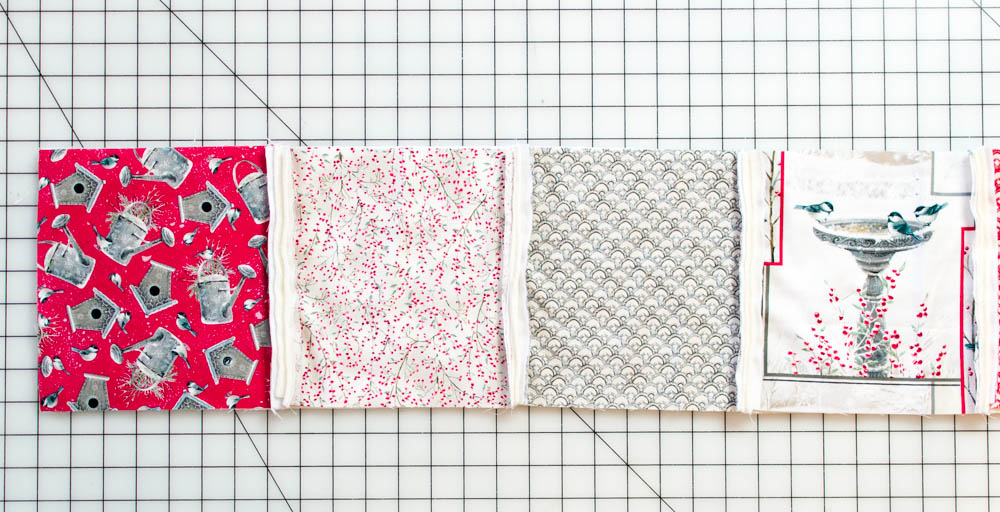
Continue with steps 1-3 above to sew all the stacks together for your first row.
And then make the rest of the rows in your rag quilt.
4. Once all of your rows are sewn, sew the rows together with a 1/2'' seam allowance as before. Finger-press the seams open as you go for a neat appearance.
Making a rag quilt can get bulky toward the end, so make sure you have enough space.
See how beautiful the back looks in a single color of cozy fleece?
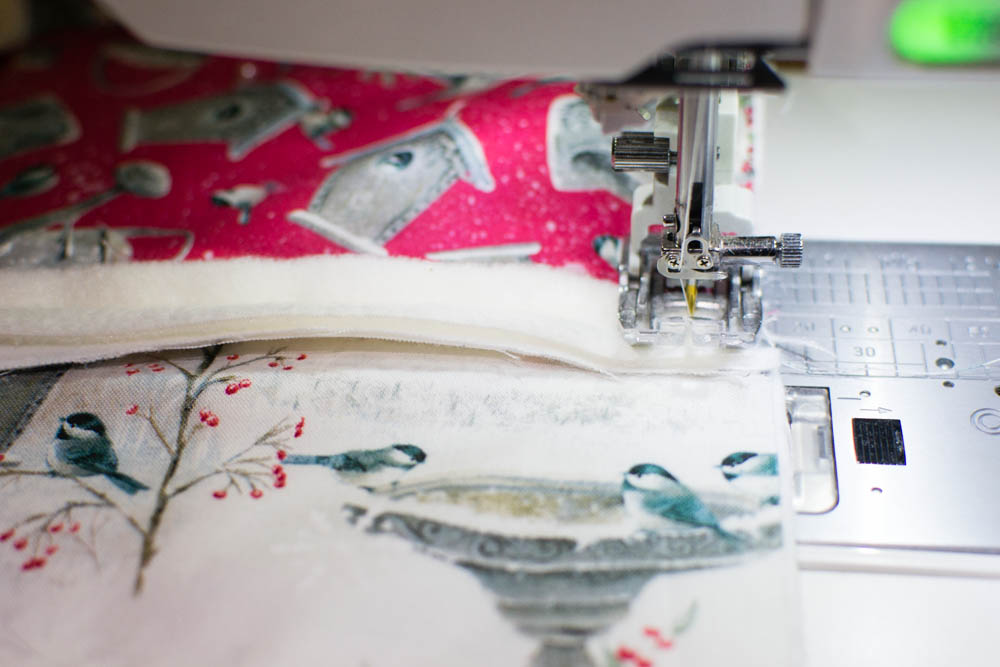
5. After all of your rag quilt pieces are sewn together, sew around your quilt 1/2'' from the edge. This will be a guideline for clipping the outer edge, plus it will hold those layers together.
You could also bind your rag quilt with regular quilt binding - in that case this step is not necessary.
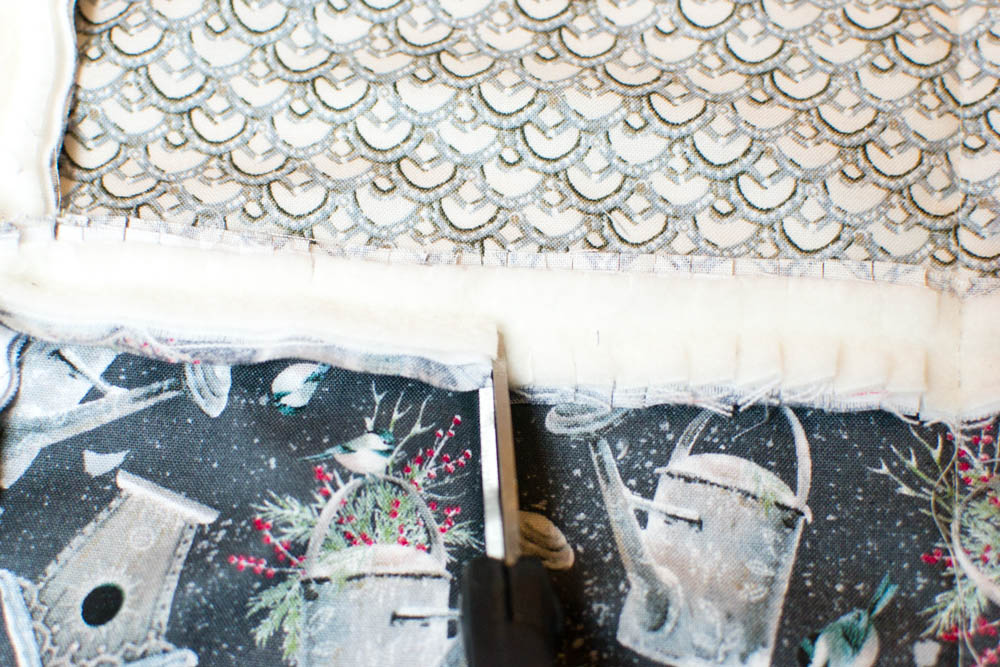
Clipping the seams!
Now you are going to be so happy you have those spring loaded rag quilt scissors! Clip all of the seam allowances (and the edges if you are not using traditional binding). I like clipping into the seam allowance with my clips about 1/4'' apart, but if your hands can't take it 1/2'' apart is fine too! Put your favorite movie on and enjoy!
Take care not to clip into the stitching, but if you do, it's easily fixed by folding the seam wrong sides together again and sewing across the clipped stitches.
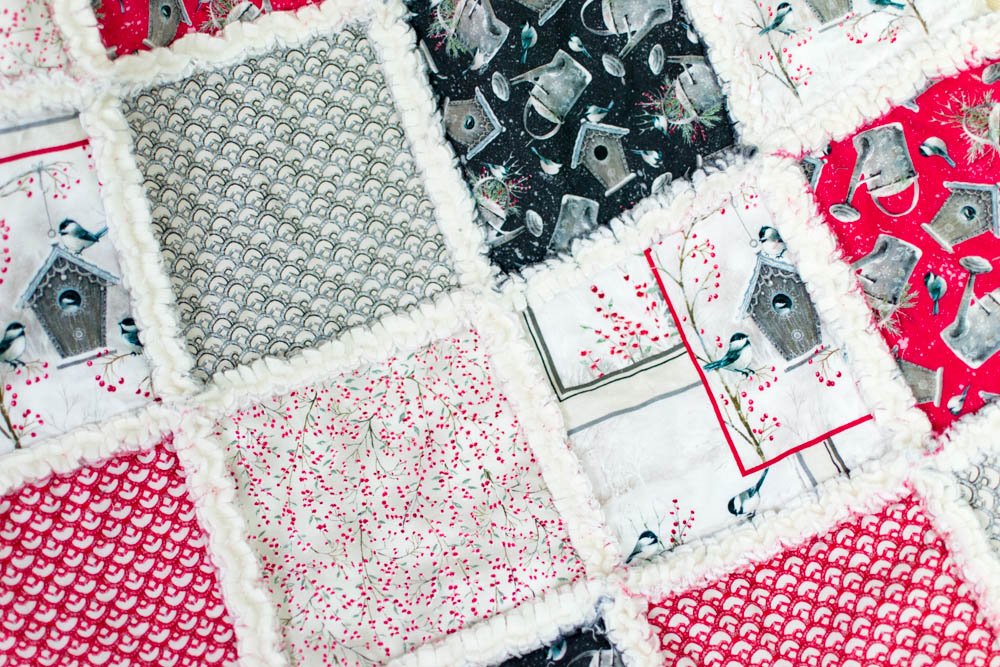
Your rag quilt looks beautiful now, but it's not finished until you wash and dry it to fray all those clipped edges.
Enjoy your handmade rag quilt! Come back and tell us in the comments what fabrics you used (and how many layers) and how it turned out. We'd all love to know!
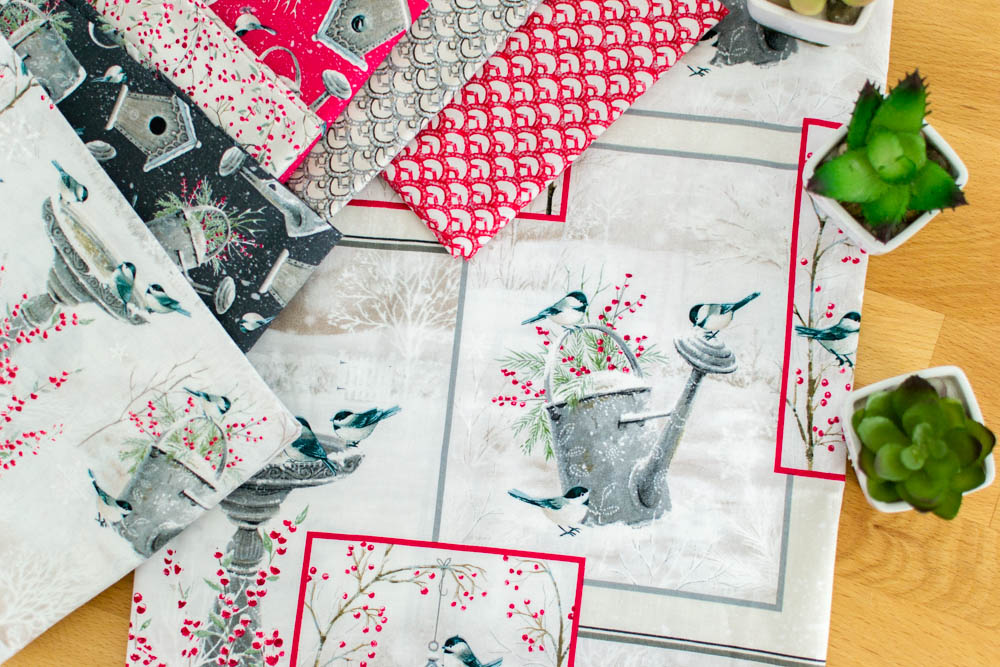
Make sure you ask for this gorgeous Winter Garden collection from QT Fabrics at your local quilt shop.
xoxo,
