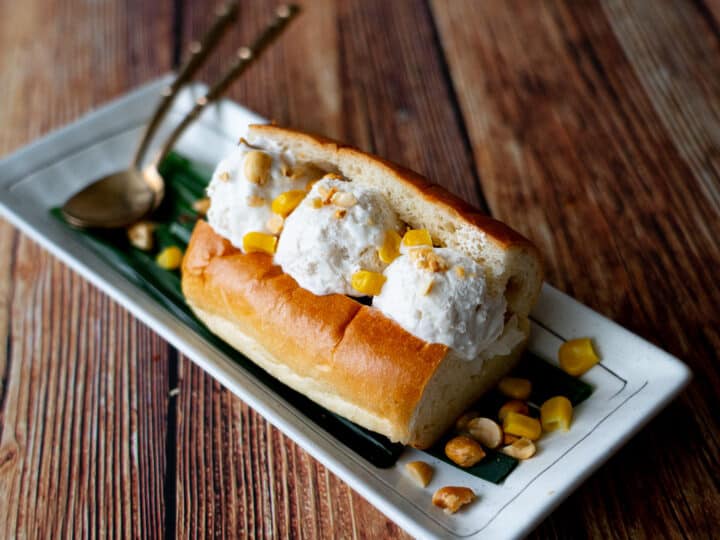
Imagine this: soft and creamy ice cream bars that you didn't need to whip or churn. All you have to do is cook the ice cream base, pour it into a mold, then cut it into pieces. And it's so soft your teeth will glide right through it as you take a bite, and it's wonderfully chewy. Yes, chewy.
It's not a hack or a new science trick, but old school wisdom at its best. This is how ice cream used to be made in Thailand before ice cream churning machines were widely used. It's a brilliant technique that I think deserves a comeback.
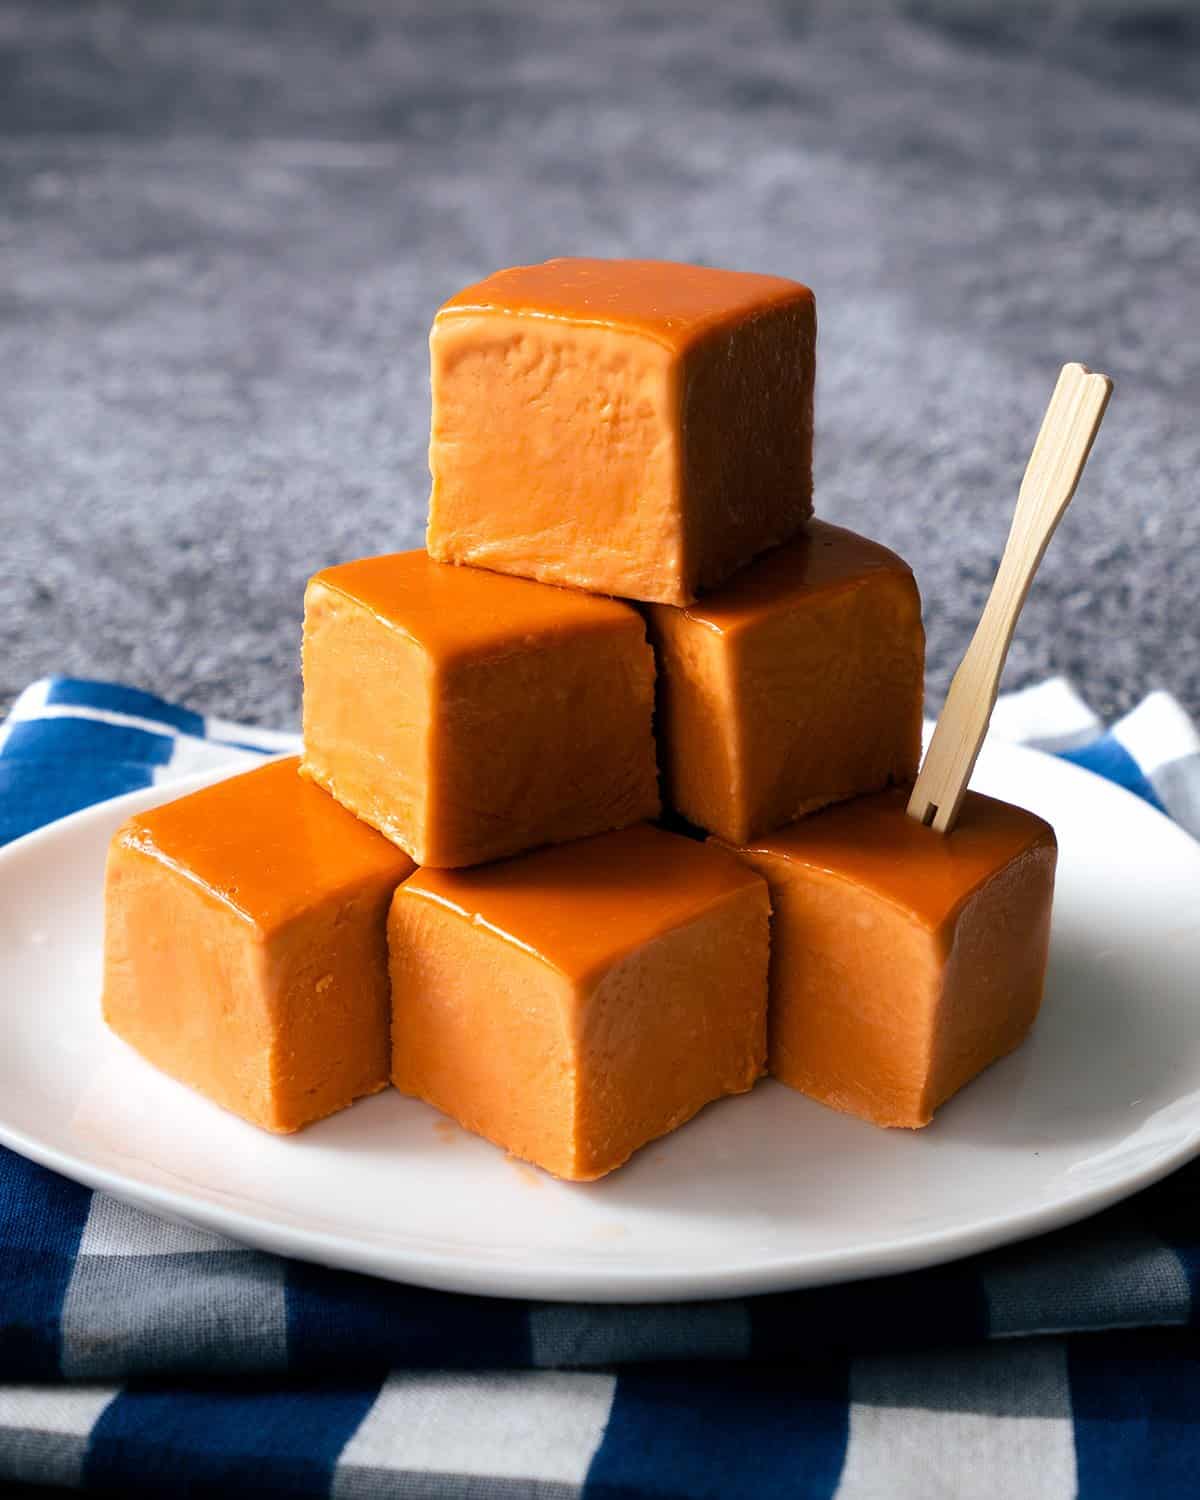
Traditional Thai "cut" ice cream
A while ago I came across an image of these rectangular ice cream bars in Thailand, with skinny wooden skewers as the "stick". It reminded me of my childhood, yet I don't have a memory of eating them ... it's definitely something I've seen though. It's so rare these days that I have a hard time trying to remember where I last saw them.
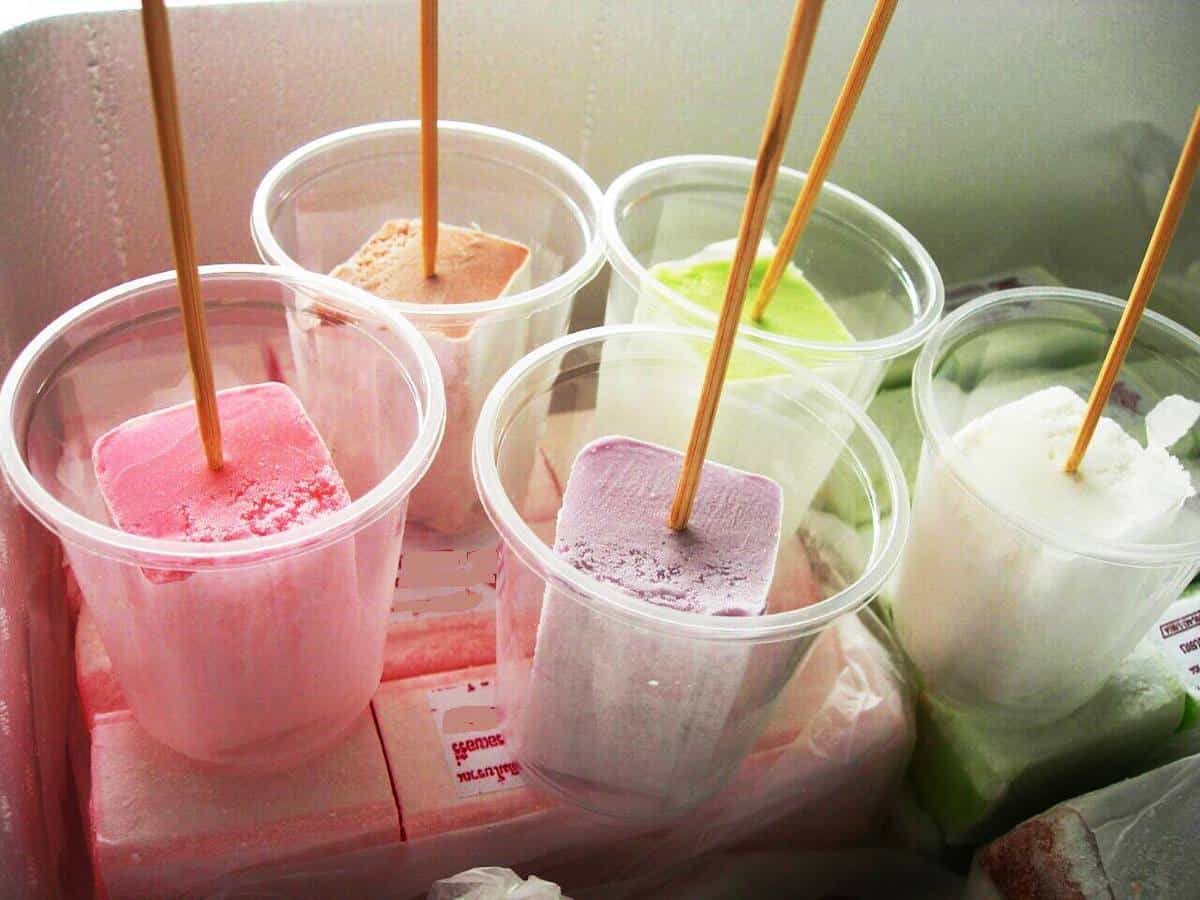
These are not popsicles. They are not icy refreshing treats, but a soft and creamy sweet that eats almost like churned ice cream, but denser and totally satisfying. Upon further investigation I was fascinated by how simply they are made, and I was intrigued by the use of starch.
So here's how the ice cream is made, and then read on to find out the fascinating science of how it all works.
Ingredients You'll Need
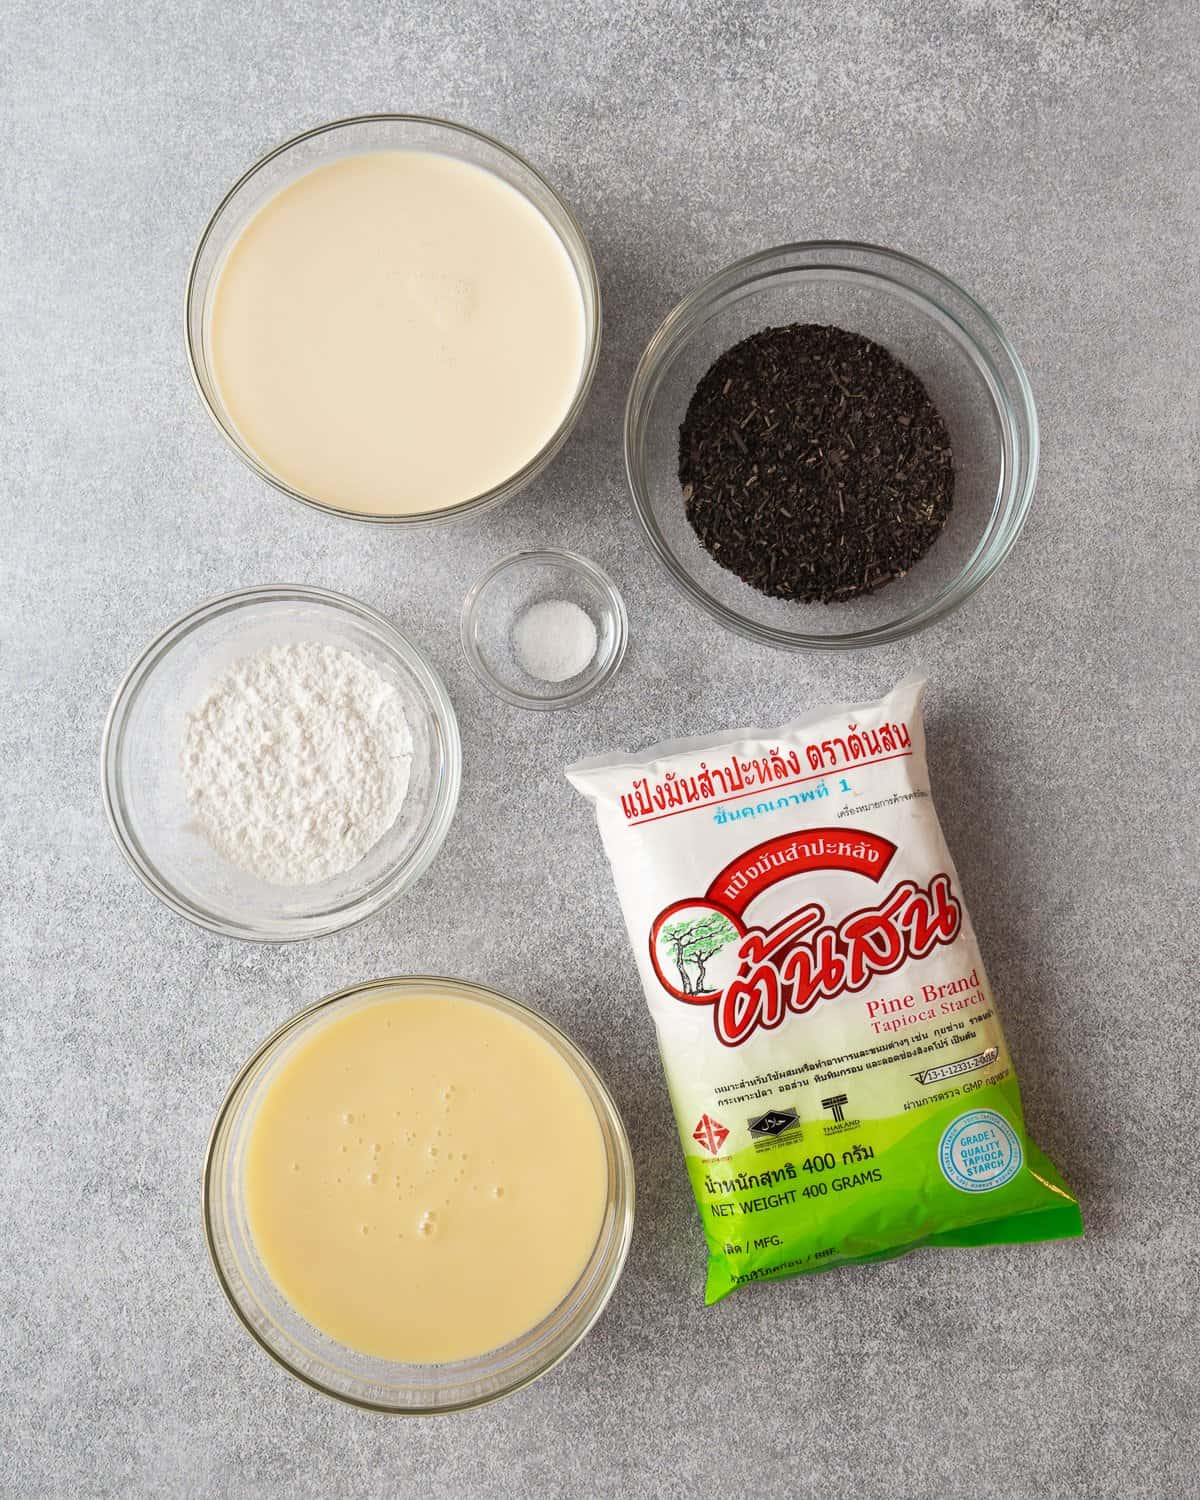
Here are all the ingredients you'll need. I'm making Thai tea flavour here, but the basic concept can be applied to other flavours. More on that below.
- Evaporated milk
- Sweetened condensed milk
- Whipping cream or heavy cream
- Tapioca starch (sponsored by Pine Brand)
- Salt
- Thai tea leaves
- Water for brewing tea (not pictured)
Step-By-Step:
Here's a bird's eye view of the process, but also be sure to check out the full video tutorial in the recipe card below to ensure success!

- Steep Thai tea leaves in hot water for 5 minutes and strain.
- Dissolve tapioca starch in a little bit of evaporated milk.
- Pour the starch slurry into a pot.
- Add condensed milk, evaporated milk, whipping cream and salt.

- Add the Thai tea, holding back the last little bit where the tea dust has settled.
- Cook until the mixture is fully thickened and bubbling.
- Pour into a mold lined with parchment paper for traditional cut ice cream bars.
- Or pour into a popsicle mold. Let cool to room temp before freezing.

- Remove from the mold, trim off the edges and cut into bars.
- Insert wooden skewers or sticks.
- Peel it off the paper; and that's the old-style ice cream!
- Alternatively, you can cut into cubes for smaller snack size ice cream.
Pro Tip: Customizing Creaminess
In this recipe I use whipping cream which has the highest fat percentage for that maximum creaminess. If you prefer something lighter, you can use whole milk or "half and half". But without the fat the result will be a noticeably "icier" ice cream (though still soft and sliceable because of the starch), which isn't necessarily a bad thing if you want something more refreshing!
What does starch do to ice cream?
So how does the ice cream base not freeze into a hard icy block? In a word, the starch. If you didn't add the starch, it would indeed freeze into an icy block that you couldn't bite through easily.
How it works is that the starch essentially absorbs some of the water in the ice cream base, and as it gels up while cooking, this water is prevented from becoming frozen into big, hard ice crystals. So in a way, the ice cream is only partially frozen.
Adding starch also has the added benefit of slowing down the melting. Because of the starch, the ice cream base starts out as a very thick liquid. So when it melts, it doesn't just liquefy and drip as quickly as normal ice cream. It softens, but can still hold its shape much longer. Great for kids if you ask me!
What else keeps the ice cream soft and creamy?
But it's not just the starch that does the work. The fat and the sugar also work to prevent the ice cream from freezing solid. Sugar suppresses the freezing point of water, and the fat in the cream lowers the total amount of freezable water present and creates a creamy mouthfeel.
So if you were to substitute the cream in this recipe and use milk, your ice cream would be noticeably icier. Again not necessarily a bad thing if you're looking for something more refreshing as opposed to creamy.
Use tapioca starch for "chewy" ice cream
Tapioca starch is actually not the only starch you can use. Cornstarch will work as well. But what I like about tapioca is that it adds chewiness. If you think about tapioca balls in boba and how chewy they are, that's the idea. Here, it makes an ice cream that you can bite through and then chew - which is an oddly satisfying experience that I love about this treat!
No Churning = Denser = More Flavour
Typical churned ice cream will have air incorporated into it. The more air is whipped into it, the lighter the ice cream. Sounds good, right? But actually, it also means there is less ice cream in every mouthful, and it's in fact less flavourful. This is how cheap ice cream gets away with being cheap; they're selling you a ton of air in a pint.
This is another reason gelato is more expensive than ice cream. Gelato is less airy, so a scoop of gelato has actually more "stuff" in it than a scoop of ice cream.
So these ice cream bars are not churned at all. They have essentially no air incorporated into them, which makes each bite dense and full of flavour. You get hit with a lot of Thai tea flavour in every bite. And it also adds to the chewiness we talked about.
Starch in ice creams in other cultures
Though I have not come across another culture that cuts their ice creams into bars like we do, the use of starch to help improve ice cream textures isn't unique to Thailand.
In Italy, specifically in Sicily, cornstarch is used in their gelato. And in the Middle East, a starch called salep (also spelled sahlep or sahlap) is added for similar effect.
Starch is also added to commercial ice creams, because you better believe the ice cream industry knows all about the magic of starch. In Thailand, mung bean starch is added to some commercial sorbet to increase softness for a better bite and added stability so that it won't melt as quickly.
But wait, what exactly is Thai tea?
You can make this ice cream whatever flavour you like (more on that in the FAQ) but Thai tea is one of my favourites.
If you've never had Thai iced tea, well, you're missing out and you really need to check it out! It's popular both inside and outside of the country, and you could call it our "national drink". If you prefer non-milky teas, you might try Thai lime tea, which is really my preferred version because it's much more refreshing.
Thai tea leaves are made from assam tea, and the iconic orange colour is made from...drum roll....food colouring! Surprise! (Sorry, probably not the mysterious ingredient you were hoping for.) But wait, it also has an added flavour. And that flavour is...drum roll again....vanilla! (Sorry again.)
The unique flavour that you recognize as Thai tea is but the combination of assam tea and vanilla, plus the creamy condensed milk and evaporated milk added later.
Frequently Asked Questions
Yes! You can make whatever flavour you want, including pureed fruits, but the thing to keep in mind is the ratio of total liquid to starch. So feel free to substitute the tea with another flavoured liquid, but keep the total volume about the same overall (slightly more than a cup).
You can use whatever liquid you want in theory, but whatever you choose, it should contain enough fat to make the result less icy. Coconut milk is a good option and is actually the traditional liquid used in Thailand. Coconut cream, with higher fat content than coconut milk, is also a good choice for extra creaminess.
Yes. The condensed milk is added here because it's part of the Thai tea flavour profile; but if you're not using dairy, you can just add granulated sugar, honey, maple syrup, corn syrup or another sweetener of your choice. You'll have to experiment with the amount though as I'm not sure how much table sugar would be the equivalent of 1 can of condensed milk. This can easily be done by adding and tasting until it tastes sweet enough for you. I would start with ¾ cup of sugar and add more from there.
Note: If you are using artificial sweeteners, it may not help keep the ice cream soft and creamy like natural sugars would.
Before you start, be sure to watch the video tutorial to ensure success! I always include little tips and tricks not mentioned in the blog post. The video is in the recipe card below, but you can also watch it on YouTube!
Like this recipe? You'd also love these!
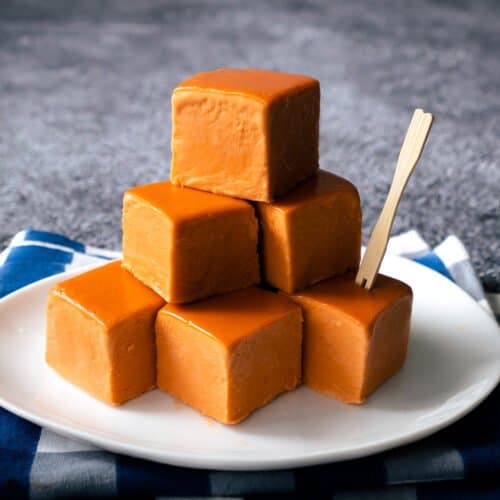
No-Machine Soft Ice Cream Bars - Thai Tea Flavor
Equipment
- Popsicle molds and sticks or a heatproof rectangular dish such as a 9x5 loaf pan
- Some sturdy bamboo skewers for using as sticks if making bars
Ingredients
- ½ cup Thai tea leaves
- 1 ½ cup hot off-the-boil water
- ¼ cup tapioca starch
- 1 can evaporated milk (354 ml)
- 1 can sweetened condensed milk (300 ml)
- 1 cup whipping cream (see note 1)
- ¼ tsp table salt scant (see note 2)
Instructions
- Prepare your molds. If using a dish, grease the bottom and sides with oil. Cut a piece of parchment paper so it's as wide as the longest side of your container. Line the dish with the parchment, leaving plenty of overhang on two sides. Press the parchment into the oil so it sticks, and use a bulldog clip to secure the overhang onto the edge of the dish to prevent the paper from moving around. For easier removal, you can line with another piece of parchment, going across the first piece so you have overhang on all 4 sides. Tip: I recommend using good quality, sturdy parchment paper for this. Cheap filmy parchment might tear as you try to pull the ice cream out (as I found out the hard way!)
-
Steep the tea leaves in hot-off-the-boil water for 5 mins, then strain using a fine mesh strainer, pressing out most of the liquid. You should end up with a little more than 1 cup of tea (1 cup exactly is fine, but it should be less than 1 ¼ cups.) Allow the tea dust to settle to the bottom for a minute.½ cup Thai tea leaves, 1 ½ cup hot off-the-boil water
-
Meanwhile, put the tapioca starch into a small mixing bowl, add about ⅓ cup of the evaporated milk and whisk to dissolve the starch - making extra sure there are no lumps. Pour the starch slurry into a medium size pot, followed by the remaining evaporated milk.¼ cup tapioca starch, 1 can evaporated milk
-
Add the sweetened condensed milk, whipping cream, and salt to the pot. Then pour in the tea, holding back the last little bit so as to not pour in too much of the tea dust. Stir until the condensed milk is dissolved.1 can sweetened condensed milk, 1 cup whipping cream, ¼ tsp table salt
- Turn the heat on medium and stir constantly with a rubber spatula, scraping the bottom. The mixture will slowly start to thicken, and once the mixture starts to bubble and is no longer getting any thicker, it is fully cooked. (To check for bubbling you'll have to stop stirring for a few seconds and watch for movement.) Remove from heat and, while still hot, pour or ladle it into your molds. Pop any big buggles with a toothpick, then allow the ice cream to cool to room temp before freezing for at least 6 hours before unmolding.
- To unmold, I highly recommend watching the video to see how this is done so you have a better idea. If using a cake pan or a dish, use a thin knife or metal offset spatula and run it along the edges that don't have parchment paper. You can dip the knife in hot water if you're having a hard time inserting. Carefully lift the parchment overhang to remove the ice cream from the pan. If you're having a hard time removing, try running the knife around the edges one more time, especially around any rounded corners, or wait a minute; resisting the urge to dip the mold in hot water as this ice cream melts quickly. Once it's out, place it on a cutting board and use a knife to trim the edges if you wish, then cut into blocks of your desired size. If making bars, insert a sturdy bamboo skewer into the ice cream, using a knife or something sturdy to push against the top to hold the ice cream steady. Peel it off the paper and enjoy!
- To store: wrap each piece in parchment paper to prevent them from sticking to each other.
- Tip: Because of the added starch, these are soft and creamy but also melt quickly, so work quickly when unmolding the ice cream.
Video
Notes
- For a lighter treat, you can use half and half or whole milk. Keeping in mind this will make your ice cream icier.
- Scant ¼ teaspoon means just a little less than ¼ teaspoon. Sorry for this imprecise measurement but I found that ⅛ is not enough, and ¼ is too much!
Nutrition
The post No-Machine Soft Ice Cream Bars - Thai Tea Flavor appeared first on Hot Thai Kitchen.


