

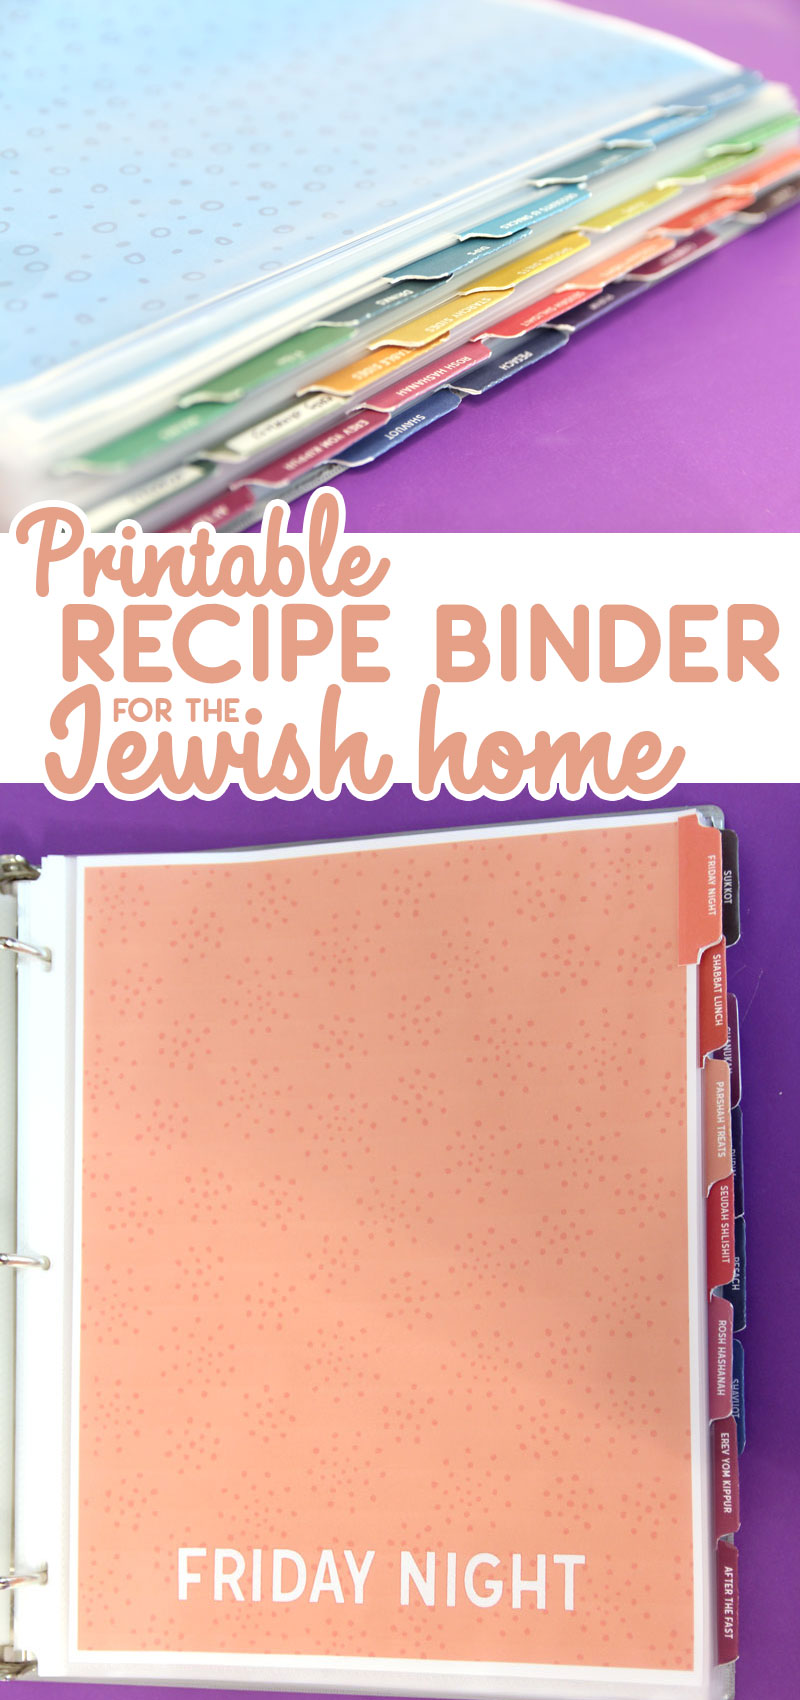
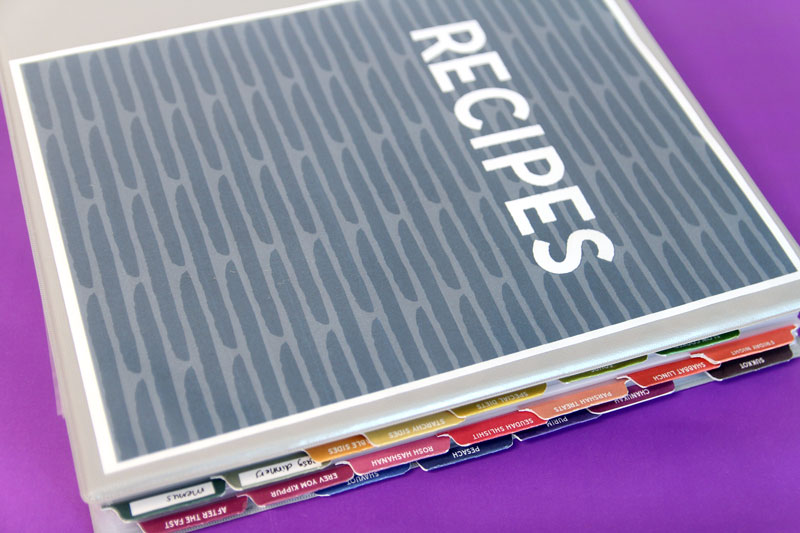
This printable Jewish recipe binder is designed for the Kosher home and the Jewish year. Want some sample plans? Check out our Shabbat lunch ideas! This post contains affiliate links.
As the meme states, the Jewish homemaker makes a “Thanksgiving every weekend”. For some families that’s an understatement and for some it may be a bit of an exaggeration.
Wherever you fall in that range, I’m sure you’ve had moments when you absolutely couldn’t think of that perfect dish for that Shabbat lunch, that post-fast feast, or that Shavuot appetizer.


And while your recipes may be organized – or not – you may not have them organized by your specifically Jewish needs.
A friend of mine recently suggested that I create a Jewish recipe binder, and little did I know what a lifesaver that idea would be for me. My clipped recipes have been dumped in a half-size binder, with no rhyme or reason. Digging out that sesame-free humus recipe each time I need it has been a nightmare. And while I’m normally a creative cook (no recipe required), creativity just won’t work for Mommy’s Perfect Pesach brownies!
Get the Jewish Recipe Binder
How to use the Jewish Recipe Binder
The idea of this binder is to help you sort your recipes in a way that:
- Helps you find the correct recipe at the correct time and
- Helps you menu plan more easily by sorting things into categories that make sense for you.
It’s designed for recipes you print from blogs, copy from your sister-in-law, or clips from your favorite magazine. And while you should definitely file it in the section you’re most likely to look for it, you can also file it in more than one – depending on your organizational style.
So for example, let’s say I clip this delicious crock pot mushroom barley soup recipe. I’ll print it three times. Once for the soups section, once for the Shabbat Lunch section and possibly also for the slow cooker section.
And gluten free cholent can go in Shabbat lunch, Special Diets (where I’ll look for ideas when my family members with Celiac come), as well as Pesach.
Not everything needs to be everywhere! The sesame free hummus and sunflower pesto don’t need to go in the special diet (allergy free) or Shabbat lunch sections. They’re good with the dips. I don’t use those to menu plan. I just need to be able to find the recipes easily when I’m ready to make them.
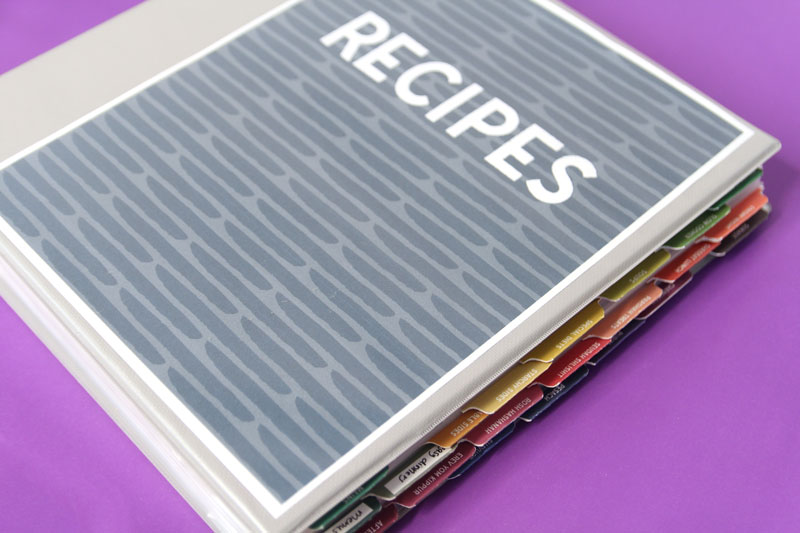
Start with a thick binder with heavy duty sheet protectors. This is a starting point to help you navigate this organizational task. You may want to add your own using the blank pages I included (more on that soon!).
Since there are 26 sections in this Jewish recipe binder, it’ll be thick. You don’t need to use all the sections! Just print the ones you need – and yes, I included a directory so you can choose the page numbers to print.
You can also do what I plan to do: split this into two separate binders.
- One will be a menu planner – organized by Jewish holiday/occasion.
- One will be a recipe book – organized by course.
If you do use a single binder with all the dividers, get a thick one.
What’s inside: the sections and more
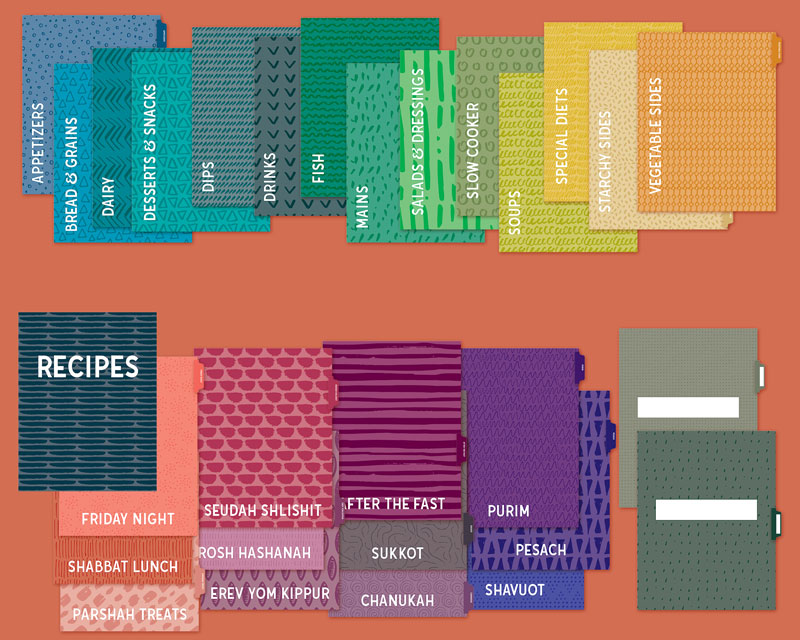
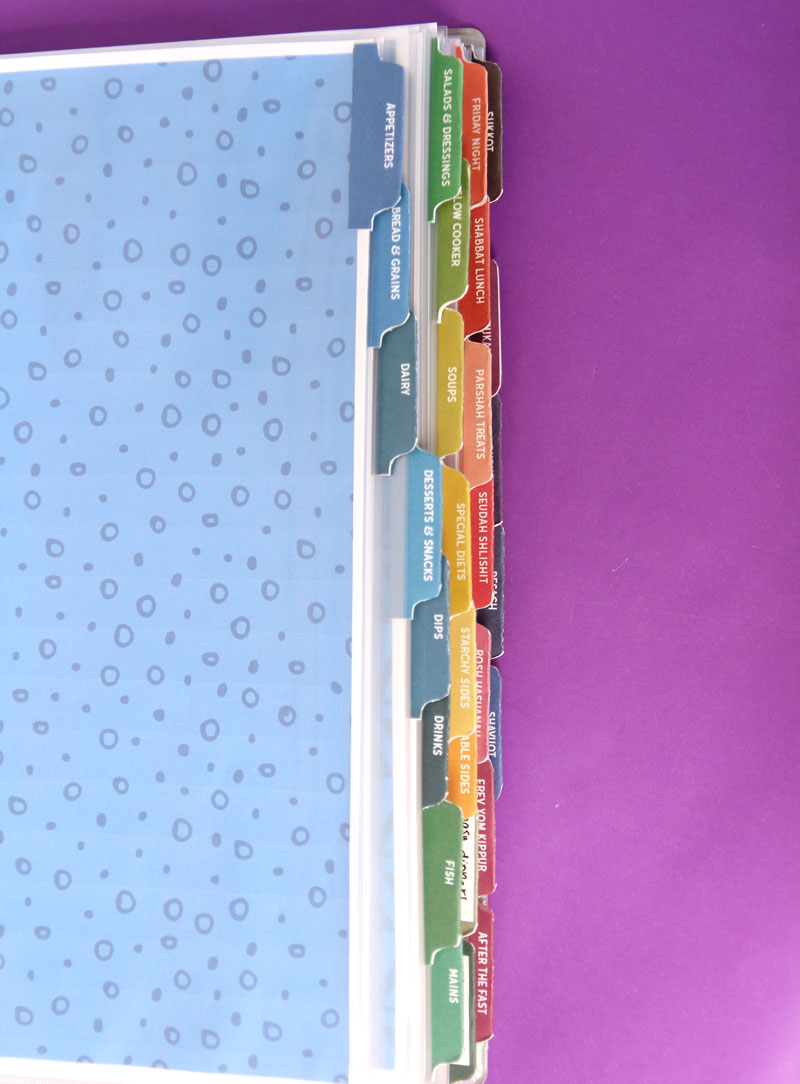
The Jewish recipe binder includes 26 sections, based on Jewish dietary needs.
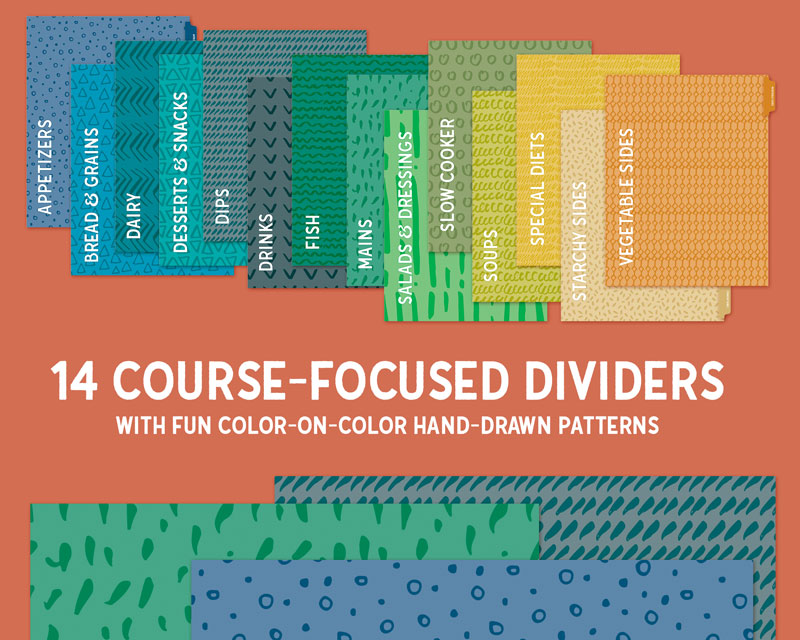
Cuisine-focused
These are also focused on Jewish dietary needs:
- Appetizers
- Bread & Grains
- Dairy
- Desserts & Snacks
- Dips
- Drinks
- Fish
- Mains
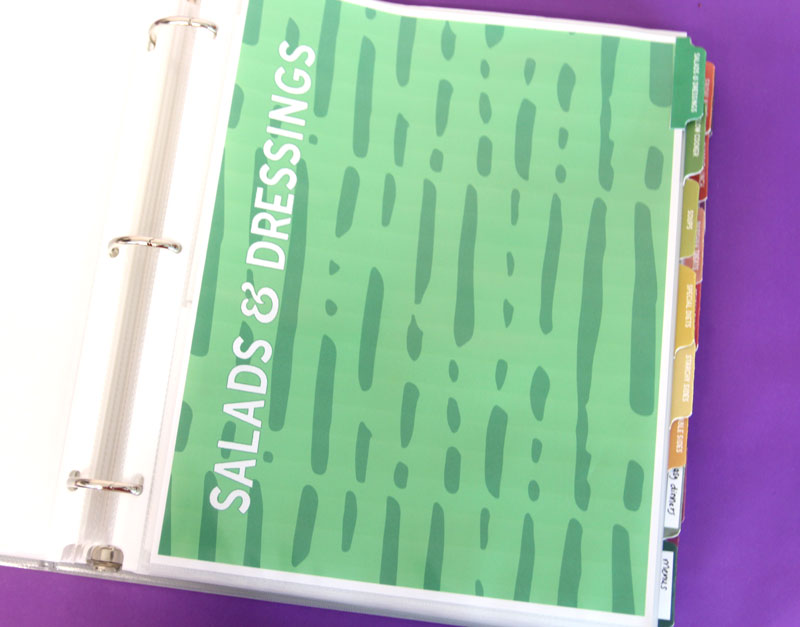
- Salads & Dressings
- Slow Cooker
- Soups
- Special Diets (gluten-free, nut-free, vegan – to help you plan for guests with specific needs)
- Starchy Sides
- Vegetable Sides
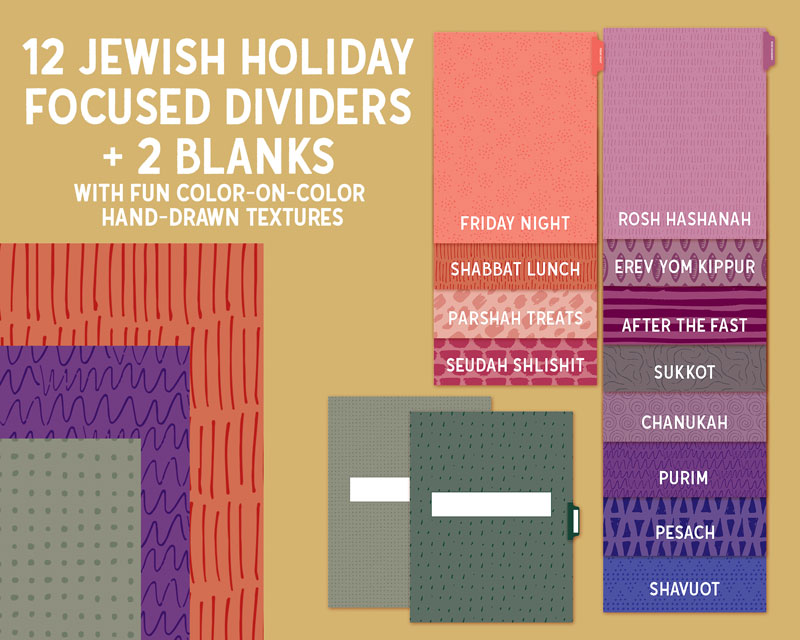
Jewish home focused
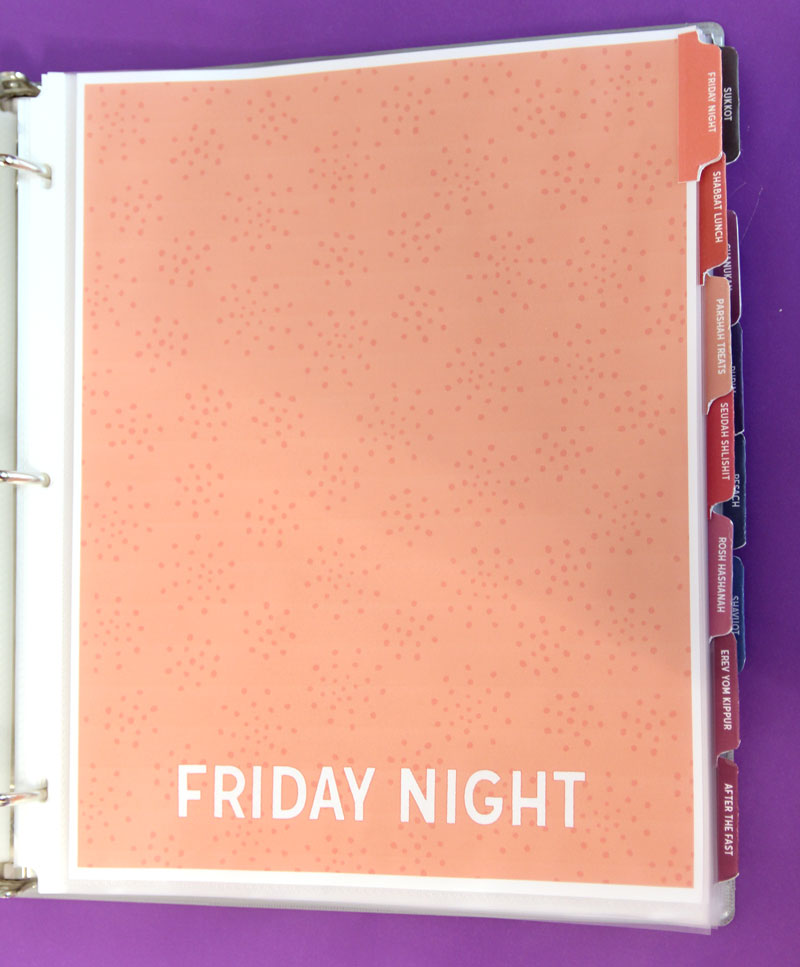
- Friday Night
- Shabbat Lunch – this is my favorite section, as Shabbat lunch requirements are specific and we like to switch it up!
- Parsha Treats
- Seudah Shlishit
- Rosh Hashanah
- Erev Yom Kippur
- After the Fast – if you like to cook specific things for then, store the recipes here!
- Sukkot
- Chanukah – for your favorite donuts!
- Purim
- Pesach – while you may want a separate binder for that, this is a great place to drop clippings throughout the year.
- Shavuot – for cheesecake and other fancy dairy dishes
Additional Pages
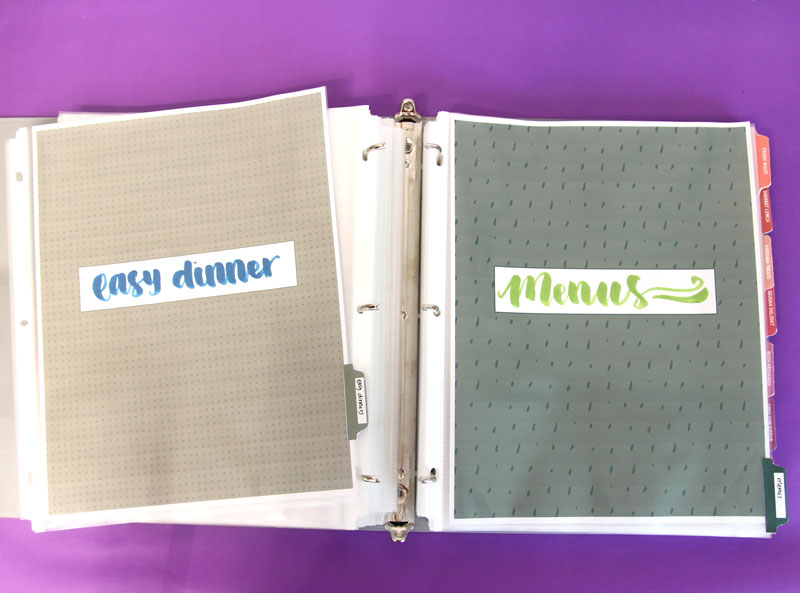
- 2 blanks! Because everyone has different needs. I made one for menu plans – where I can save the plans I made that were successful. I usually mark down who came and/or how many kids and adults. I also made one for easy dinners. Put anything here that you feel is missing from my binder (because I couldn’t possibly include it all!
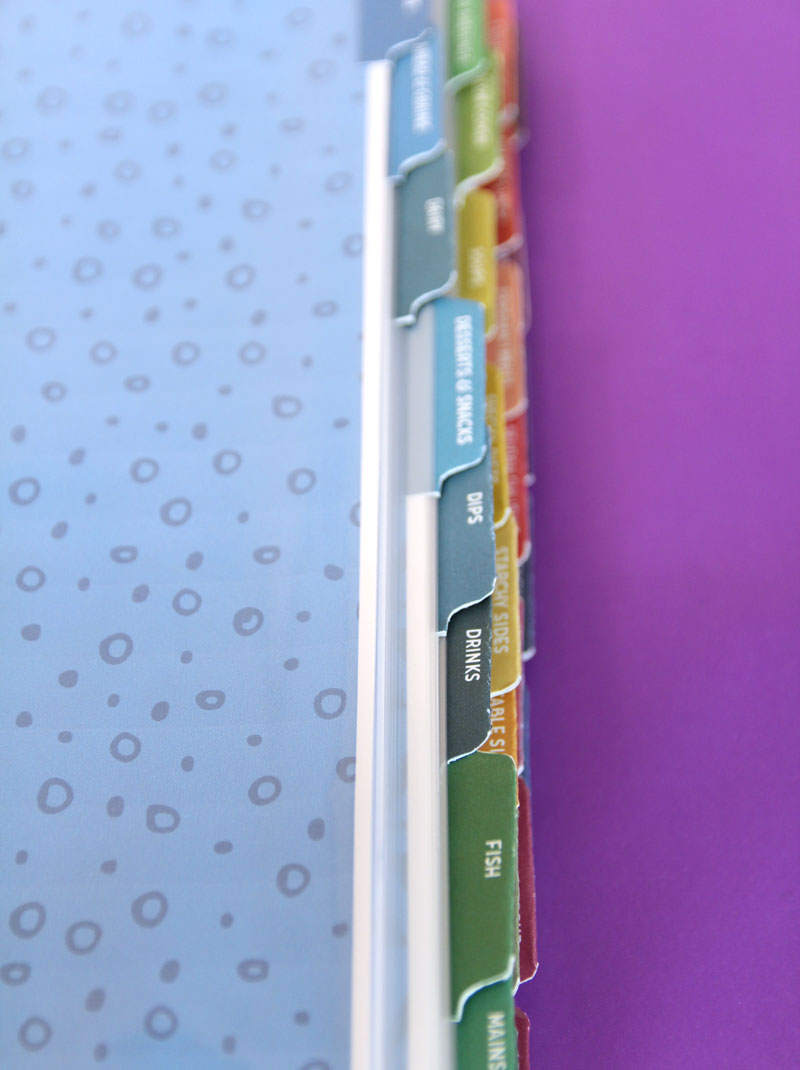
- Divider tabs – Cut these out, fold in half, and glue it on to easily find your spot. If you have a Cricut, use the PNG image to “print then cut” (learn how here) If not, just print, cut out, glue. Instructions to follow.
- A cover – I kept this simple to keep things neutral and clean. You can also decorate your own cover.
- Instructions and directory – I also made a single page of instructions and a page-by-page directory. You can stick this in the pocket of your binder so that if you need to print off extra pages you can find the page number easily.
Still didn’t get it?
How to assemble your Kosher recipe binder
You need
- A binder
- Heavy duty sheet protectors
- Print on copy paper for the dividers and cover
- Print on cardstock, photo paper, glossy sticker paper, or regular paper + laminate for the tabs
- Double sided tape, glue lines, or a sticker maker
- The printable files
Assembly instructions
- Print your pages.
- Insert the cover into the clear pocket on your binder.
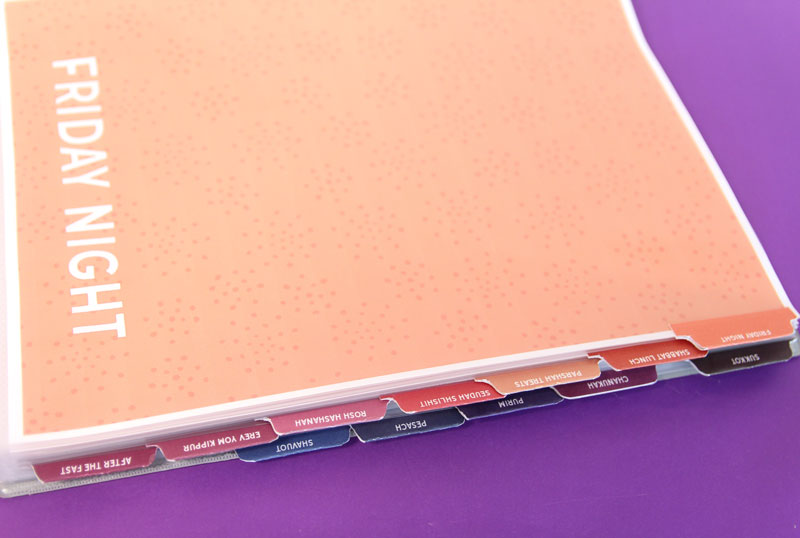
- Place the sheet protectors in your binder. Start with the first page. Place your first divider page inside.
- Skip a few and add subsequent divider pages.
- Cut out the tabs by hand or using the PNG to print then cut on your Cricut.
- Fold them in half on the center line.
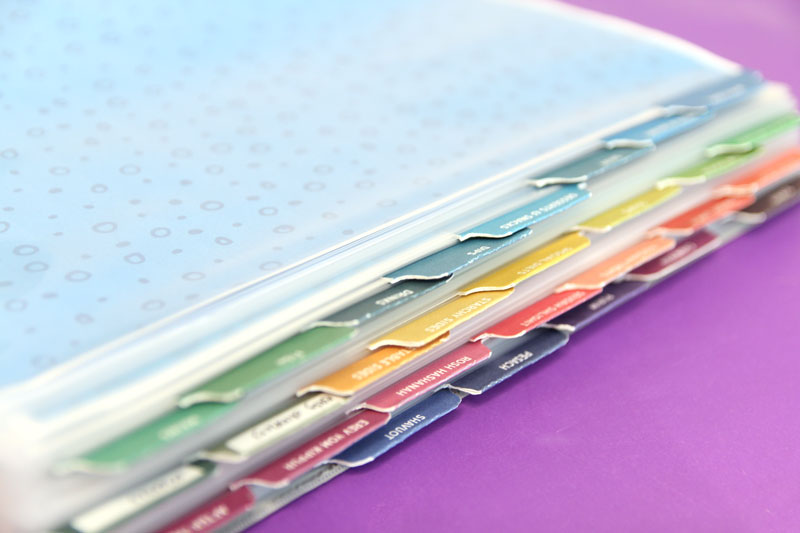
- Attach the correct tab on the correct sheet protector, placing each one a drop lower than the one before. You’ll be doing a few rounds, but since there are pages/spaces in between, you’ll be able to see the markings.
- Fill with your recipe clippings!
Tips for assembling your Jewish recipe binder
- To make the tabs very durable, you can laminate them. You’ll want to place another sheet back to back with it when running it through the laminator. That way, when you cut it out, it’ll only be laminated on the front.
- Or, print it on glossy sticker paper – this will make assembly easier and color bleed less likely.
- If you aren’t printing on sticker paper, you may find assembly easier if you run it through a sticker maker. That’s what I did!
- If you’re a perfectionist, you can measure the placement of the tabs, placing each 1-1.25 inches lower than the one before.
The post Printable Jewish Recipe Binder appeared first on Jewish Moms & Crafters.