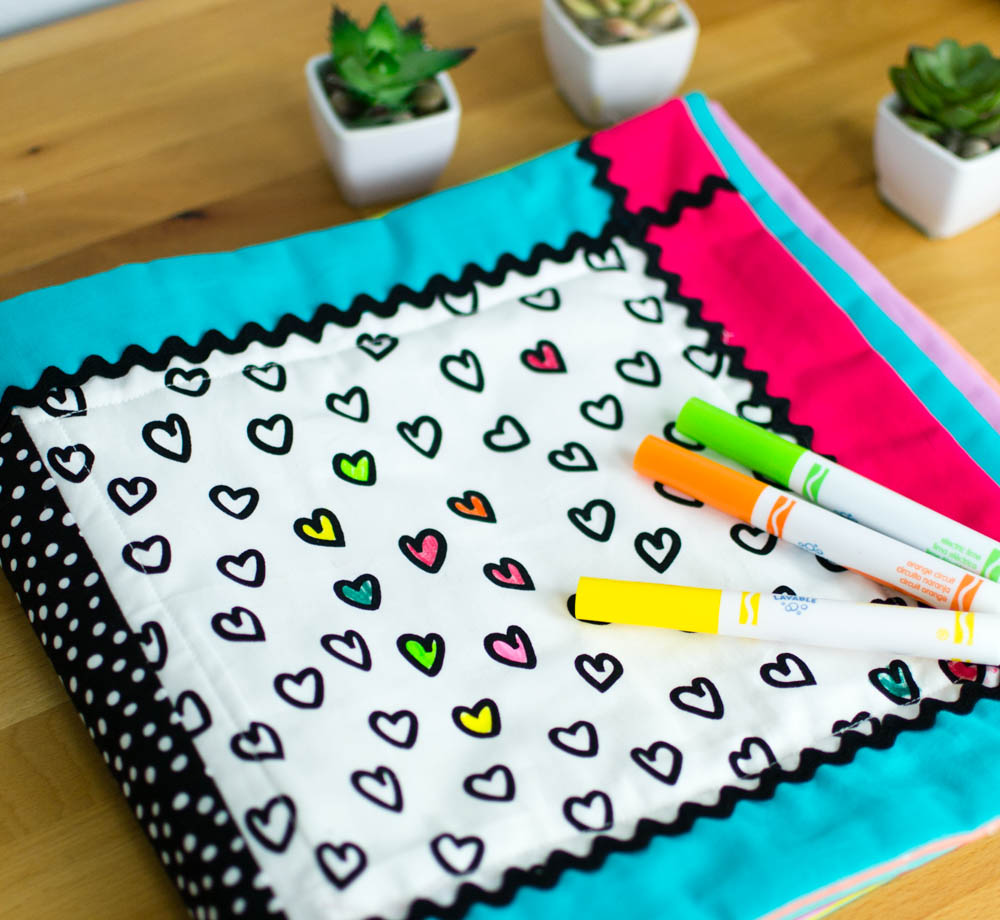
I have fallen in love with all the quirky, fun, and adorable coloring fabrics out there, but for the longest time I didn't know what to sew with them. Until now! I had so much fun making (and sneaking to use) this washable coloring book for my daughter.

I picked a fat quarter bundle of the new Penned Pals from Ann Kelle plus a colorful Kona jelly roll, and this project was done in no time at all! (There is also a thin layer of batting in between the pages to keep the colors from bleeding through).

It's a good thing that we had gone school shopping the day before and picked up a package of washable markers, because my Cadie was ready to start coloring before I was done taking pictures, lol!
There is something different about coloring on washable fabric instead of paper. Even I felt it. We didn't worry about making mistakes or picking mis-matched colors. We simply had fun coloring because we knew that we could wash the book and start over the same day if we wanted. Which we did - twice!

This would be the perfect project for a last-minute birthday gift, in preparation for a long car-ride, or to keep little pre-schoolers busy coloring somewhere other than the walls.
Are you ready to make one (or 10)?

DIY Washable Coloring Book Sewing Tutorial:
You will need:
6 fat quarters of black and white fabric that would be fun to color (I used regular quilting cotton)
1 fat quarter of fabric for the 'binding' sections
12 strips 2 1/2'' x 40'' to make borders around the pages
45'' x 38'' thin cotton batting to go in between the pages (I used Warm n Natural - a craft-size package is enough)
rick rack or ribbon to embellish the cover (if desired)

Cutting:
From the black and white coloring fabric, cut:
12 squares 10" x 10'' (2 from each print)
From the 'binding' fabric, cut:
6 rectangles 10'' x 4 1/2''
From the fabric strips, cut:
12 strips 2 1/2'' x 23 1/2''
12 strips 2 1/2'' x 14''
From the thin cotton batting, cut:
3 rectangles 14'' x 27 1/2''

Sewing:
Use a 1/4'' seam allowance except where noted below.
1. Sew two 10'' squares to the sides of a 'binding' piece. Press the seams toward the darker binding piece.

2. Sew two 2 1/2'' x 23 1/2'' strips to the top and bottom of the 'page'. Press the seams toward the colored strips.

3. Sew two 2 1/2'' x 14'' strips to the sides of the 'page,' pressing the seam allowances toward the strips as before.
Repeat Steps 1-3 above 5 more times to make a total of 6 'pages'.


If desired, choose one page to be the outer cover and sew rick rack trim or ribbon along some of the seams for embellishment.


4. Place two pages right sides together, lay a piece of batting on top and pin all the way around.


5. Sew all the way around the page with a 1/2'' seam allowance, leaving about 4'' open for turning.
Clip the corners.

6. Turn the page right side out and press all of the edges flat. Press the edges at the opening to the inside and either hand sew the opening closed or topstitch all the way around close to the edge, closing the opening at the same time. I chose to hand-sew the opening closed.
Repeat Steps 4-6 above 2 more time to make 3 padded pages.

Finishing up:
To keep the pages from separating in the wash, we'll do some simple straight line quilting with white thread.
1. Using a walking foot (if available), quilt in a square 1/2'' inside the edges of the coloring page sections. This is all the quilting that is necessary, but you could do more if you like!

Note: If your sewing machine can handle it, you could just stack up all three pages and sew down the middle, but I chose to sew only 2 pages together at a time to ensure a pretty result.
2. Choose one page to be the middle of the book (one of the pages without embellishment) and use the fabric pen to draw a vertical line down the middle of the page.


3. Stack the 'middle' page that you marked on top of the other page without embellishment. and pin down the middle.
Sew down the middle of the pages along the line that you marked. Be sure to backstitch at the start and the end to make the binding secure. As you can see, I'm still using my walking foot because of the many layers.

4. Place the embellished page on your work area with the embellishment down. Stack the two already-attached pages on top.
Turn back the middle page so you can see the seam between the layers and pin along the seam. You will only be pinning 2 layers of 'pages' together (the outer cover to the page that's not the middle of the book).

5. Sew a line of secure stitching 1/4'' from the seam. Turn a couple pages over and repeat this step again on the other side.


This will make it so you have only one line of stitching down the center of the book (I used red) and two lines of stitching along the binding on the outside cover (I used blue).

Your washable coloring book is done! Make sure you pick up some washable markers, because using permanent markers won't let you color again and again.
I would love to see the cute fabrics you pick to make this... please show me a picture in an upcoming Show Off Saturday post!
xoxo,


