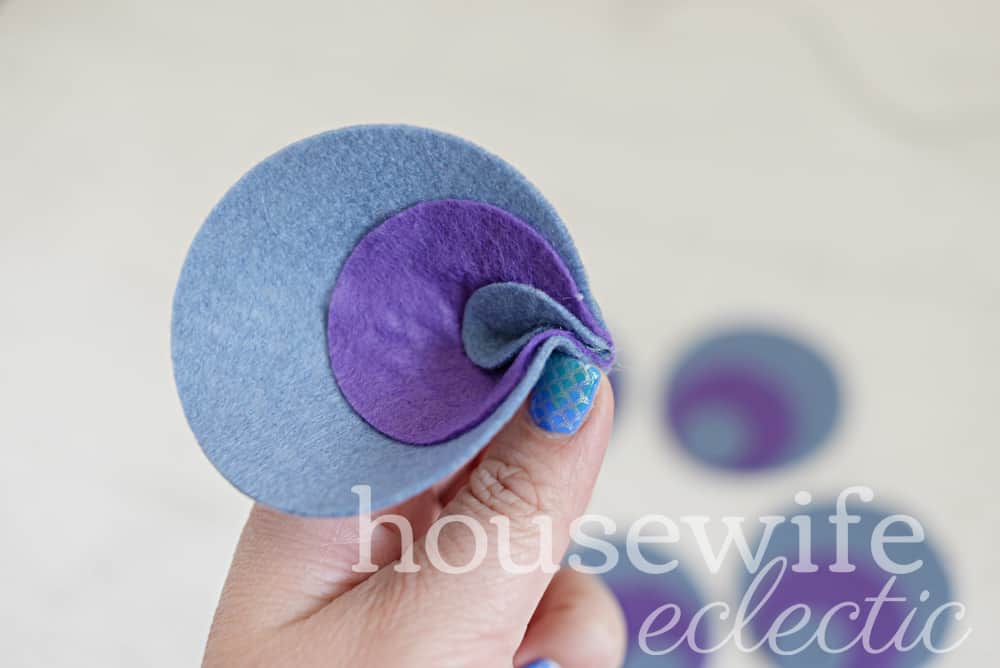
These delightful Layered Felt Flowers look intricate but are actually simple to pull together. I love this flower on a clip for my daughter to wear in her hair. I used blue and purple because I love those colors together, but this flower would be pretty in so many color combinations, yellow and orange, pink and white. The possibilities are fabulously endless.

Simple Layered Felt Flowers
You will need:
- Felt in two coordinating colors
- scissors
- hot glue
- a center for your flower, a rhinestone, bead, button

Step 1: Cut circles out of your felt. You will need five large circles, SIX medium circles, and five small. In this photo, my circles are 2.5 inches, 1.5 inches, and .5 inches big. This makes quite a large flower. For a smaller flower try large circles that are an inch in diameter. Medium Circles that are a half-inch and small that are quarter inches in diameter. Your largest and smallest circles should be cut from the same color.
You may also like: Simple and Easy Felt Flowers

Step 2: Glue your medium-sized circles to the bottom edge of your large circles. You should have five petals and one leftover medium size circle. This will be the base that you glue all of your petals too.

Step 3: Hot glue your small circle on top of the medium circle near the bottom edge of the large circle.
You may also like: Paper Roses

Step 4: Pinch your petals together at the bottom where the circles meet and hot glue to keep them that way.

Step 5: Glue all five petals onto the last felt circle you have remaining.
Step 6: Add a center to the middle of the flower, whether it be a pearl, button or rhinestone.
Step 7: Glue your flower to a headband, or pin and you have a gorgeous way to complete any outfit! You can even add a pipe cleaner stem to make a bouquet of flowers!
The post Simple Layered Felt Flowers appeared first on Housewife Eclectic.

