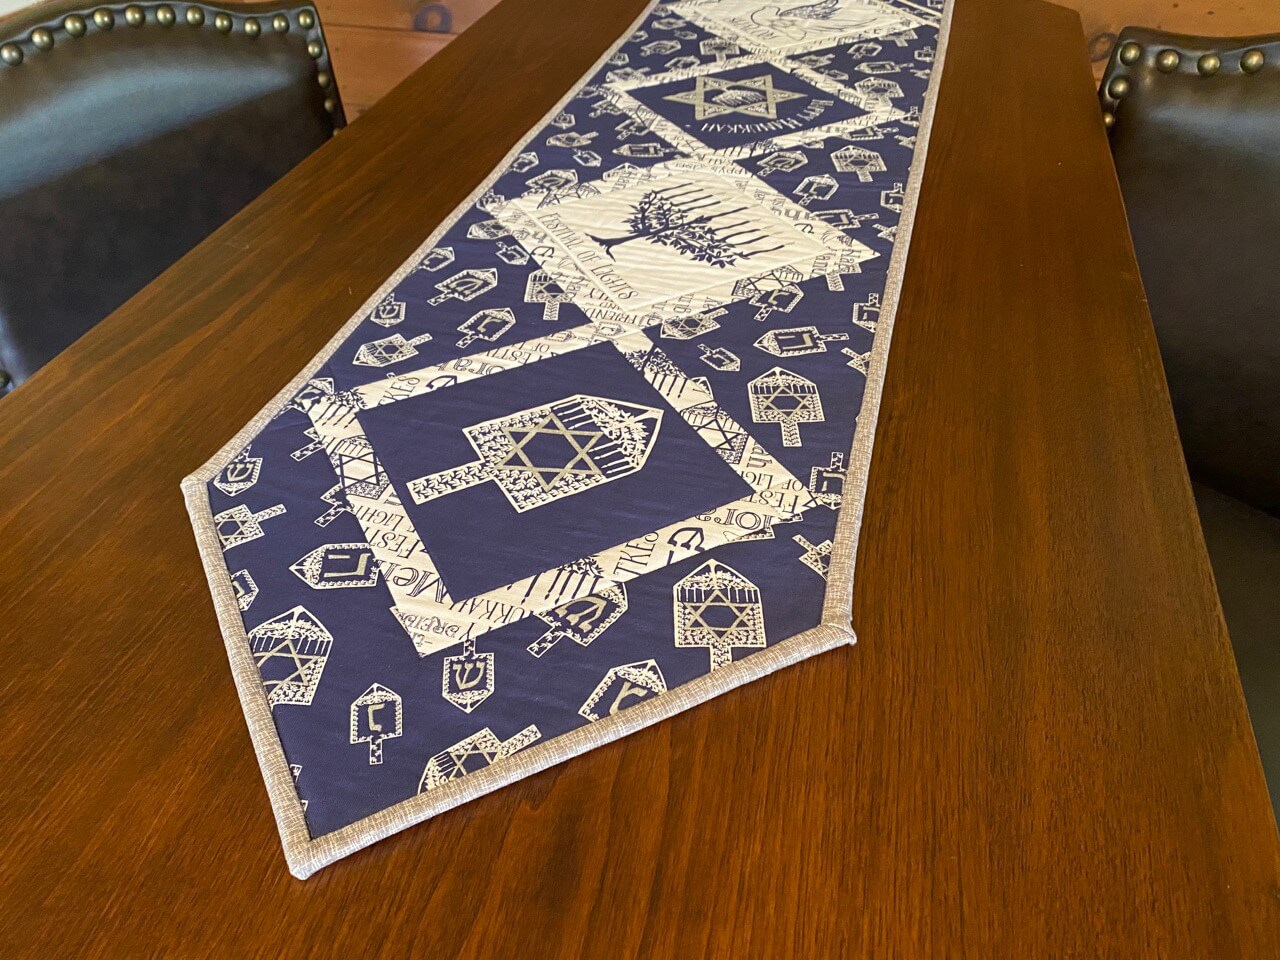
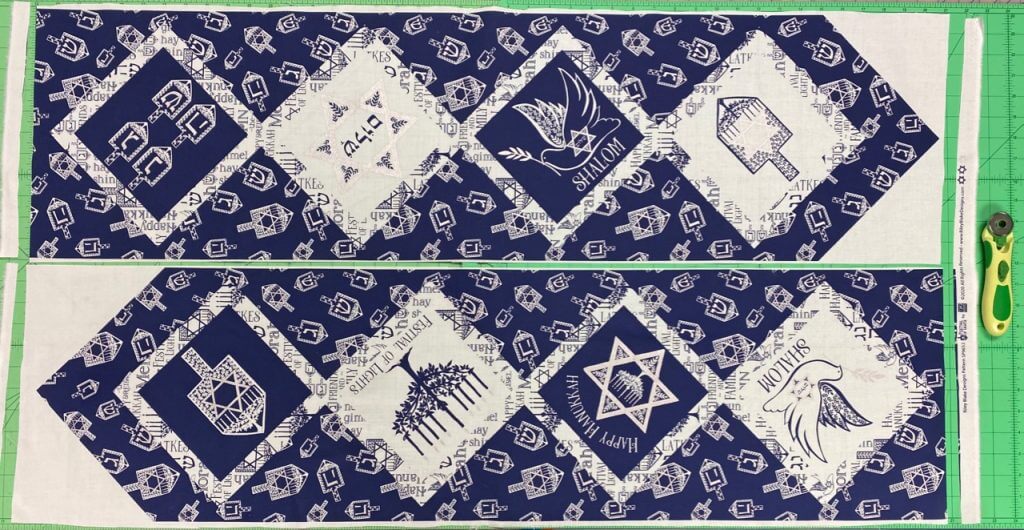
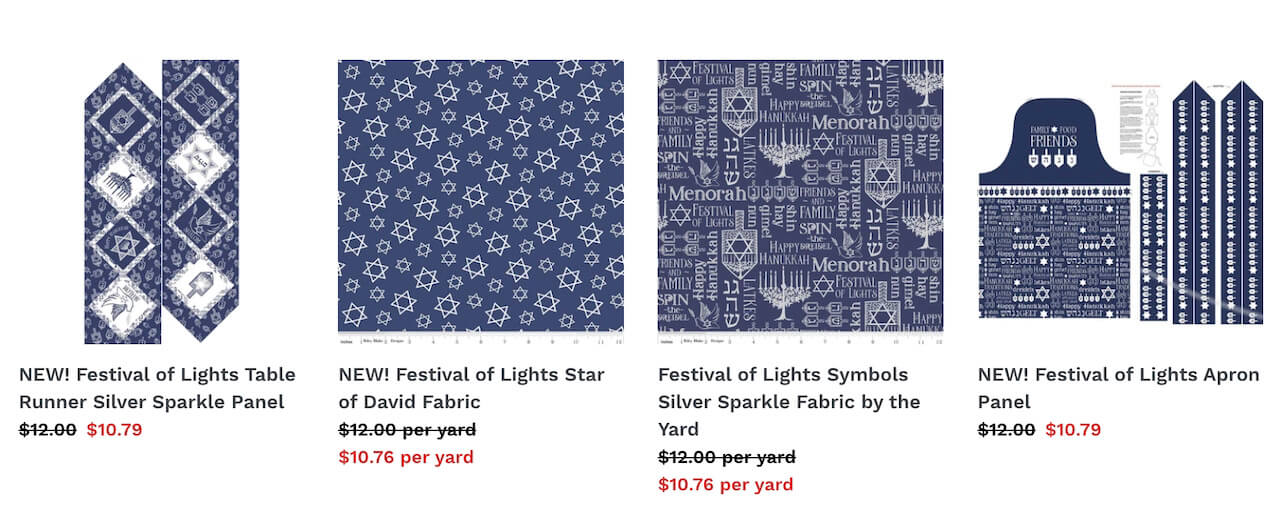
Sew a Festival of Lights Table Runner with a convenient pre-printed fabric panel by Tara Reed for Riley Blake Designs! Make your table runner sparkle and embellish with Silver Metallic Quick Bias –or Silver Metallic Thread! We’re sharing easy our step-by-step sewing tutorial (below) complete with our favorite binding tips! Plus our Annual Home For the Holidays starts today at ShopNZP.com!
Table Runner Sewing Supplies
- One Festival of Lights Table Runner Pre-Printed Fabric Panel
-
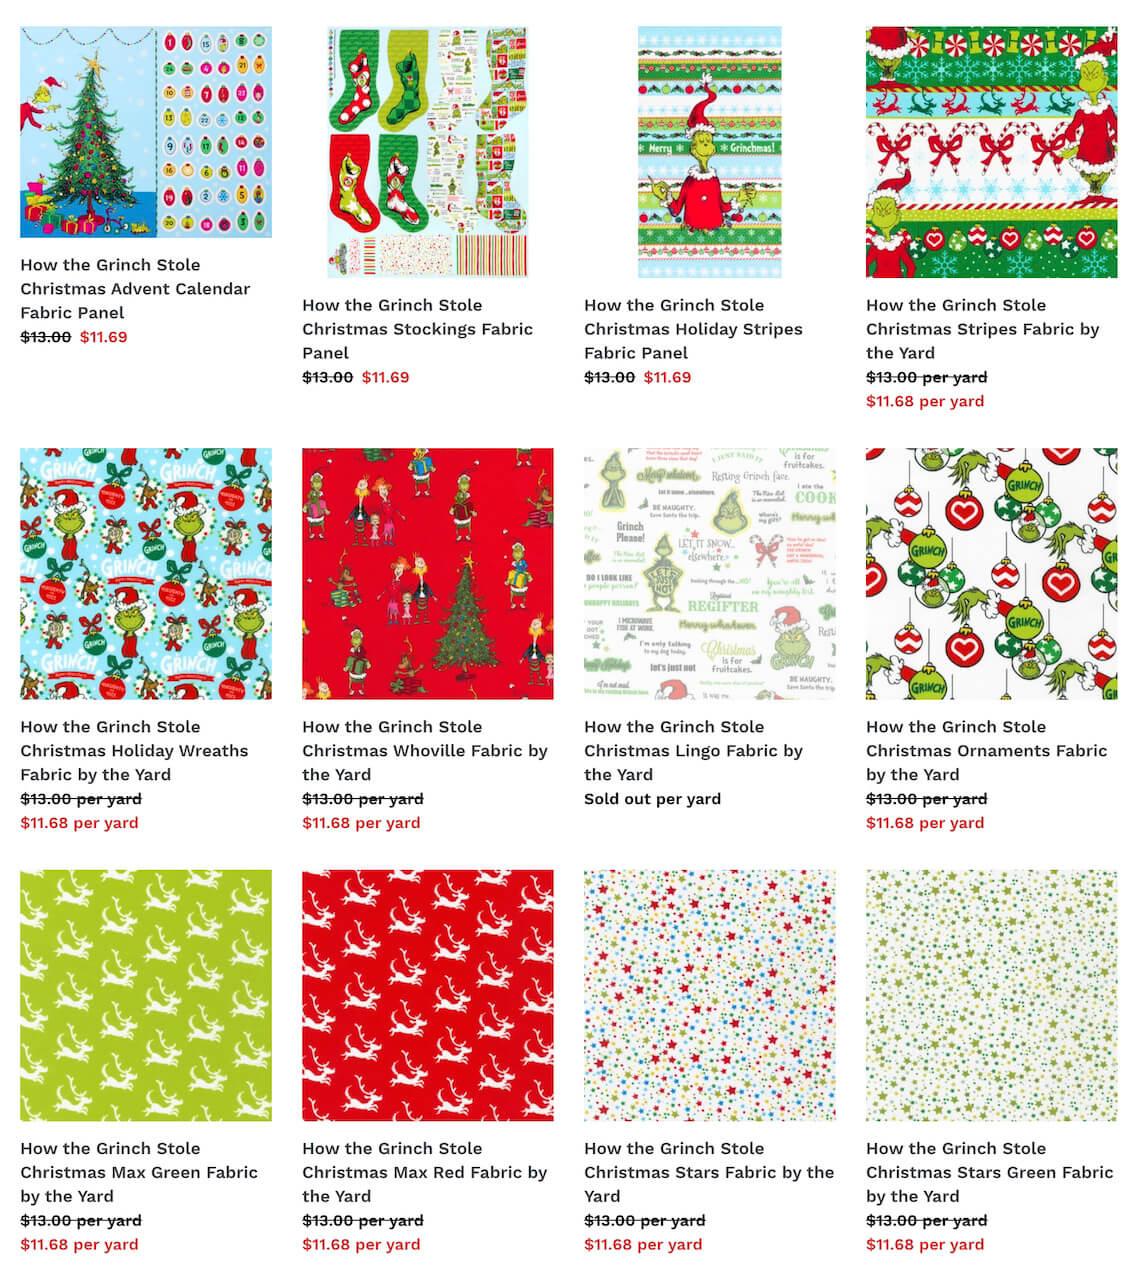
1 yd. Festival of Lights Star of David Fabric
- 1/2 yd. Gray Mini Hashtag Fabric – for binding
- 1 yd. Pellon Sew-In Fleece Batting
- Clover’s Blue Wash-out Marking Pen
- Clover’s Heart Shaped Pins
- Clover’s Hot Ruler
- Clover’s Supersize 5-in-1 Sliding Gauge
- Clover’s Roll ‘n Press
- Clover’s Mini Iron II
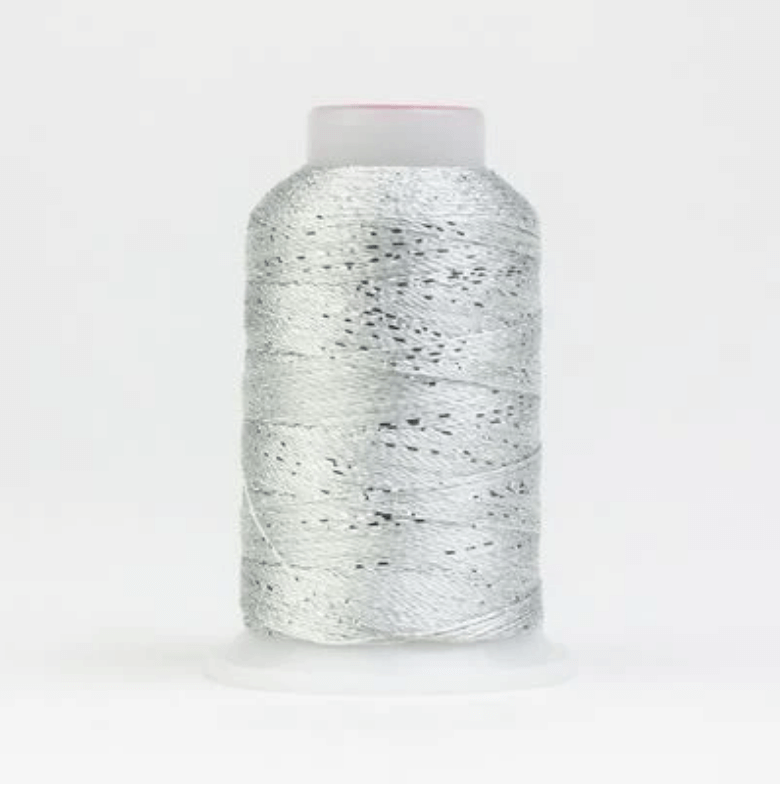
- One or two spools Clover’s Silver Metallic Quick Bias or Metallic Rayon Thread
- Monofilament Thread
- Schmetz Chrome Quilting Needle, Sz. 75
- Tailor’s Clapper
- White Easy Knit Interfacing
- Eze-View Pressing Cloth
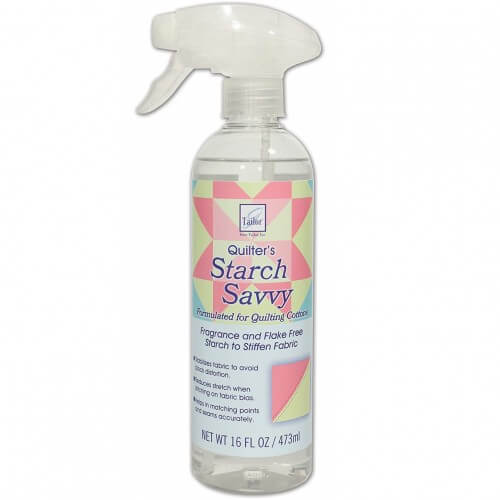
- June Tailor’s Quilter’s Starch Savvy
- Open Toe Presser Foot
- Edge Joining Presser Foot
- 1/4″ Patchwork Foot-with Guide
- Ultimate Quilt ‘n Stitch Presser Foot by Team NZP for Clover
- Rotary Cutter, Mat & Ruler
- Optional: Clover’s NEW! Wonder Pins OR June Tailor’s Quilt Basting Spray & Pattern Making Paper & Schmetz Super Nonstick Needles, Sz. 90
- Optional: Clover’s Wonder Clips & Jumbo Wonder Clips
- Cotton Quilting Thread
- Iron
Festival of Lights Table Runner Sewing Tutorial
Approximate Finished Size: 11-1/2″ x 84″
All seam allowances are scant 1/4″
Prepare Fabrics
 Prepare all fabrics for table runner sewing and assembly by pressing and starching with June Tailor’s Quilter’s Starch Savvy. Press and starch, press and starch.
Cut Fabrics
- Using Rotary Cutter, Mat & Ruler cut apart two table runner panels – leaving white background fabric around all edges. Cut away selvedges.
- Cut two 17″ wide crosswise fabric strips from Star of David backing fabric.
- Cut two 16″ wide crosswise strips from Pellon Fleece.
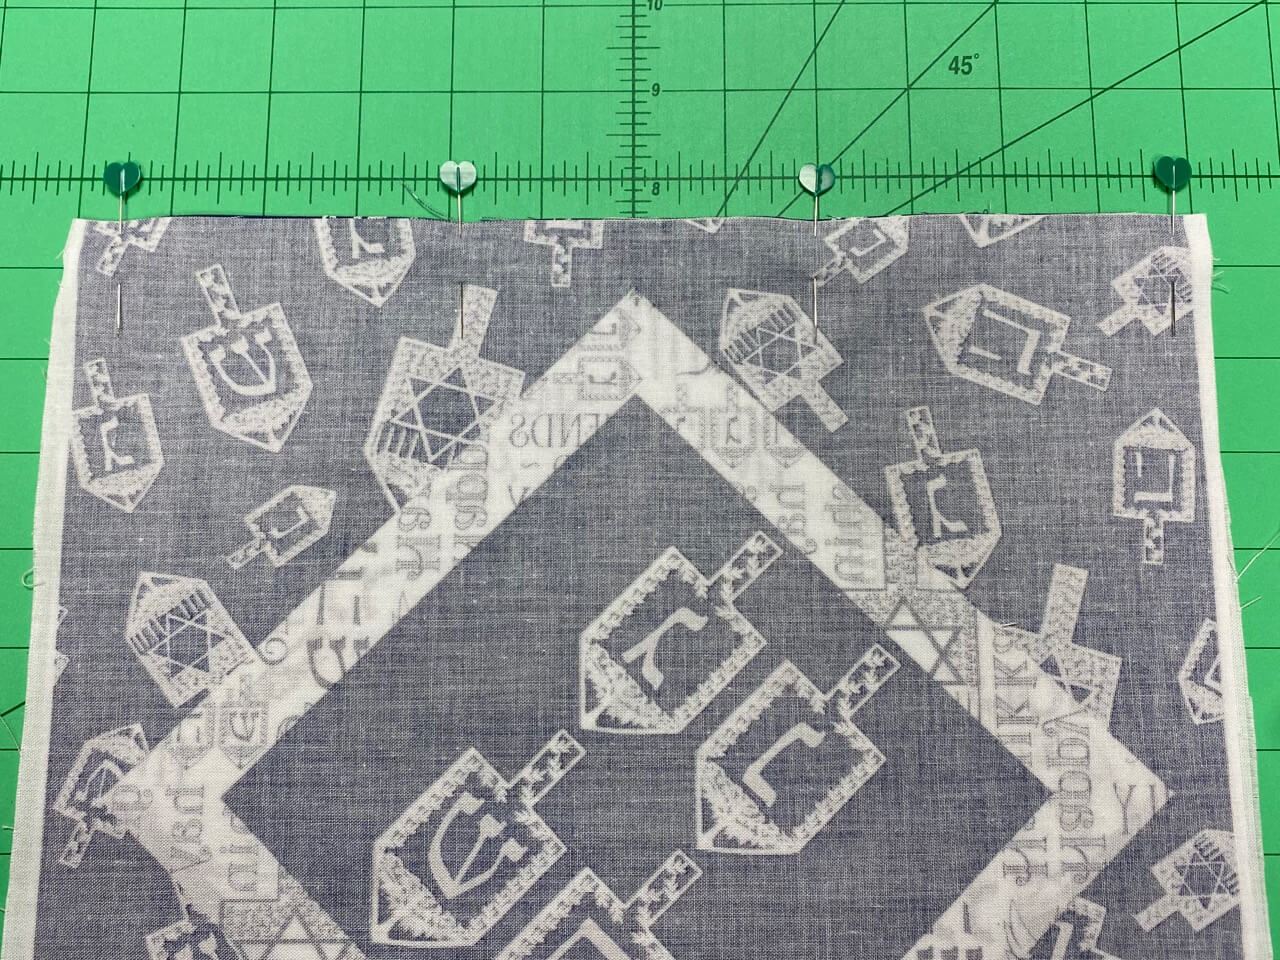
- Place short ends of table runner panels right sides together. Pin.
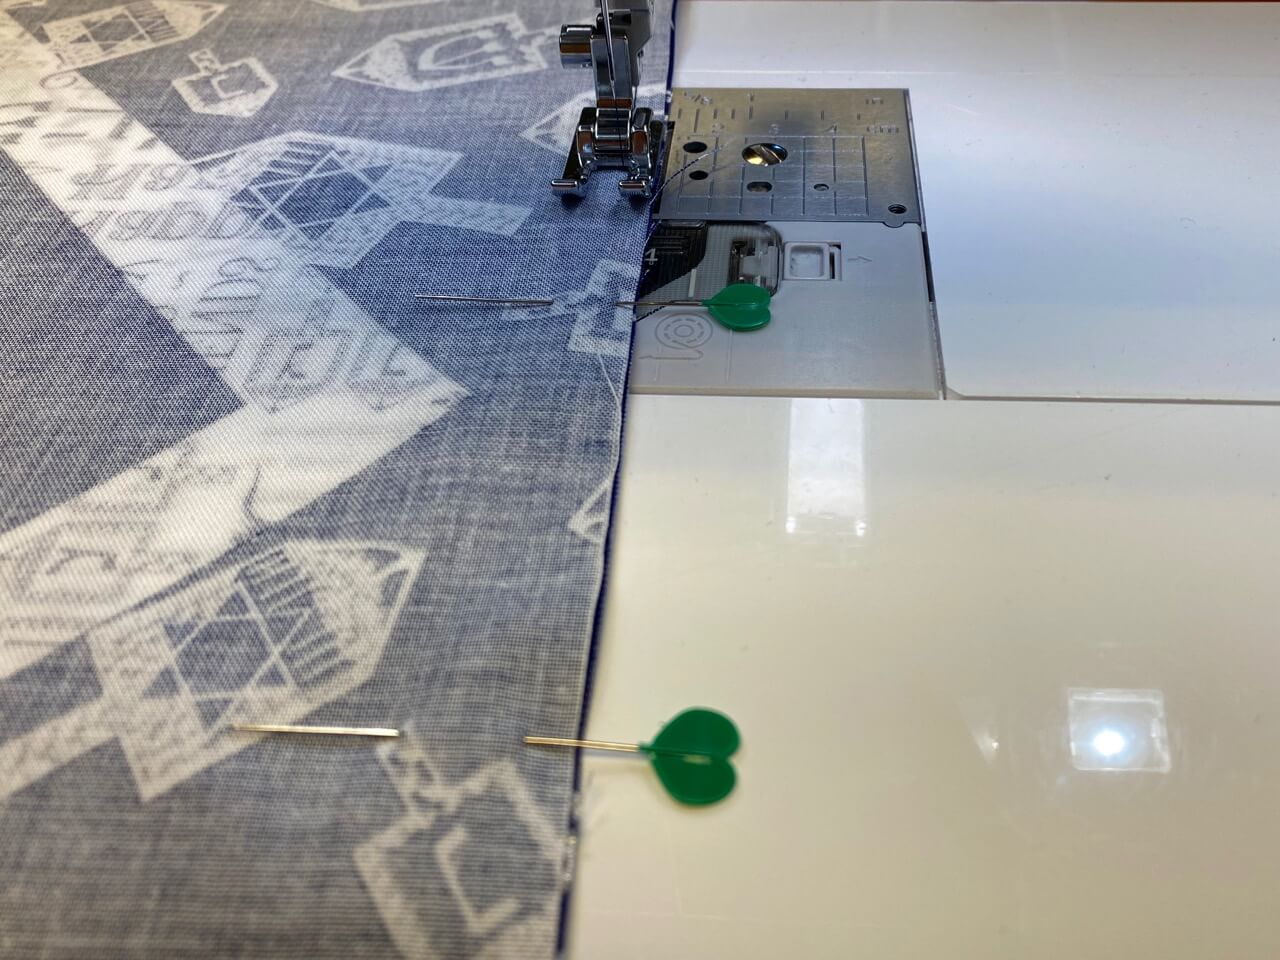
- Insert a new Schmetz Chrome Quilting Needle, Sz. 75 and stitch short ends of table runner – with scant 1/4″ seam allowance.

- Press seam open, then press seam flat. Use a Tailor’s Clapper to flatten seam.
- Repeat steps above and seam together backing fabric.

- When seamed together, The Festival of Lights Table Runner measures 85″ long!

Instead of seaming the narrow ends of the Pellon Fleece, fuse narrow ends of fleece with a 2″ x 12″ strip of White Easy Knit Interfacing and Eze-View Pressing Cloth! Meet narrow ends of fleece, no need to overlap, and fuse!

To prevent fleece from slipping off ironing board, clip to ironing board using Jumbo Wonder Clips!

For ease in preparing the table runner for the quilting steps, Deanna from Team NZP pushed together two folding tables!

- Layer quilt backing (wrong side up), then Pellon Fleece Batting, and the table runner quilt top (right side up)—to create a quilt sandwich.
- Cover table surface with Pattern Making Paper and spay-baste quilt sandwich layers together with June Tailor’s Quilt Basting Spray.
- OR, pin-baste layers together with Clover’s NEW! Wonder Pins!
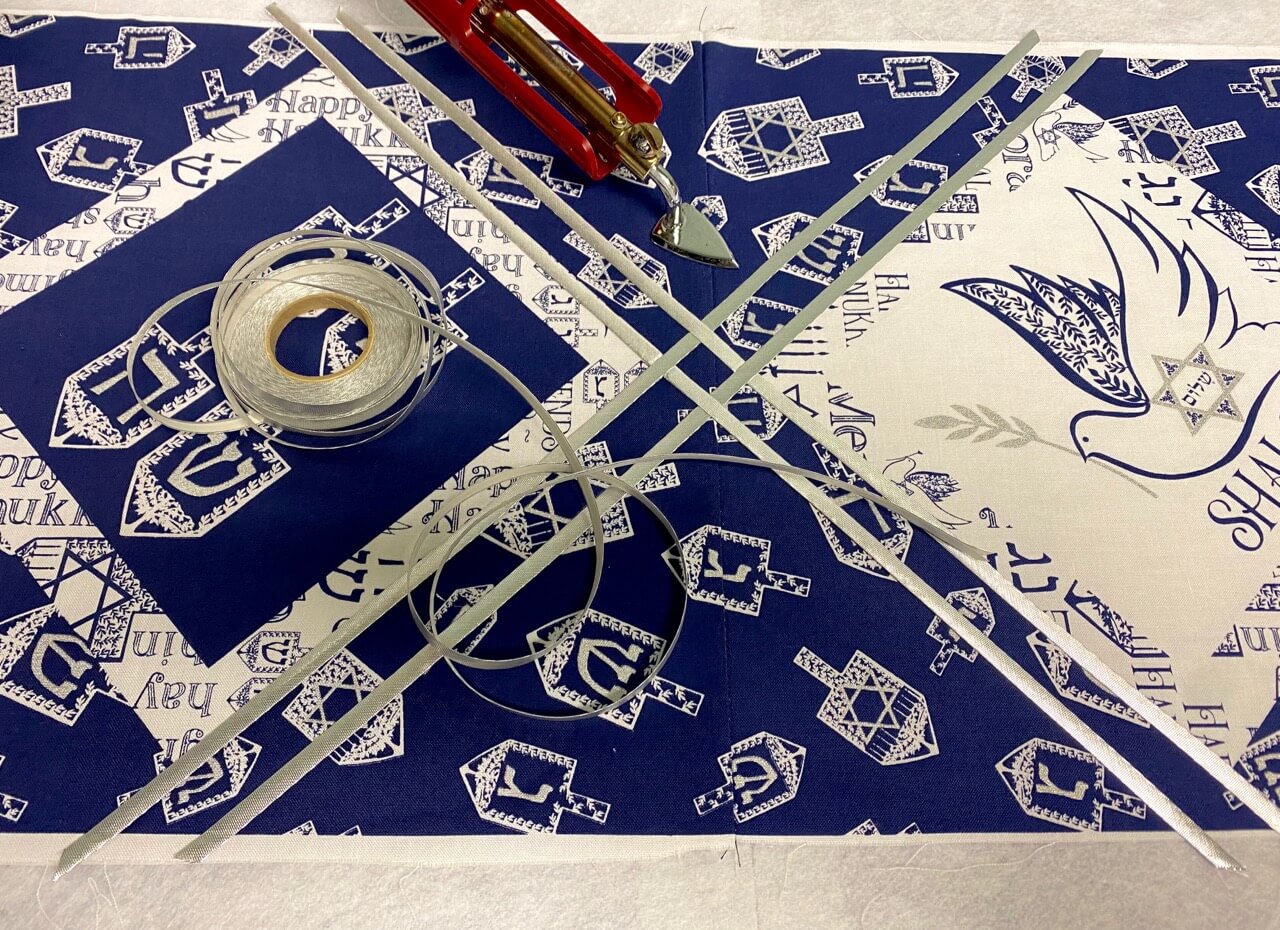
- Embellish your table runner with Clover’s Quick Bias! Remove paper back from Quick Bias, and fuse in place using Clover’s Mini Iron II.
- Or, Embellish your table runner with Silver Metallic Thread!

Add Silver Metallic Quick Bias “accents” to your table runner with one roll Silver Metallic Quick Bias. When embellishing entire table runner, use two rolls Silver Metallic Quick Bias. Optional: Roll table runner short ends onto two sections cut from a swimming pool noodle!
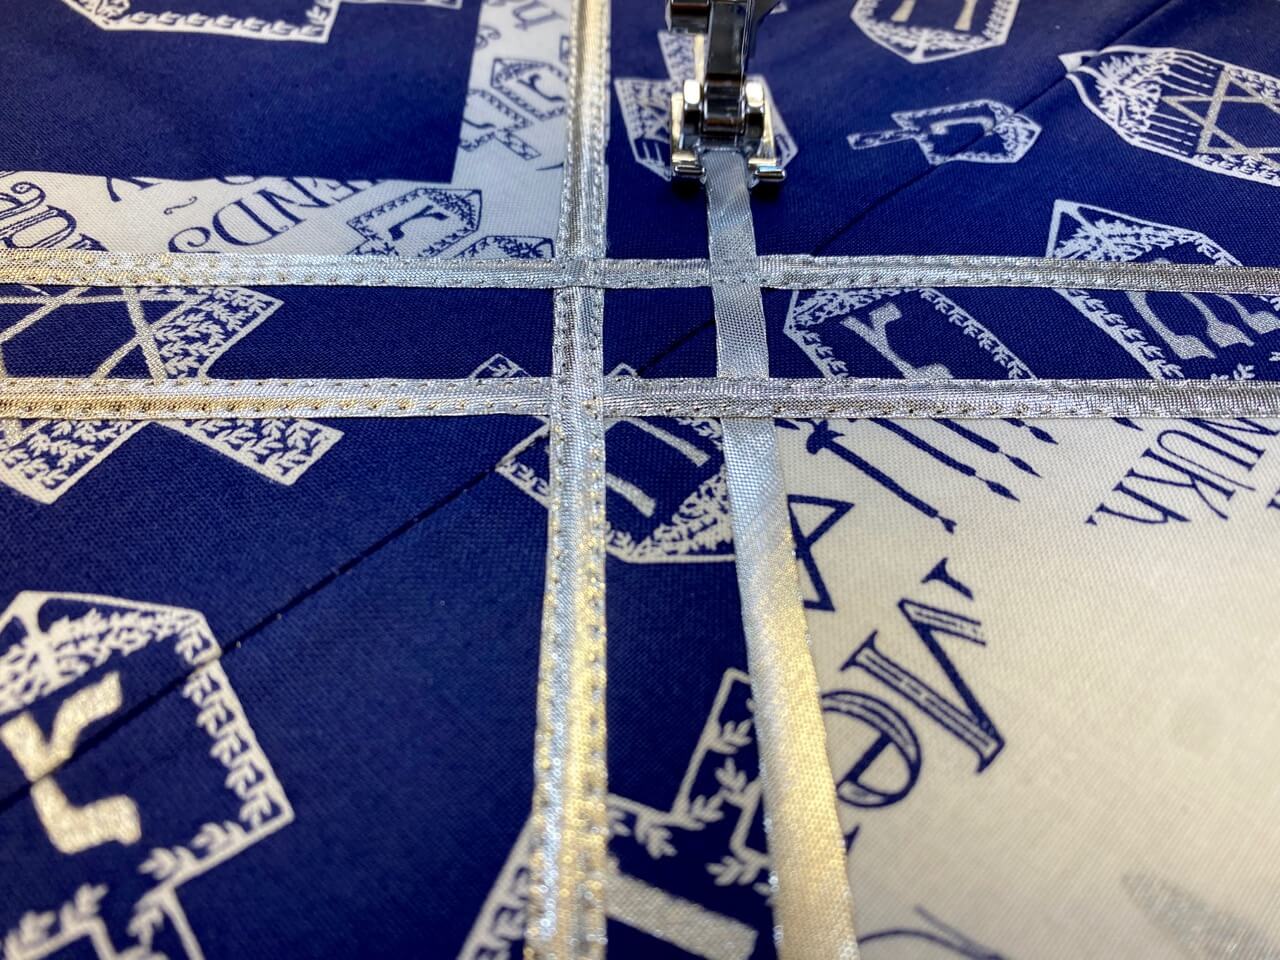
- Attach an Open Toe Foot and insert a new Schmetz Chrome Quilting Needle, Sz. 75 or a Schmetz Super Nonstick Needle – if you’ve spray-basted your quilt sandwich layers.
- Edgestitch Quick Bias, through all layers.
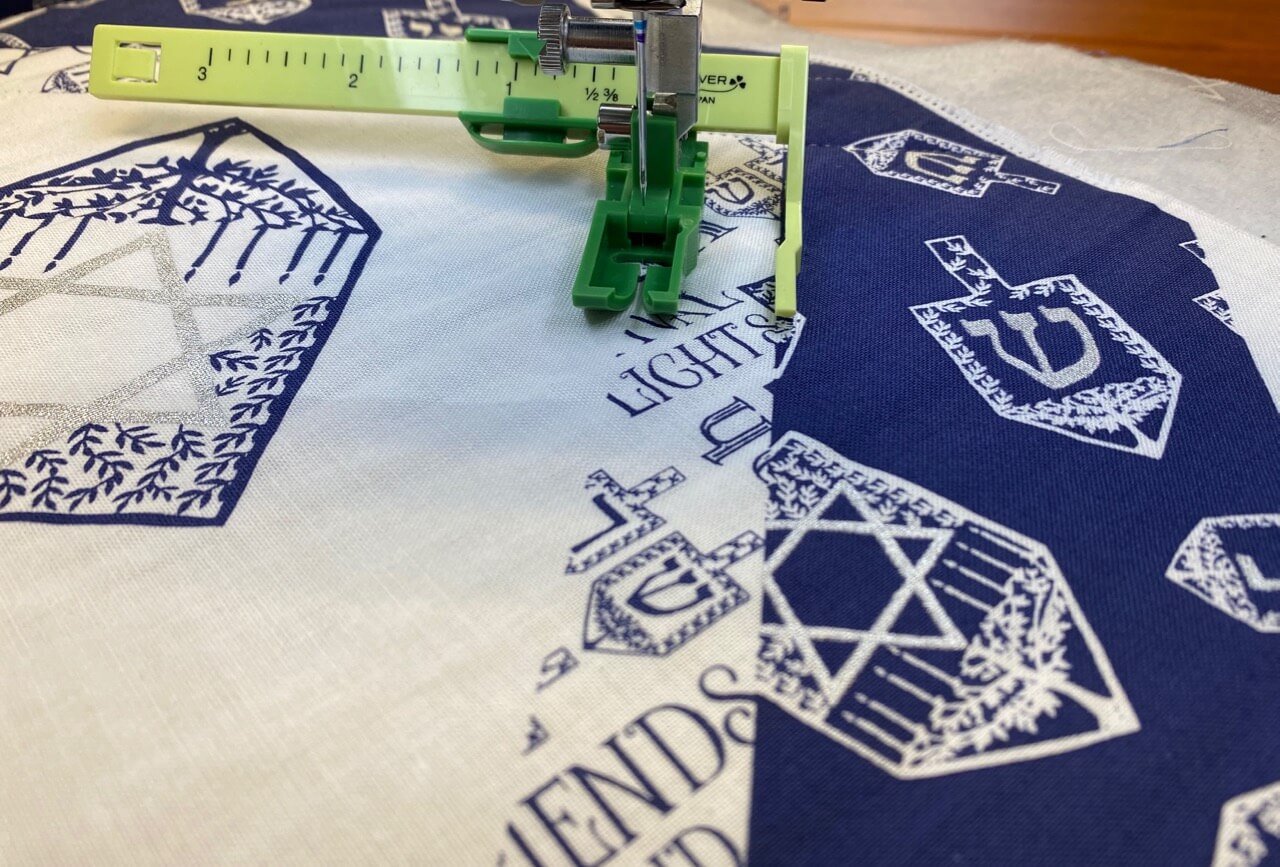
- Attach The Ultimate Quilt ‘n Stitch Presser Foot to sewing machine, and thread machine with Monofilament Thread. Straight Line machine quilt through all layers – following pre-printed design on table runner.

- Baste around outside table runner – stitching around all edges with scant 1/4″ seam allowance.
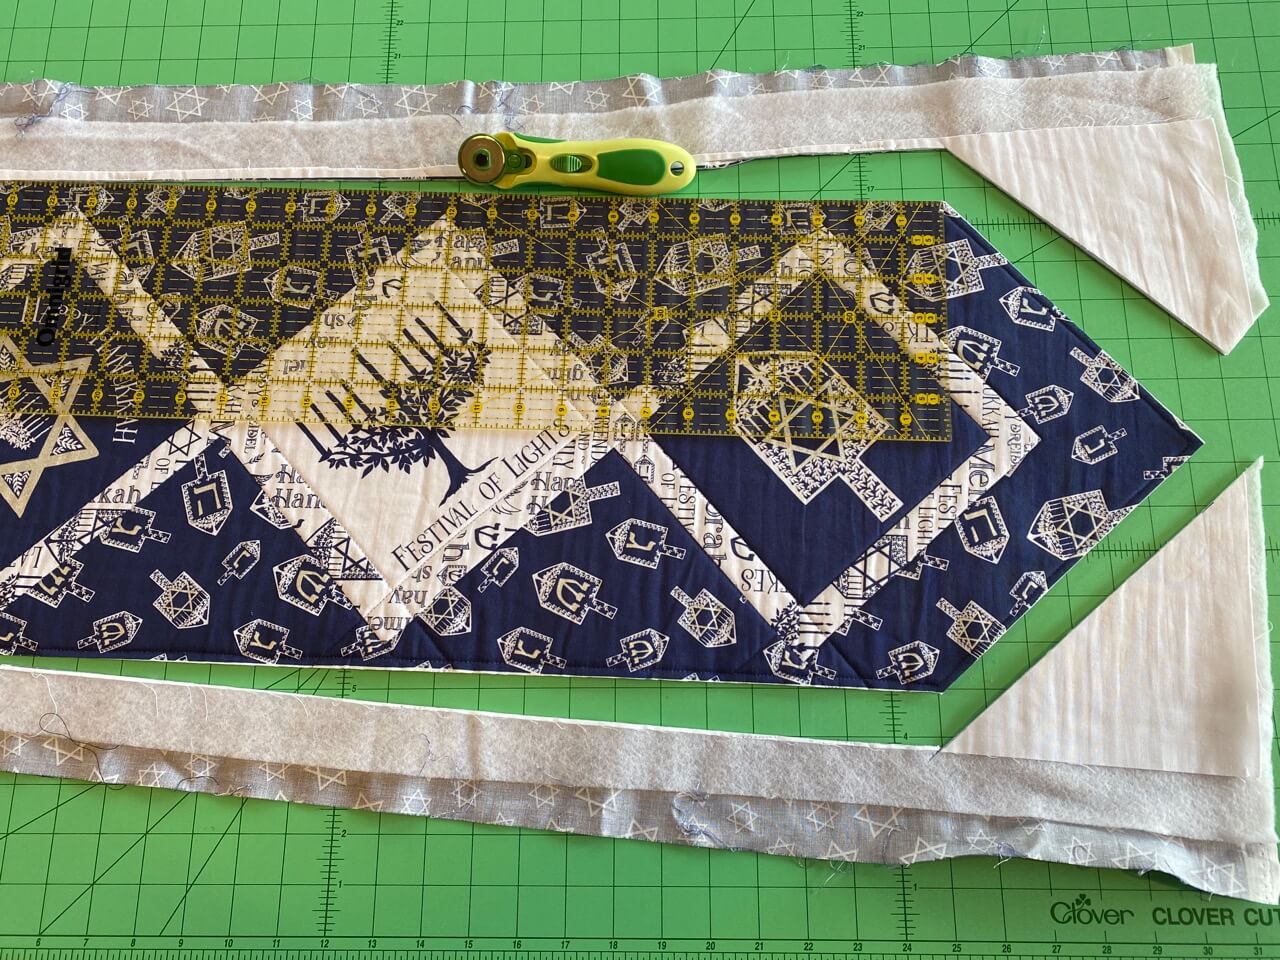
- Using Rotary Cutter, Mat & Ruler, cut out table runner – along printed edge.
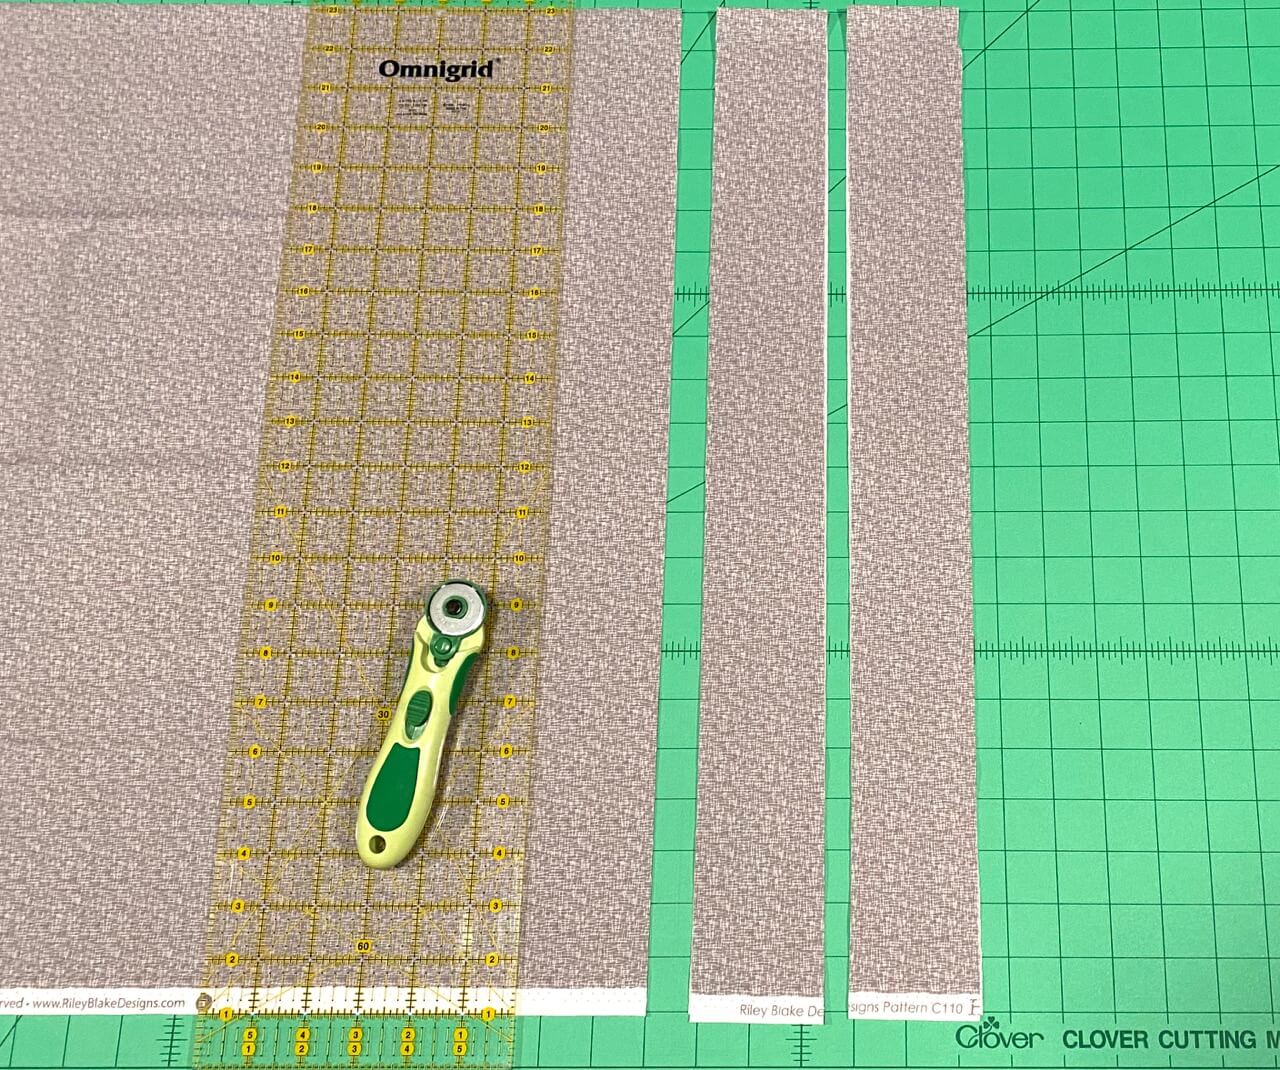
- Cut six 2-1/2″ crosswise fabric strips from Gray Mini Hashtag Fabric.
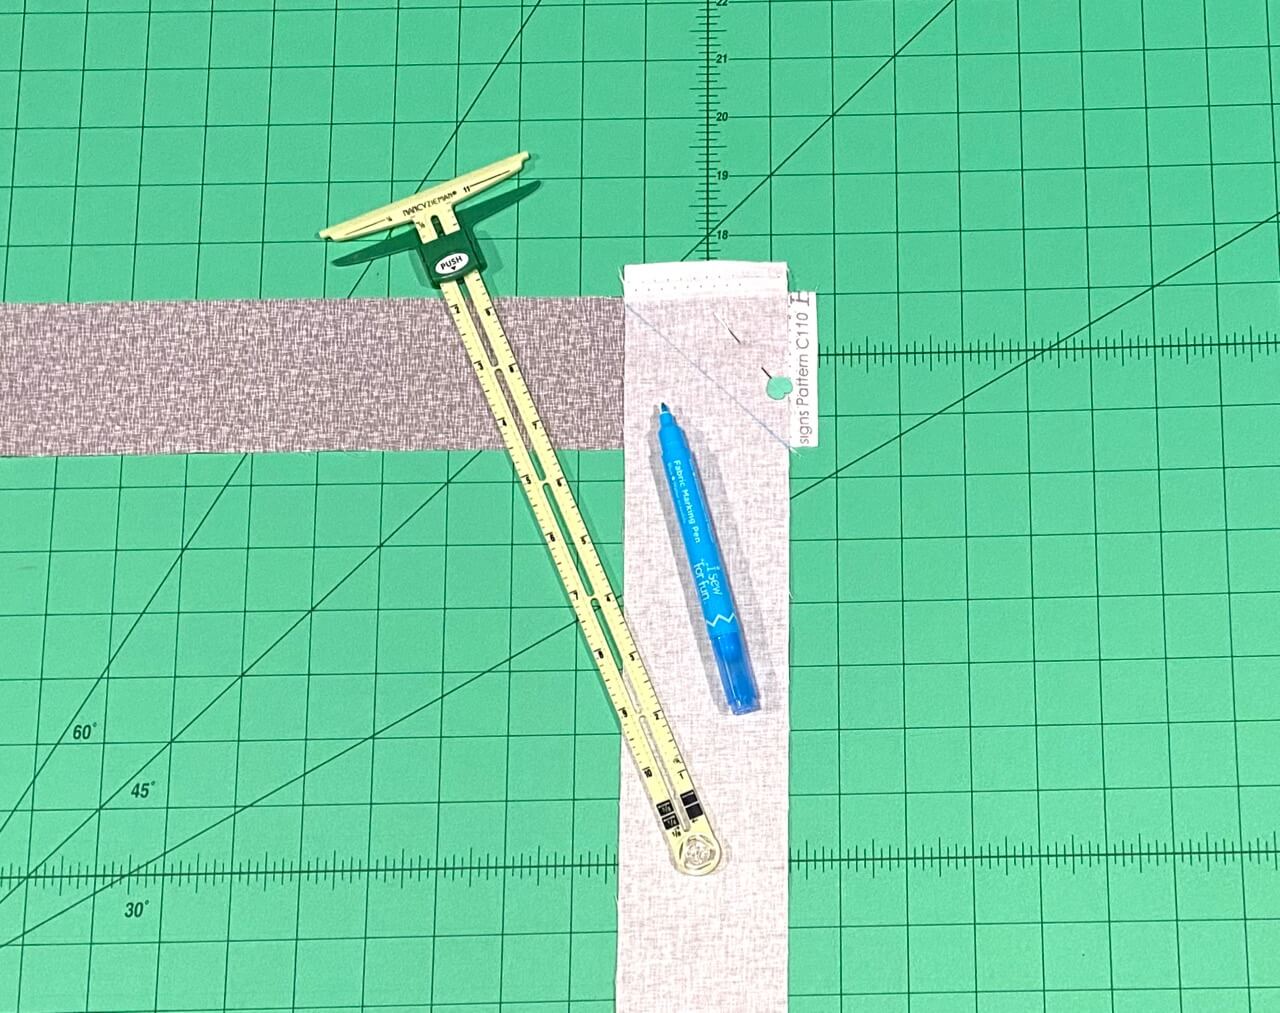
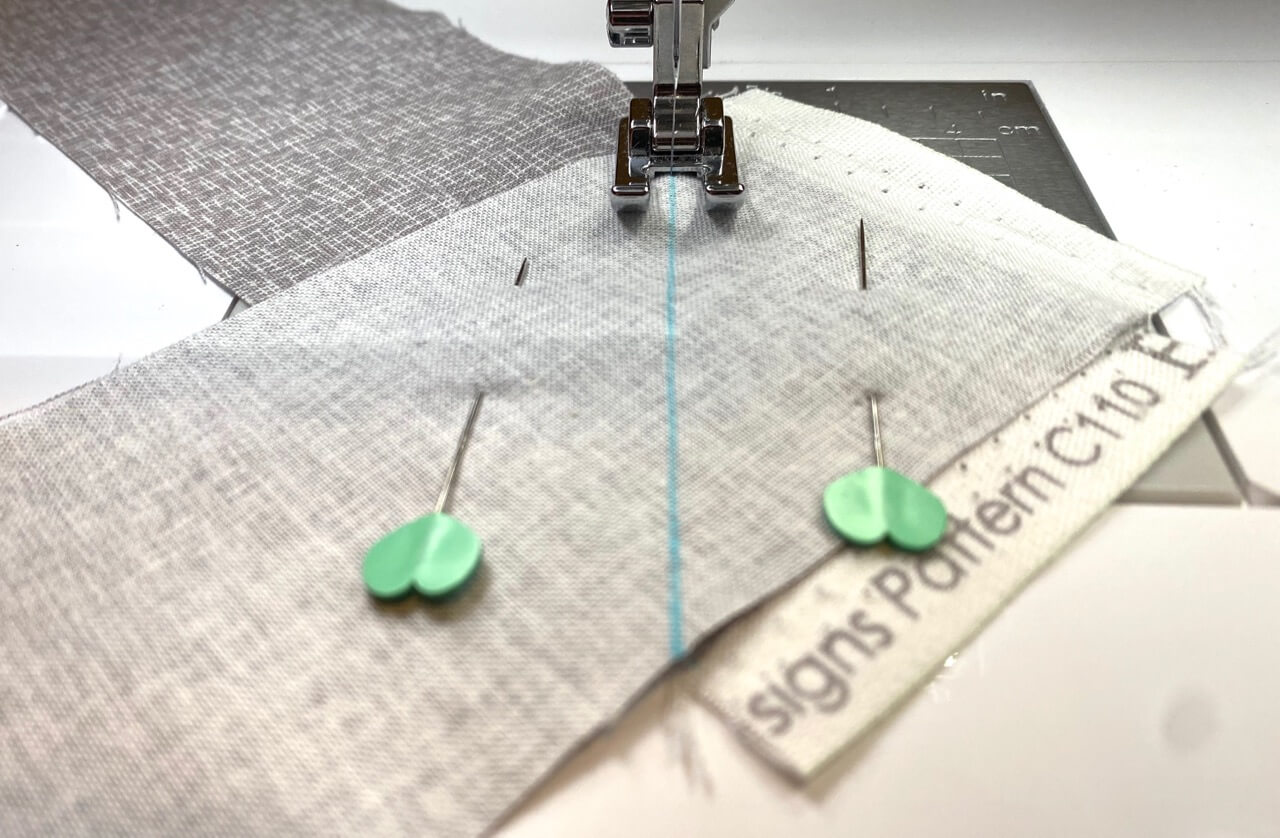
- Place two crosswise fabric strips, right sides together, offsetting strips 1/2″. Pin
- Mark a straight line connecting angle intersections.

Connect angle intersections by tracing edge of Supersize 5-in-1 Sliding Gauge.

- Stitch along marked line.
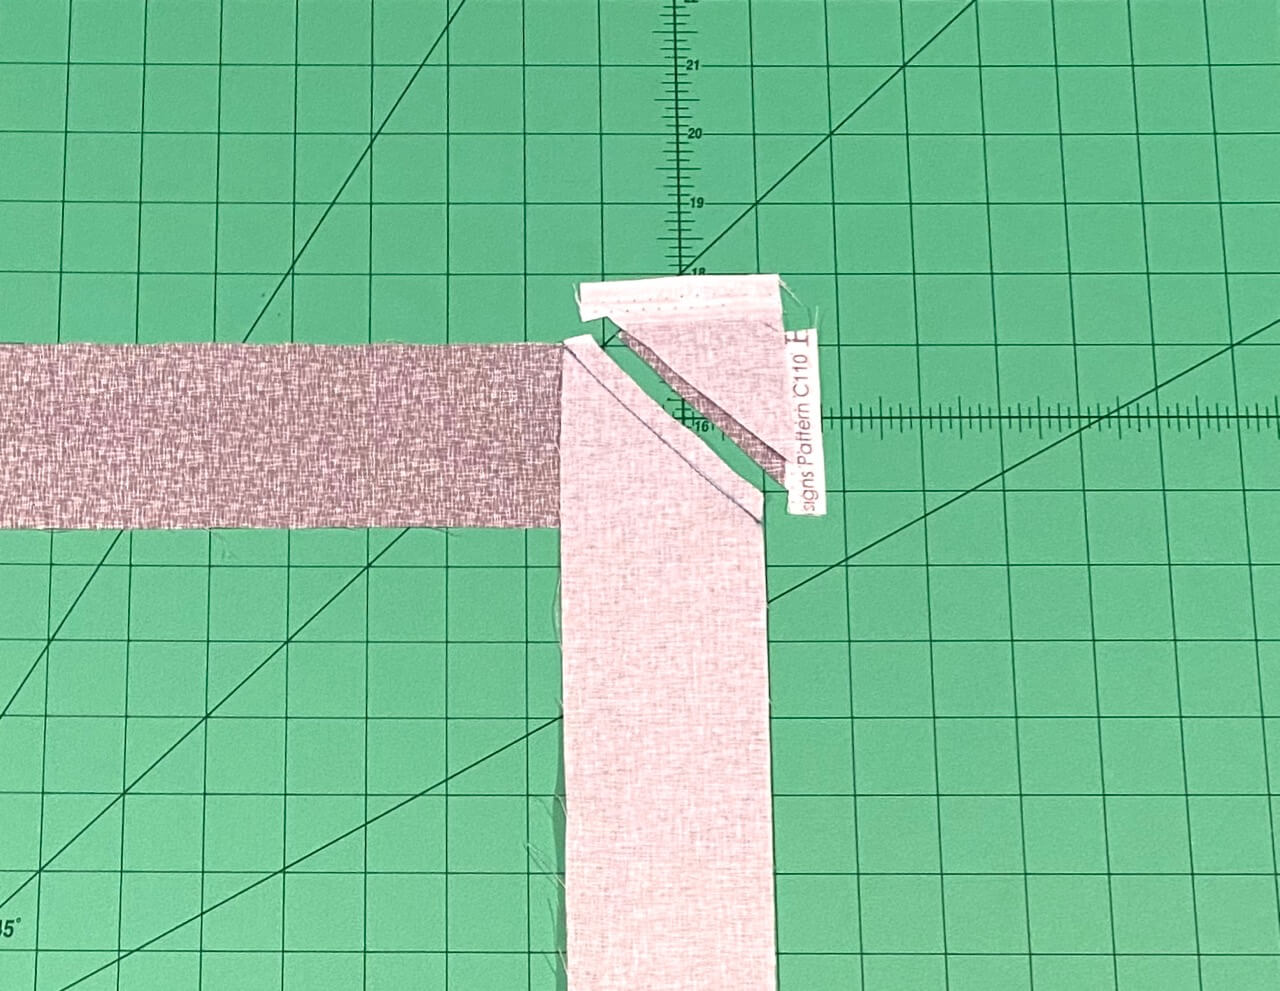
- Trim seam allowances to 1/4″.
- Repeat steps, above, and connect all six crosswise fabric strips into one continuous length.

- Cut one short end, of continuous strip, at 45-degree angle – parallel to seam – as shown above.
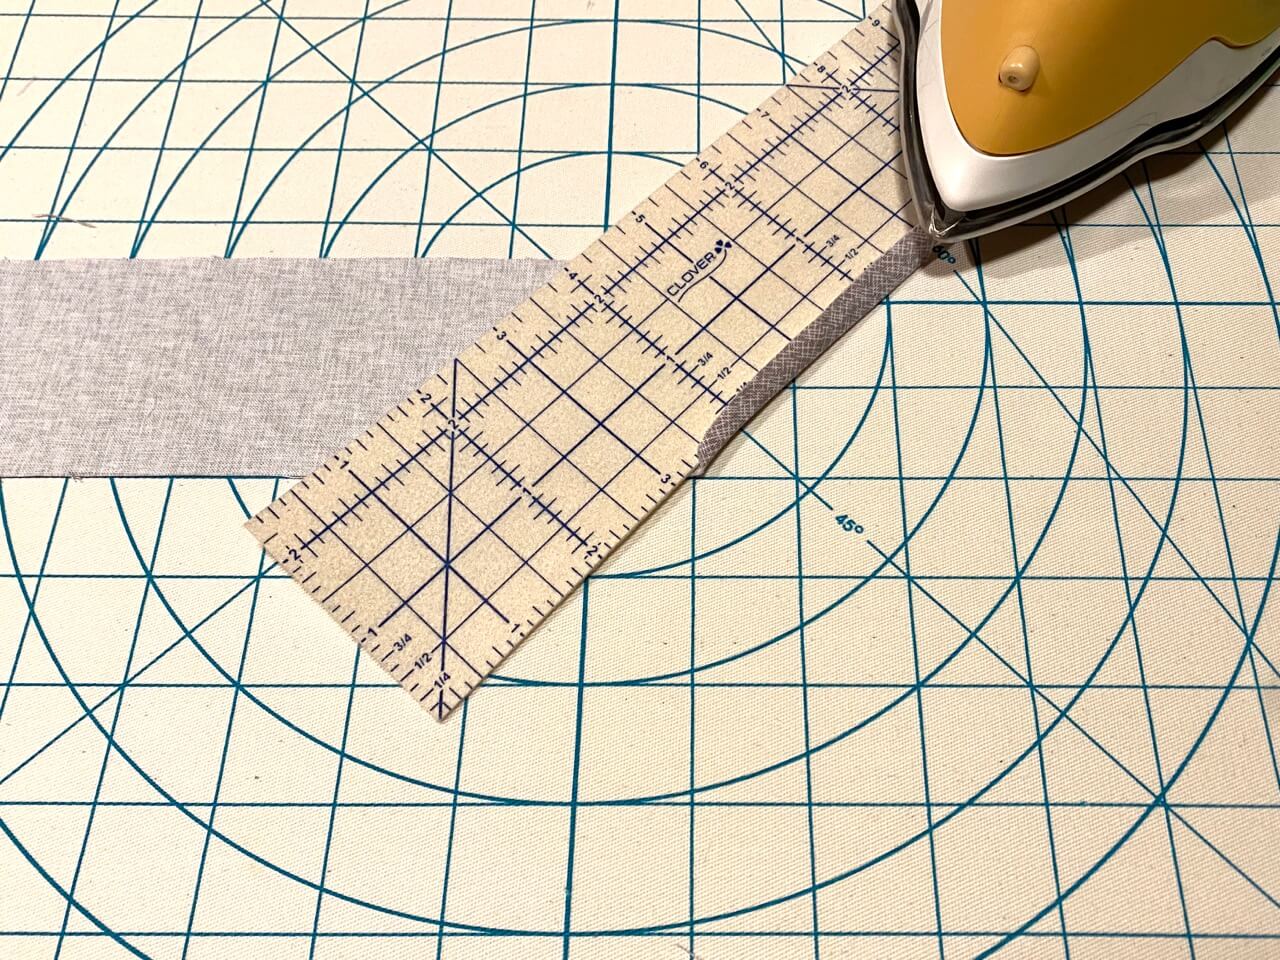
- Using Clover’s Hot Ruler, press under 1/4″ along 45-degree short end.
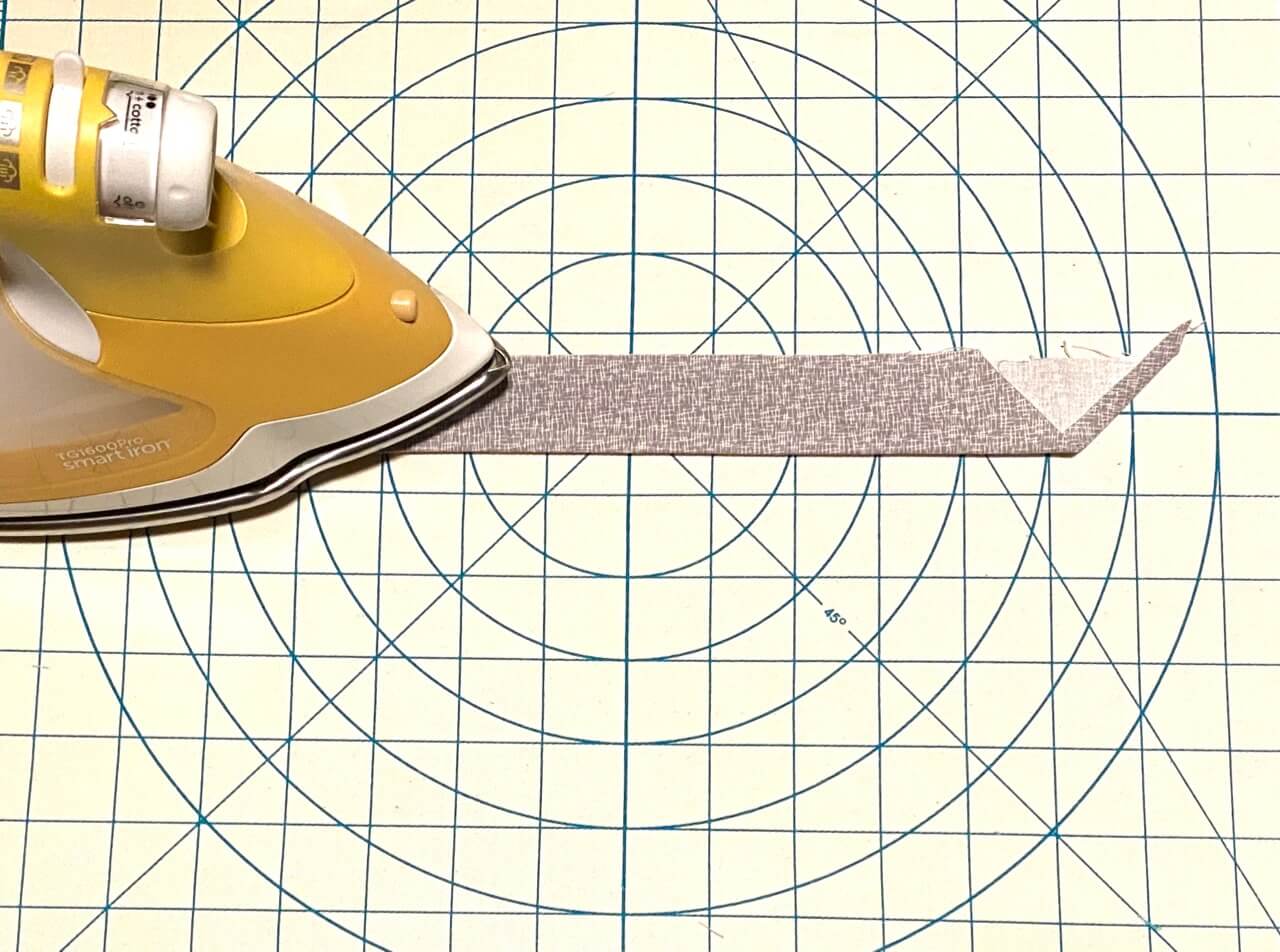
- Place fabric strip right sides together, meeting long edges. Press.
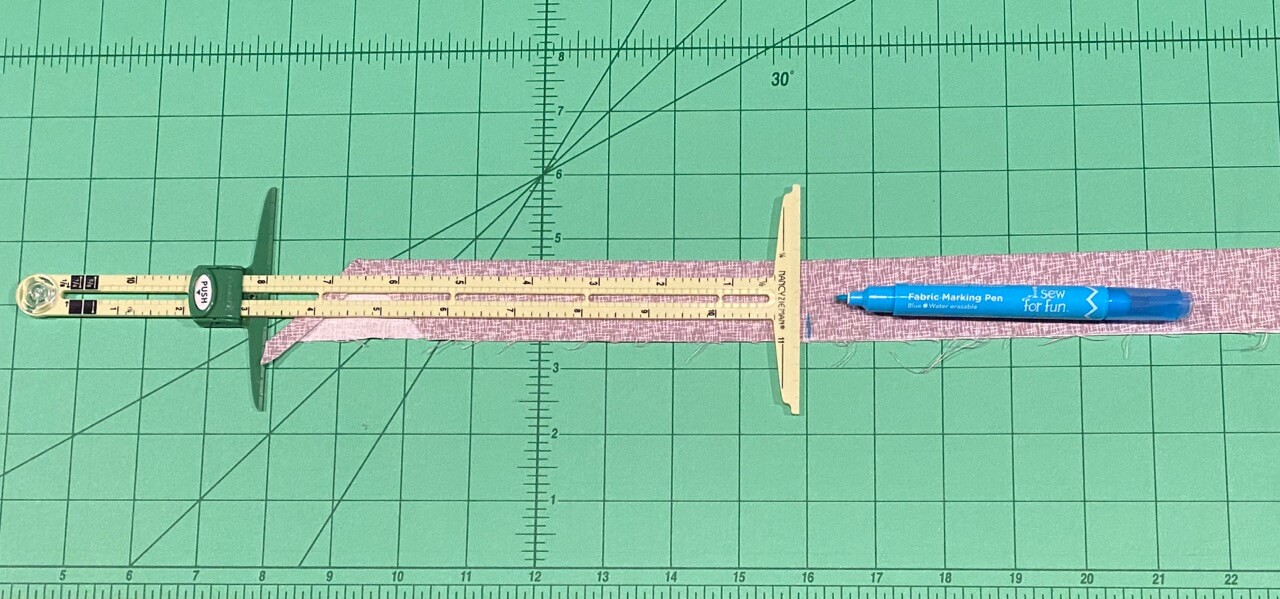
- Mark a short line along cut edges, about 6″-8″ from angle-folded short end.
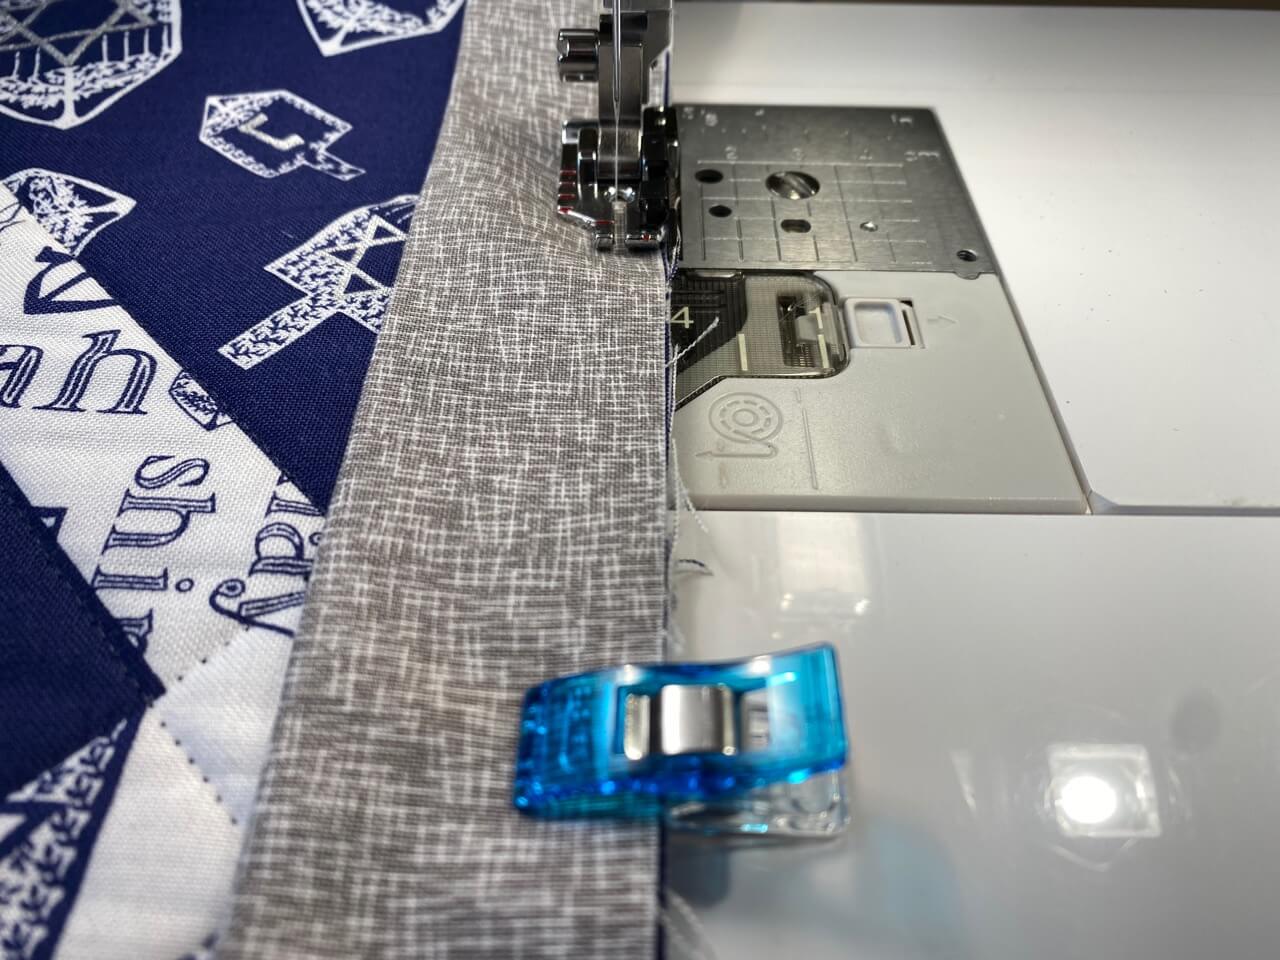
- Meet binding cut edge to table runner, right sides together, near center of one long edge.
- Attach 1/4″ Patchwork Presser Foot – with Guide and stitch binding to table runner – begin stitching at marked line. Backstitch.
- Stitch using scant 1/4″ seam and Wonder Clips.
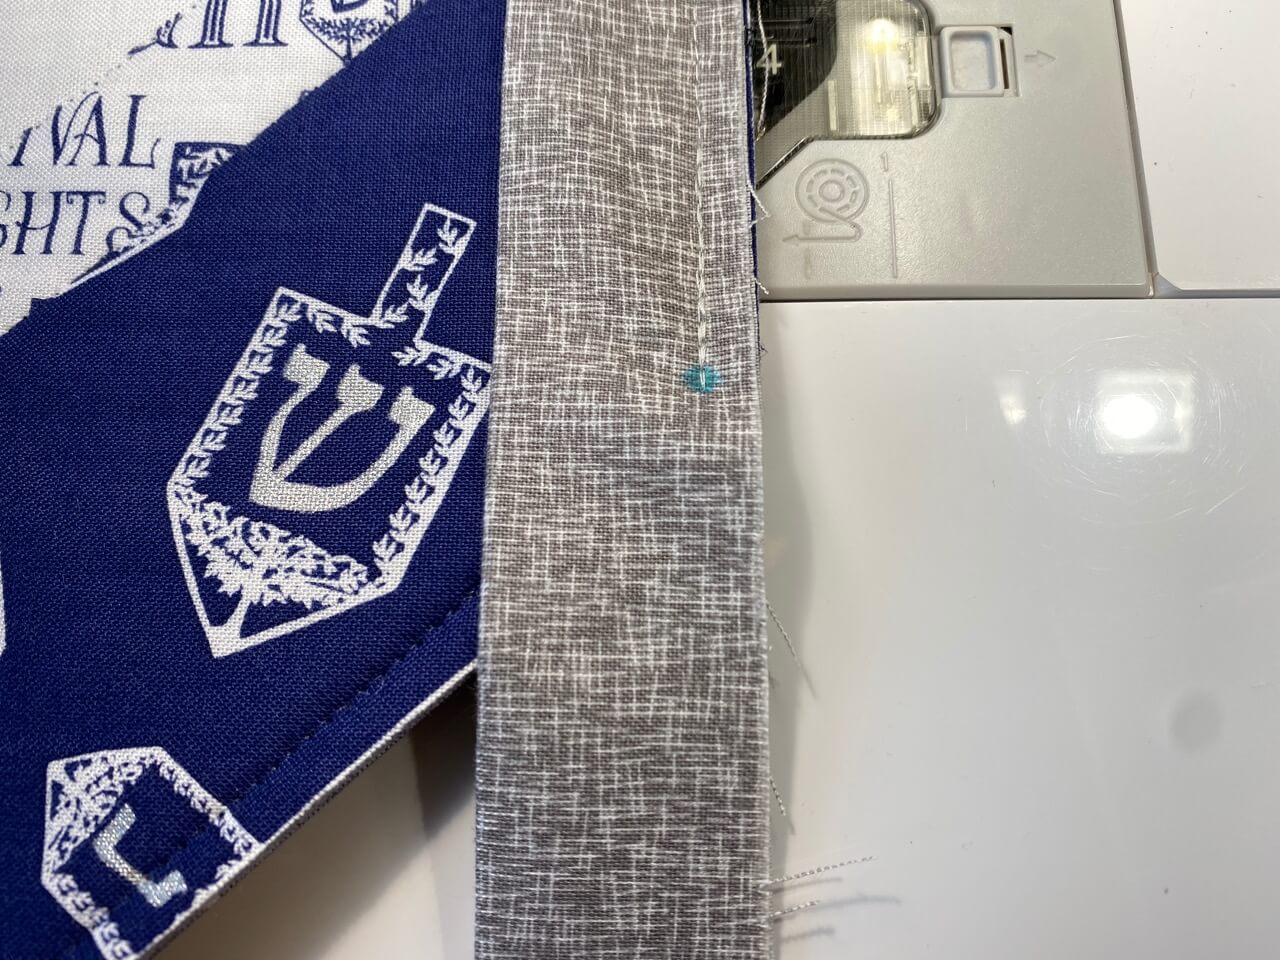
- Prior to reaching the first corner, mark a dot on binding at 1/4″ from edge of table runner. Stitch to marked dot. Backstitch. Cut threads. Rotate table runner.
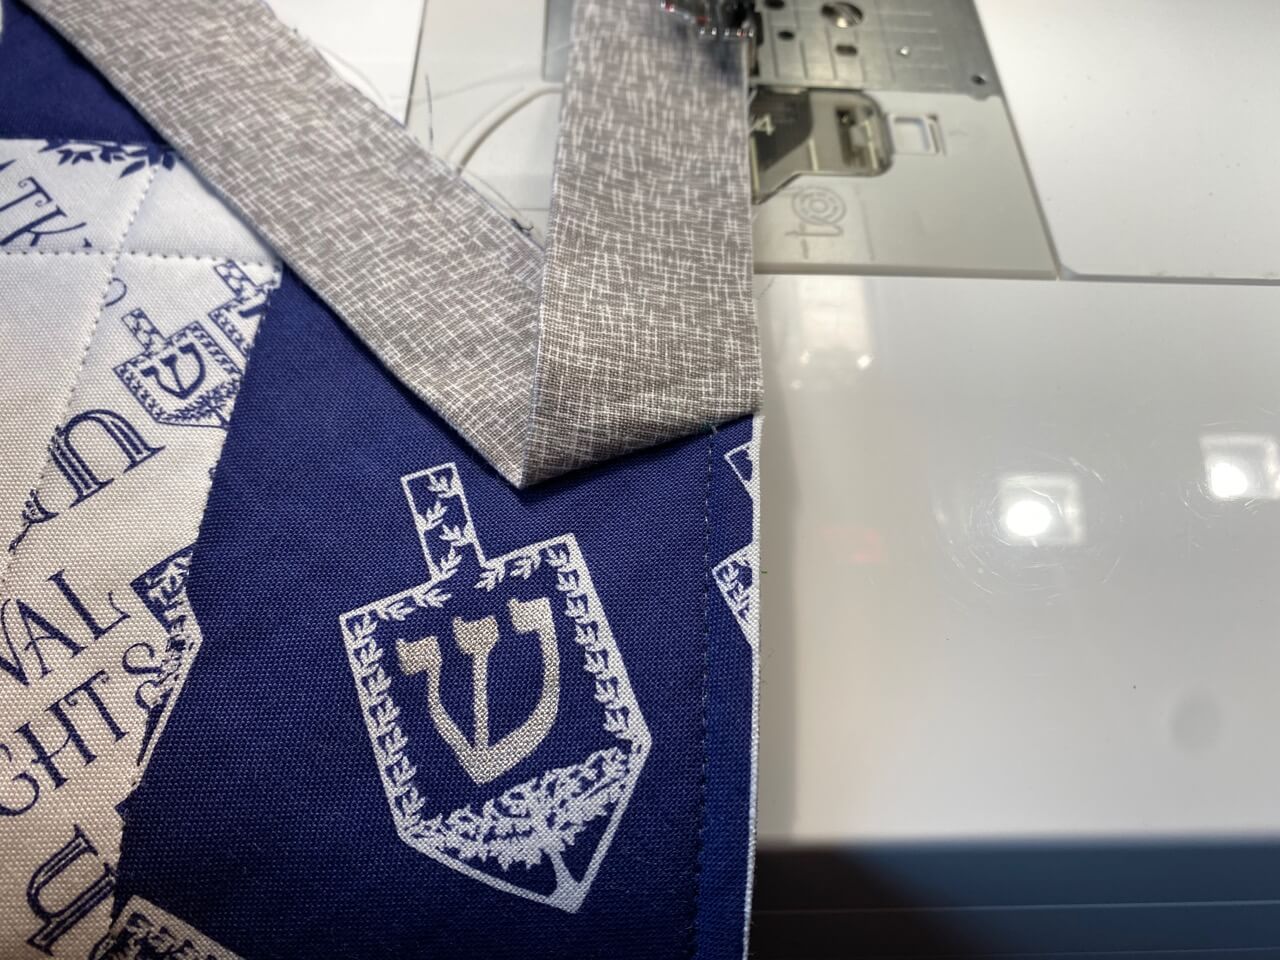
- Fold binding up at angle–along same plane as upcoming table runner edge. Finger Press or use Roll ‘n Press to mark crease.

- Fold binding forward– meeting binding cut edge to table runner cut edge.
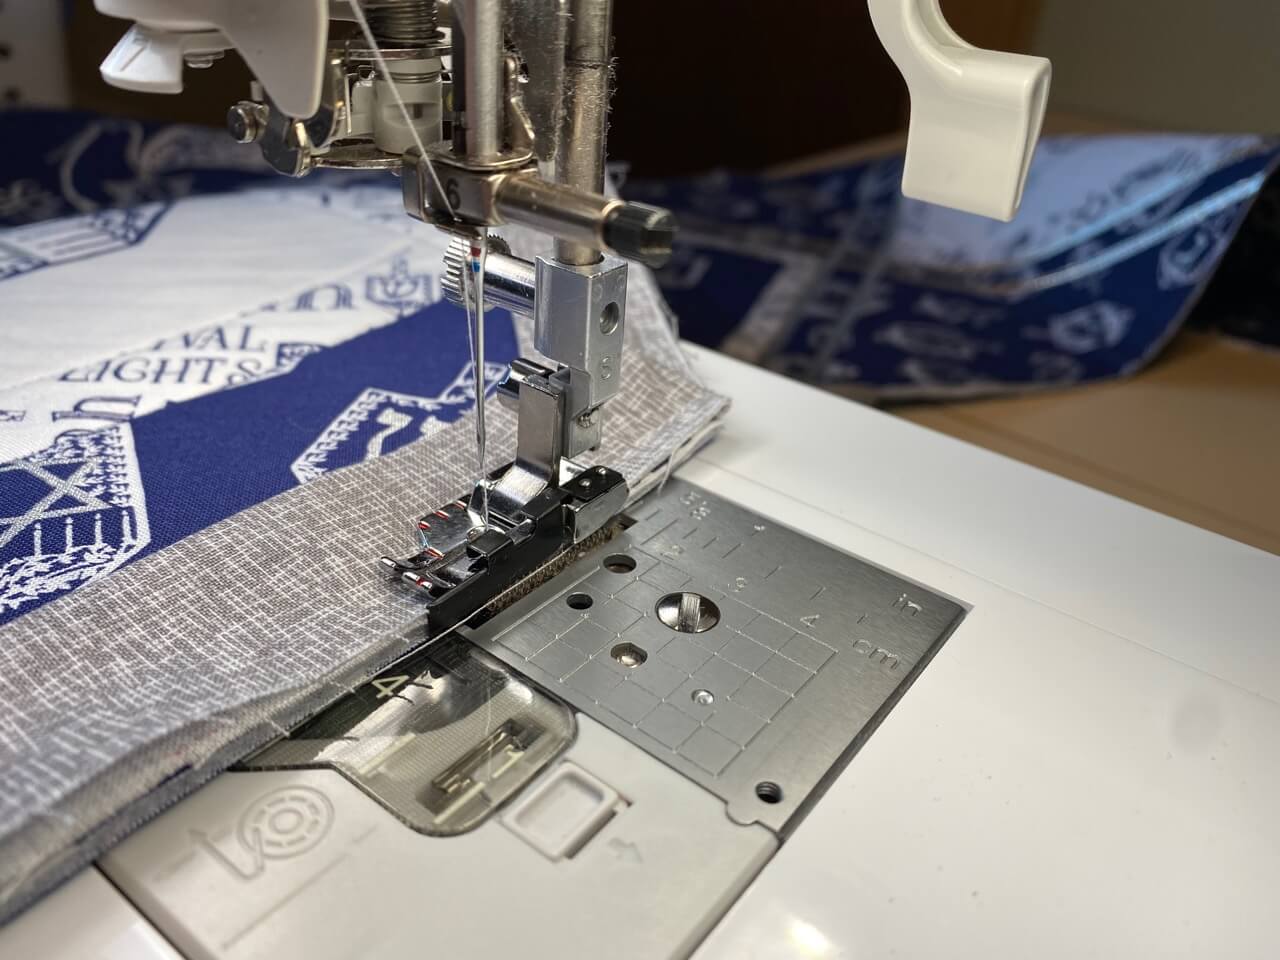
- Stitch binding to table runner – following steps above when approaching each corner. Backstitch at beginning and ending of each seam.
- After stitching the final corner, stop stitching about 6″ to 8″ away from angle-folded end of beginning binding. Backstitch.

- Insert ending binding into beginning binding.
- Mark diagonal “stitching line” on binding ending – front and back – using beginning binding angle-fold as a guide.

- Cut away ending binding end, leaving marked line PLUS additional 1/4″ seam allowance.
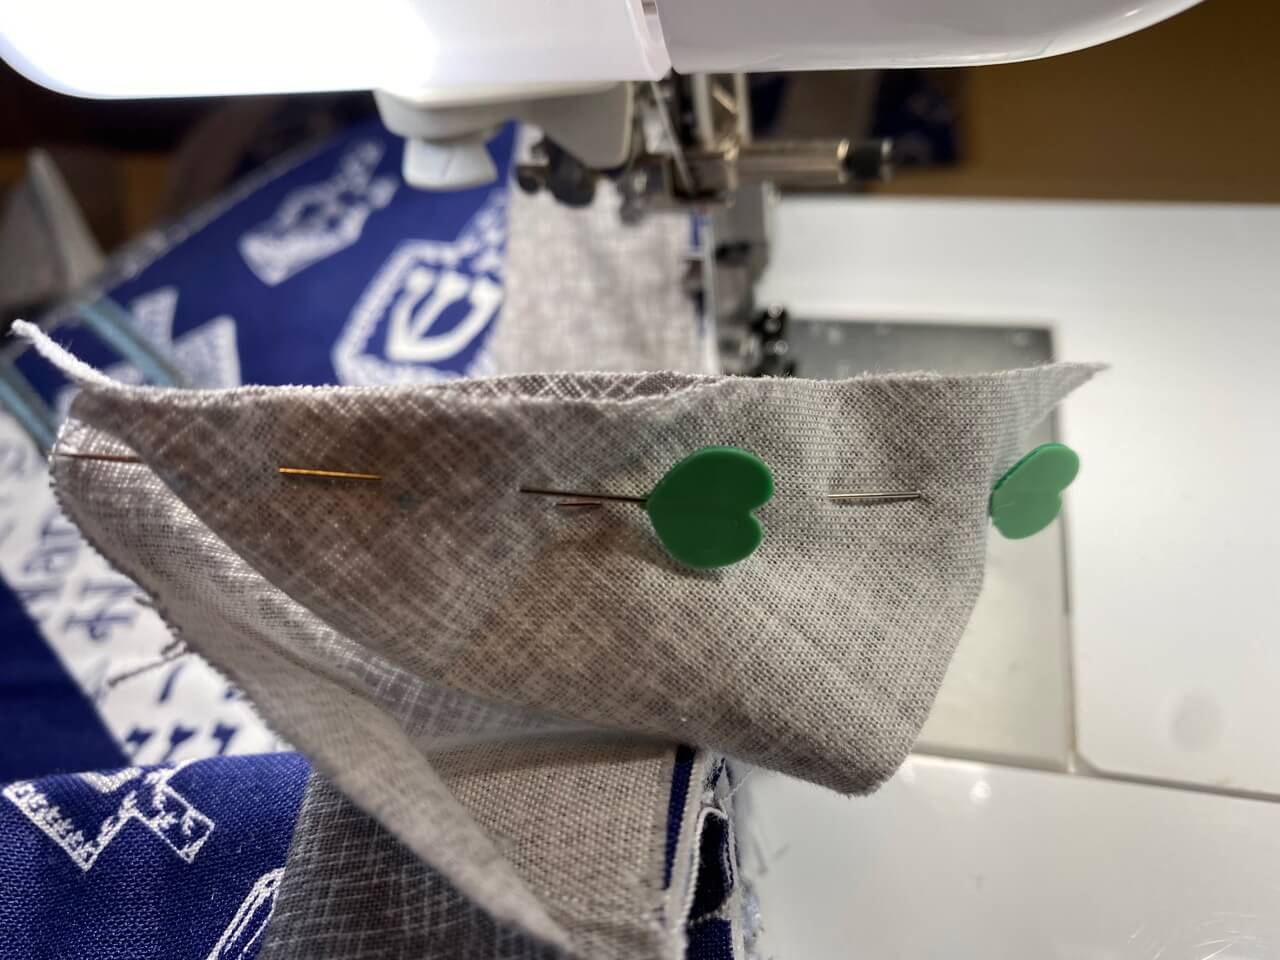
- Open binding and meet angle-cut edges, right sides together, pin.

- Stitch binding ends together, with scant 1/4″ seam.
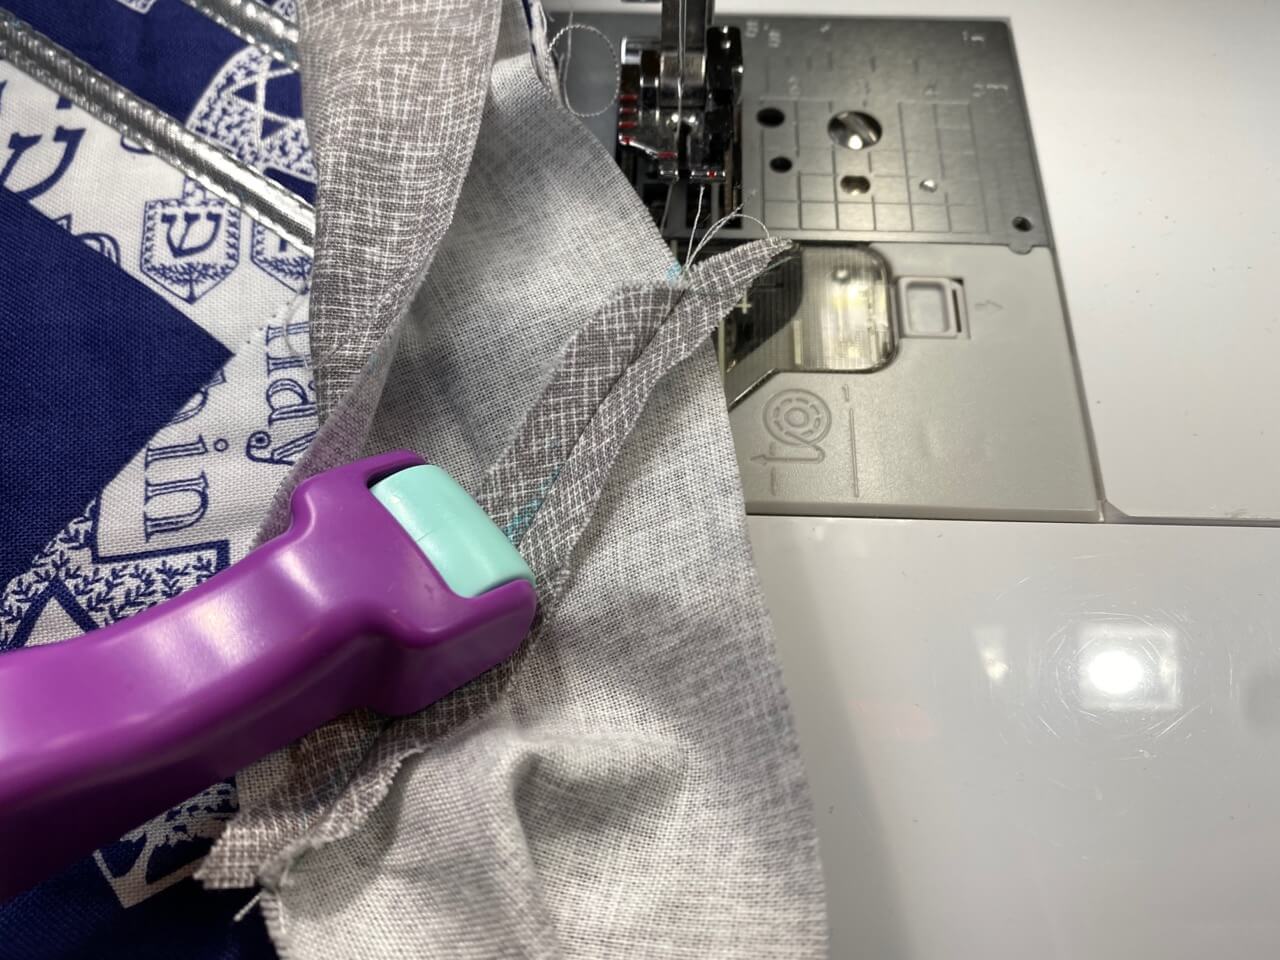
- Finger-press seam open, or press seam open with Roll ‘n Press.
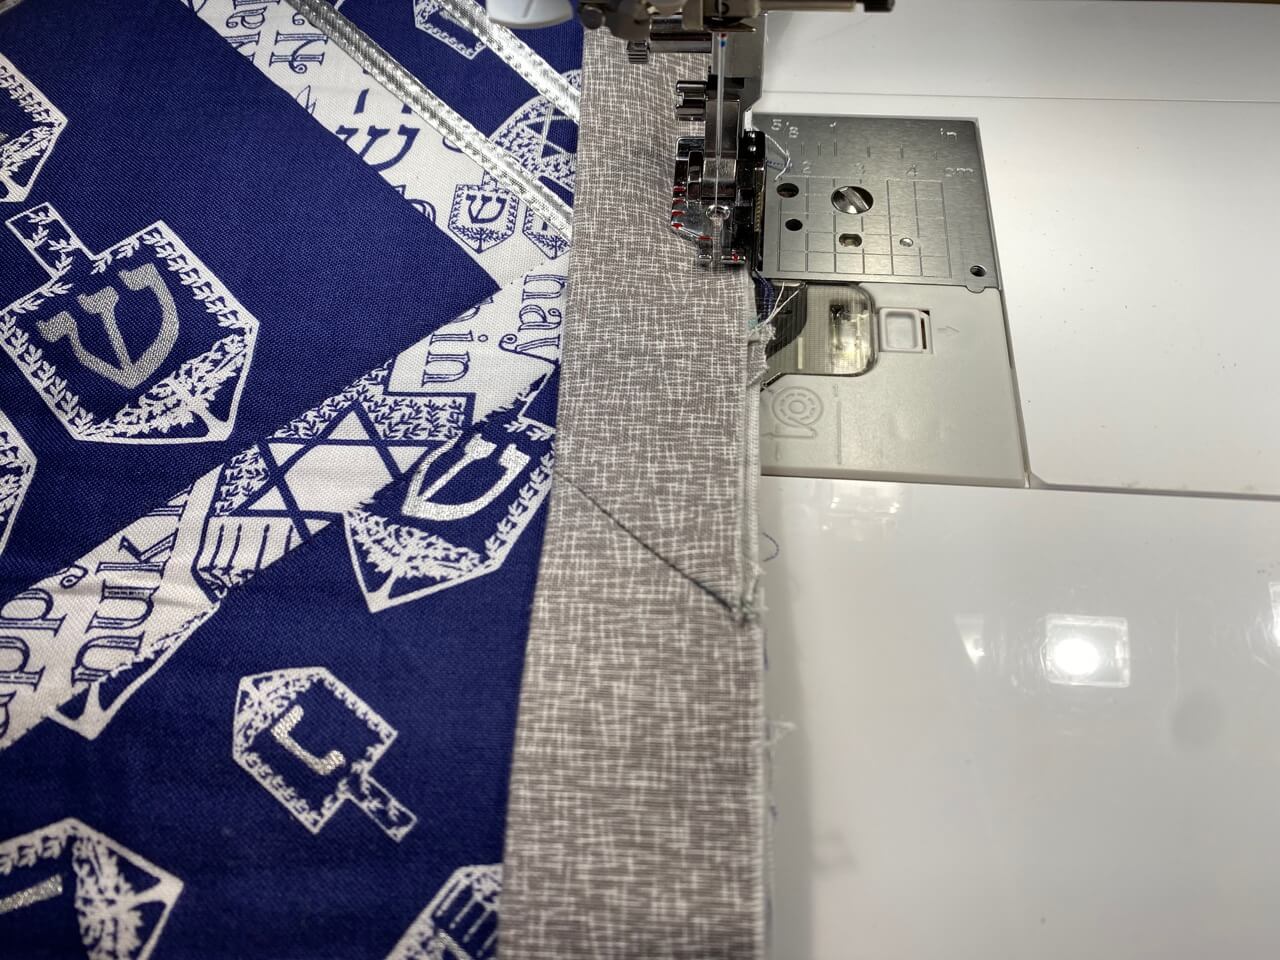
- Re-fold binding right sides together. Stitch binding to table runner edge. Backstitch.

- Fold or “wrap” binding to wrong side, fussy folding corner folds to desired angles. Wonder Clip binding to table runner.
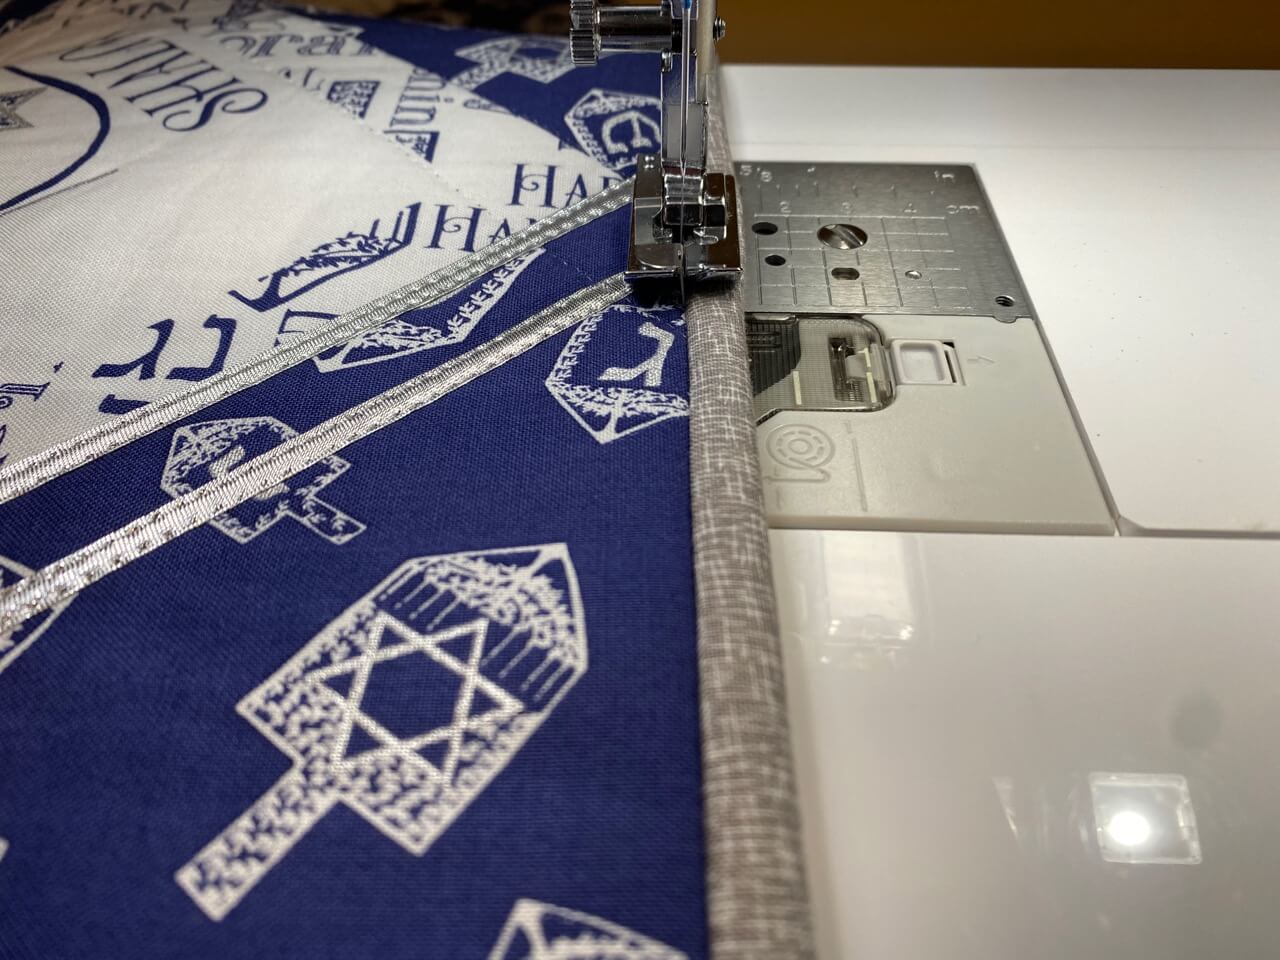
- Attach Edge Joining Presser Foot and stitch binding to table runner, stitching in the “ditch” or the “well” of the seam – where the binding meets the table runner.

For a nearly “invisible” seam, stitch binding to table runner, stitching in the “ditch” with Monofilament Thread.
Table Runner Sewing Supplies
- One Festival of Lights Table Runner Pre-Printed Fabric Panel
-
1 yd. Festival of Lights Star of David Fabric
- 1/2 yd. Gray Mini Hashtag Fabric – for binding
- 1 yd. Pellon Sew-In Fleece Batting
- Clover’s Blue Wash-out Marking Pen
- Clover’s Heart Shaped Pins
- Clover’s Hot Ruler
- Clover’s Supersize 5-in-1 Sliding Gauge
- Clover’s Roll ‘n Press
- Clover’s Mini Iron II
- One or two spools Clover’s Silver Metallic Quick Bias or Metallic Rayon Thread
- Monofilament Thread
- Schmetz Chrome Quilting Needle, Sz. 75
- Tailor’s Clapper
- White Easy Knit Interfacing
- Eze-View Pressing Cloth
- June Tailor’s Quilter’s Starch Savvy
- Open Toe Presser Foot
- Edge Joining Presser Foot
- 1/4″ Patchwork Foot-with Guide
- Ultimate Quilt ‘n Stitch Presser Foot by Team NZP for Clover
- Rotary Cutter, Mat & Ruler
- Optional: Clover’s NEW! Wonder Pins OR June Tailor’s Quilt Basting Spray & Pattern Making Paper & Schmetz Super Nonstick Needles, Sz. 90
- Optional: Clover’s Wonder Clips & Jumbo Wonder Clips
- Cotton Quilting Thread
- Iron
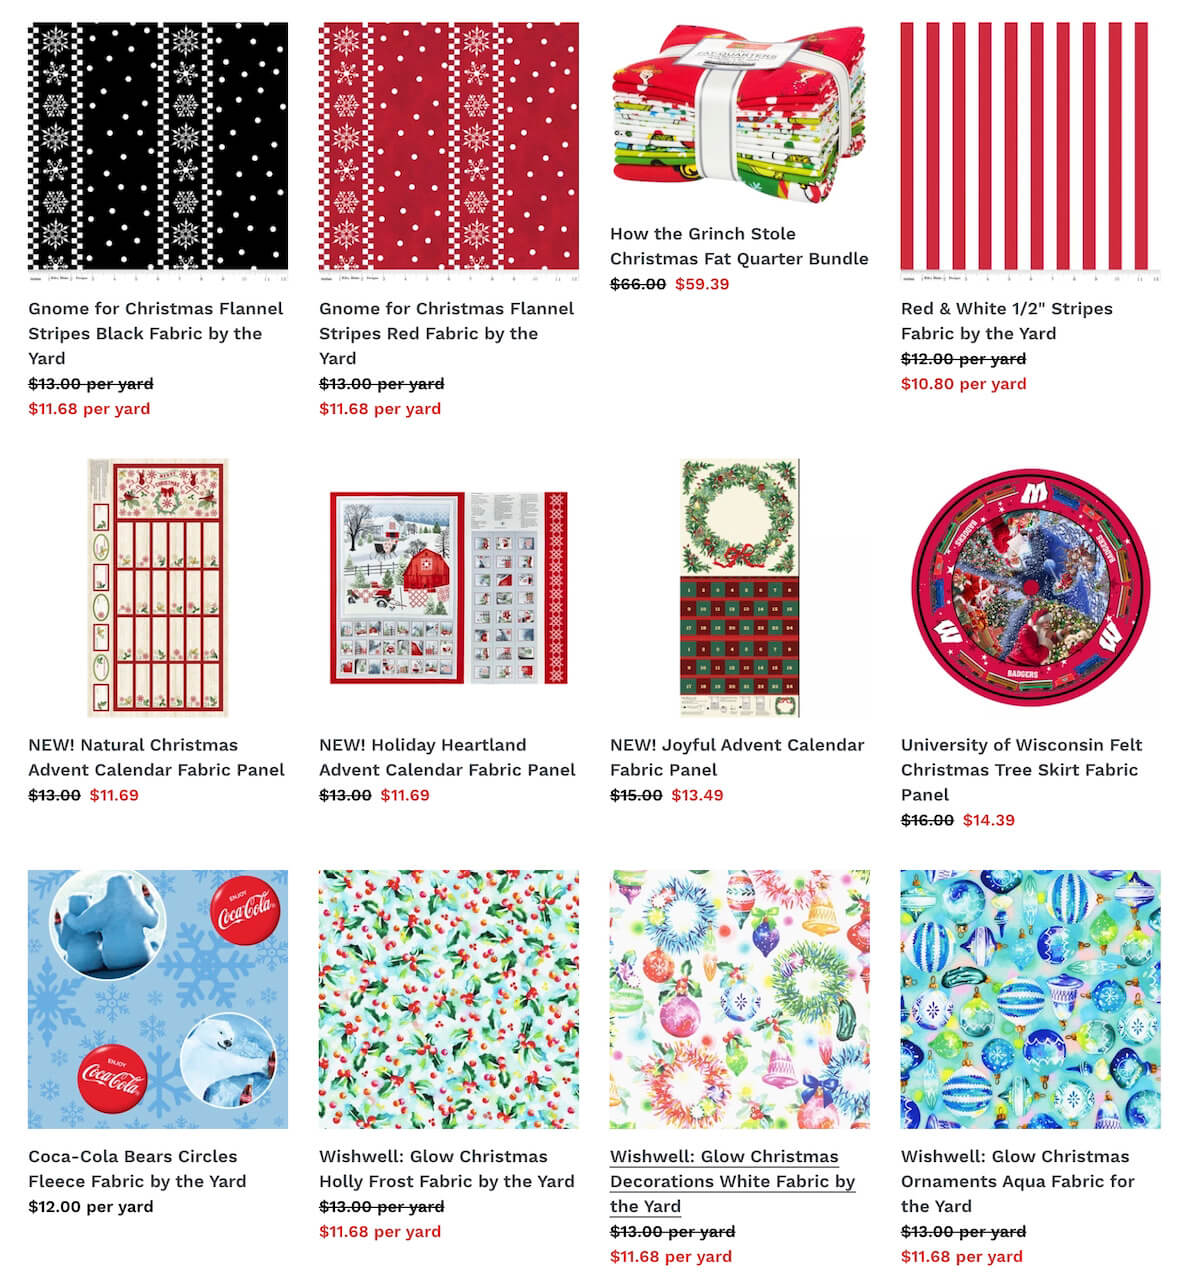
 Shop our Annual Home For the Holidays SALE starting Today! at ShopNZP.com
 Shop ALL Hanukkah Fabrics on SALE at ShopNZP.com
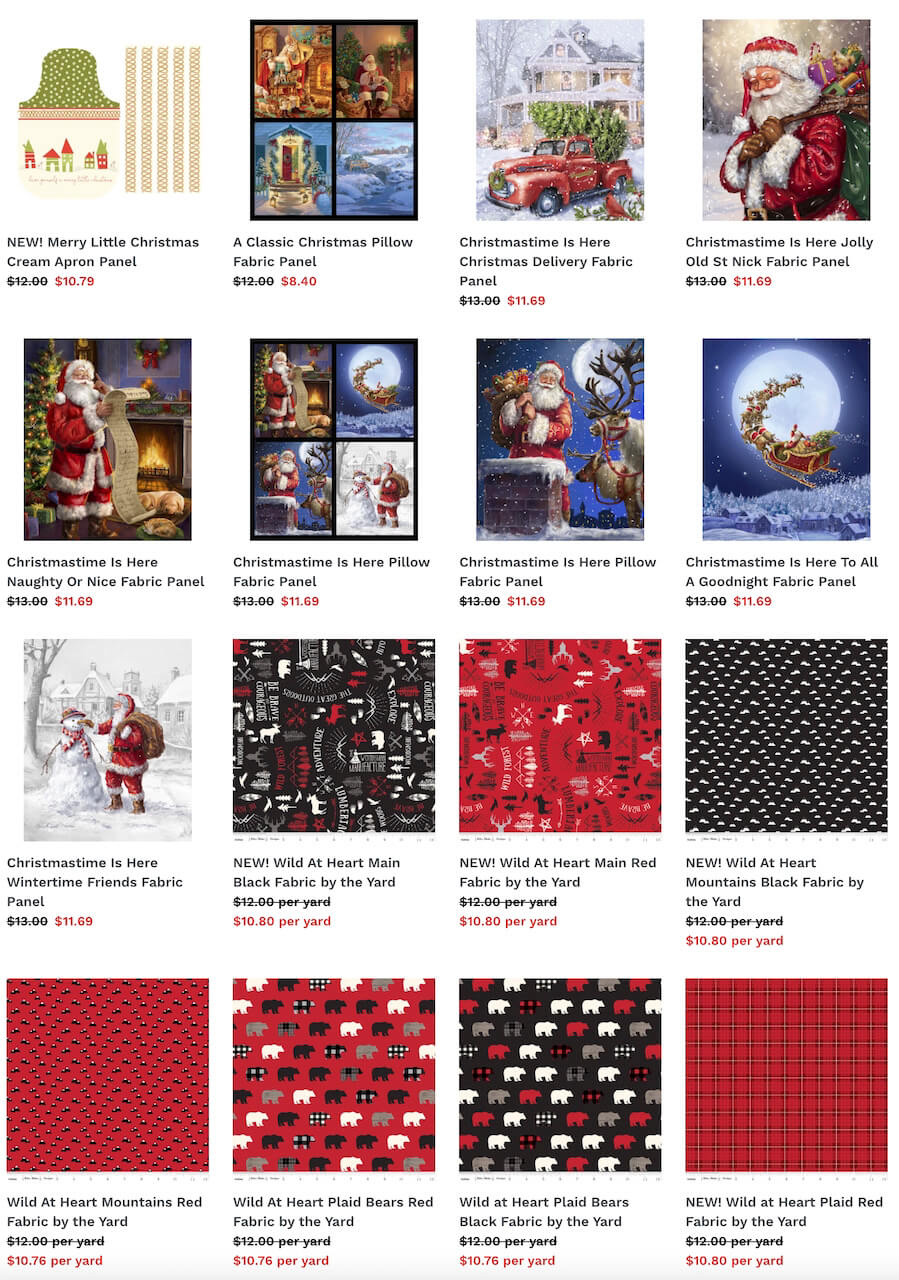
 Shop ALL Christmas Fabrics on SALE at ShopNZP.com
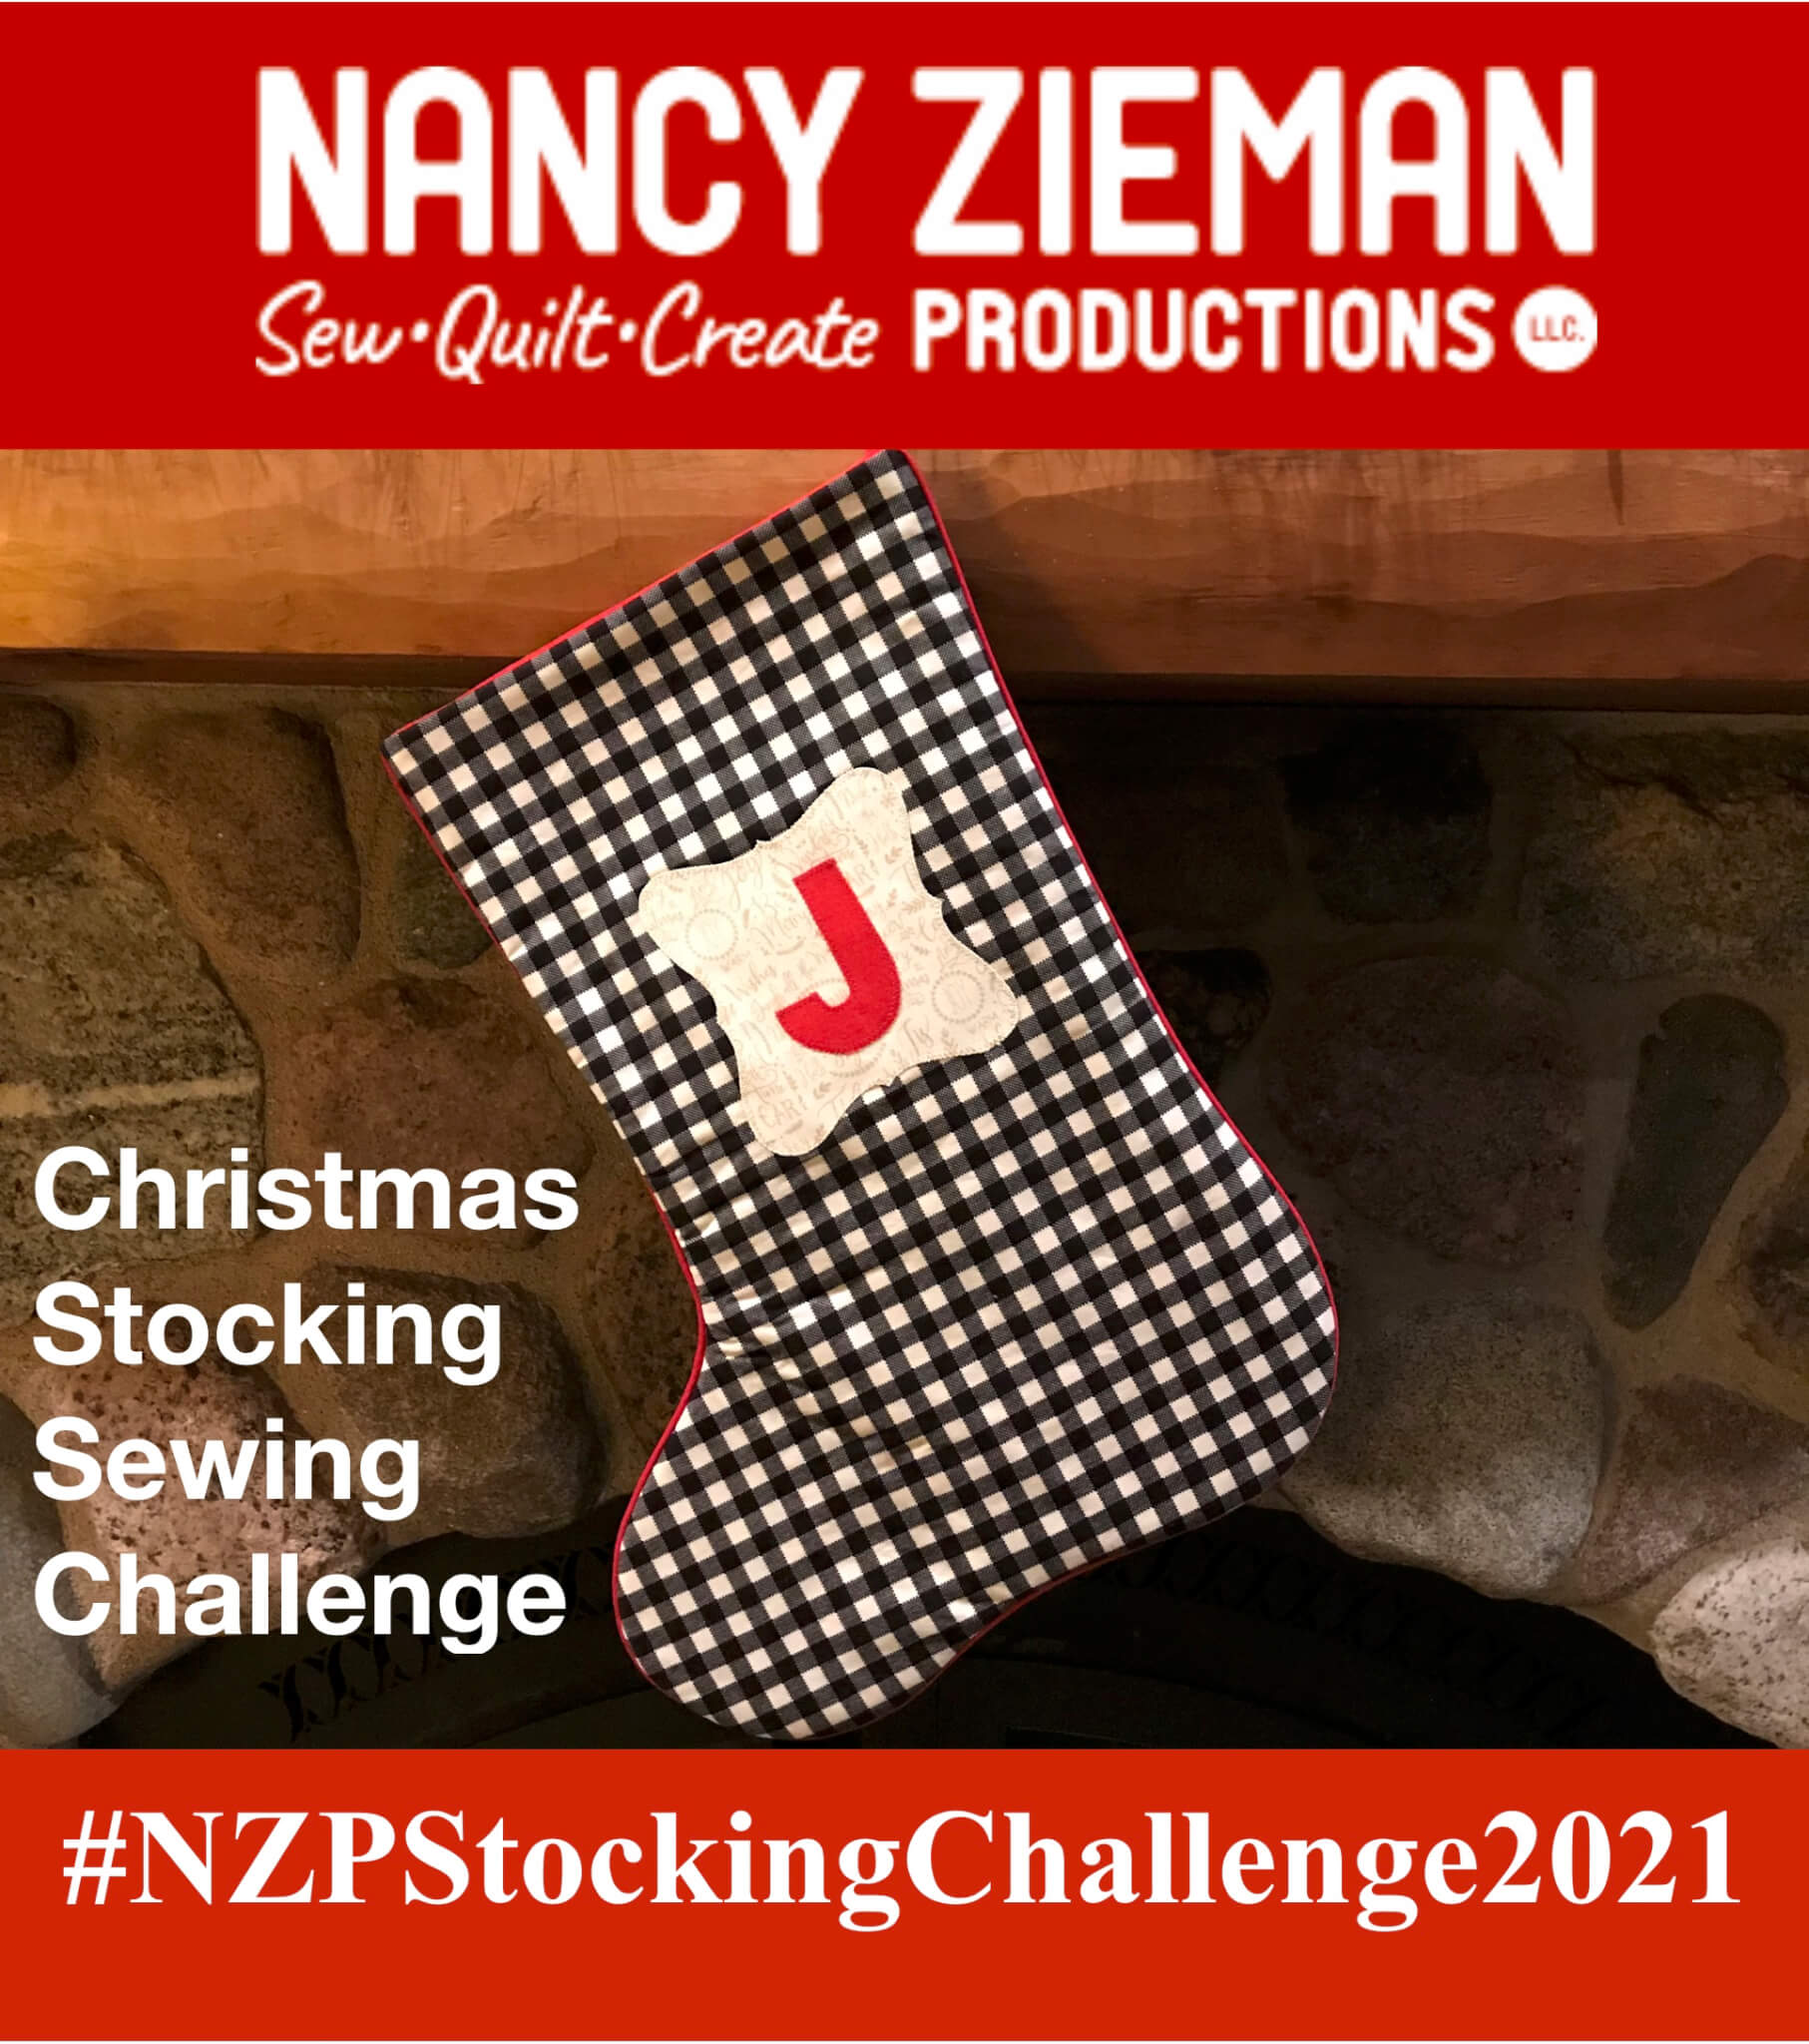
Join the Nancy Zieman Productions 2021 Christmas Stocking Sewing Challenge!
Find Christmas Stocking Sewing Challenge details in our November 4, 2021 blog posting. You could win a prize from one of our generous 2021 Table Runner Sewing Challenge Sponsors! Challenge entry photos due November 24, 2021.
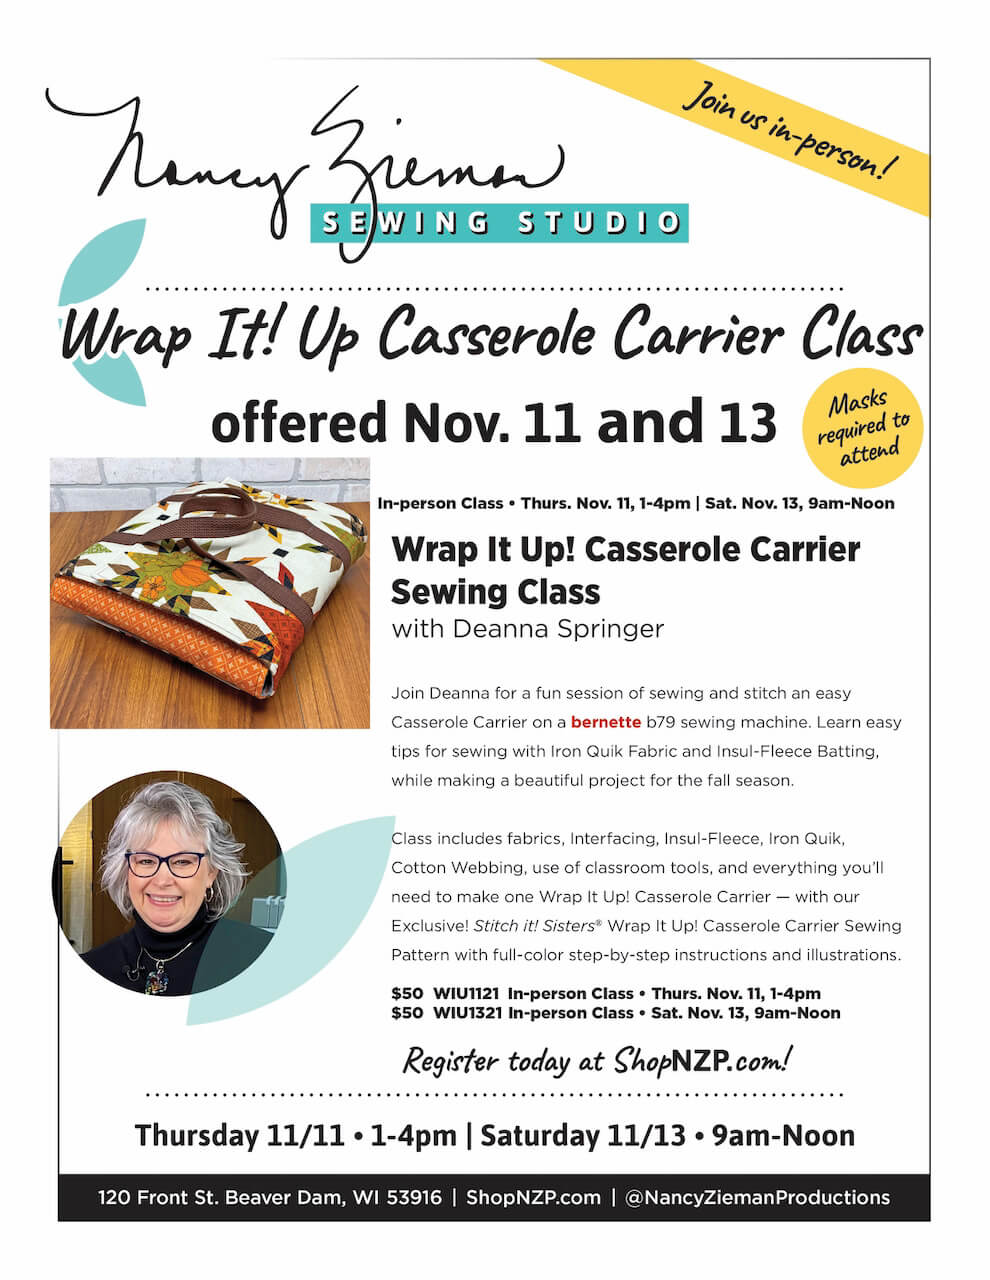
NEW! Sewing Classes at the Nancy Zieman Sewing Studio
Join our In-Person Sewing Classes at The NEW! Nancy Zieman Sewing Studio, in Beaver Dam, WI on Thursday, November 11 or Saturday, November 13 – for a fun day of sewing! We’ll provide everything you’ll need to make a Wrap it Up! Casserole Carrier – just in time for Thanksgiving!
Happy Sewing!
Team Nancy Zieman
Nancy Zieman Productions. LLC.

Stitch it! Sisters is a production of NZ Productions LLC. Content in this feed is © copyright 2021 by Nancy Zieman Productions, LLC and may not be republished without written permission. You’re welcome to forward the email to a friend or colleague but it’s not okay to add the RSS feed automatically as content on a blog or other website. The FTC requires us to tell you that Nancy Zieman Productions, LLC has provided products by other companies in the course of doing business. The FTC requires us to advise you to take this information into consideration when reading this posting.


